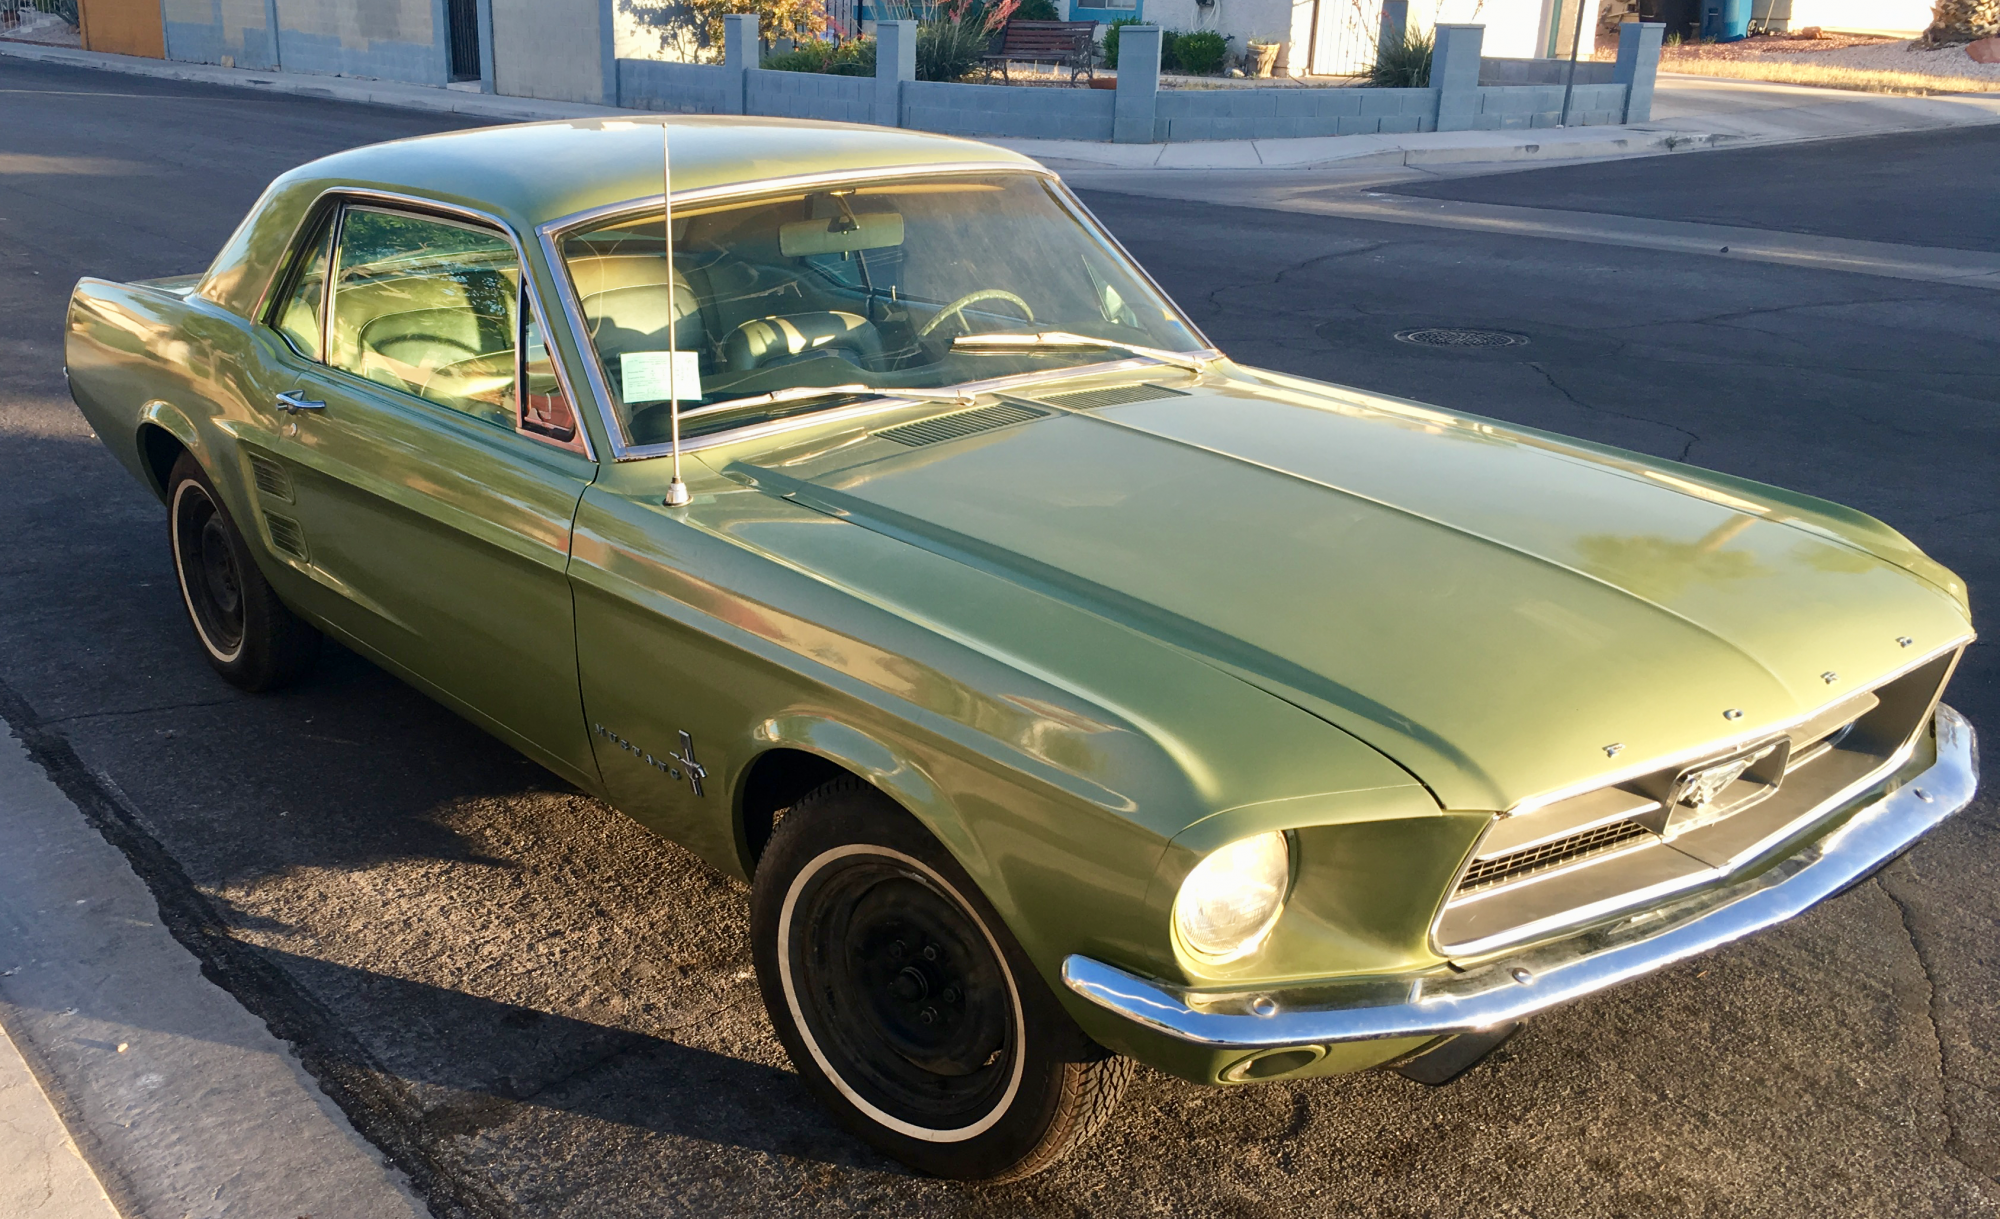
The steering wheel was baked from years in the sun. Rather than buying a reproduction I decided to refurbish the one I have. The repros are about $200. I have most of the material for this, the only thing I needed was panel bond so I’ve got about $35 out of pocket but it’s far more material than I need for this job. The cost of the materials used is well under $50 total including the finish paint. If you didn’t have the materials I would guesstimate $100-120 to buy it or just under $100 for a kit from Eastwood or the like. My goal is to use as many of the original parts as I can even if the cost to restore is at or near the replacement cost.
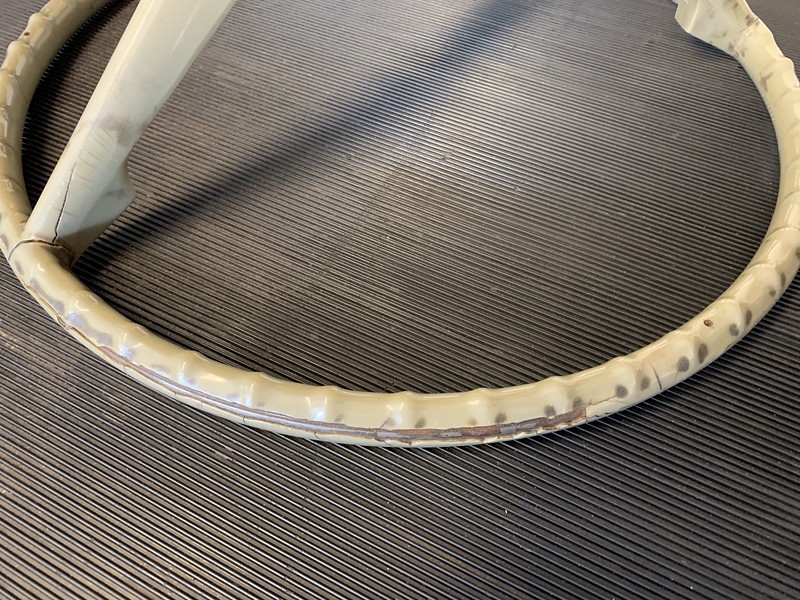
There are several methods and materials used to repair cracked steering wheels. The first thing is to clean the part and prep the cracks. The cracks need to have the broken plastic cleaned off and a fresh grind put on the areas that will be filled. For this job we’ll use a light duty battery powered Dremel. The air die grinders are a bit much but if you’re careful they’ll work. After grinding out the big cracks and splits it’s important to relieve any stress cracks. This can be done by grinding out a V in the crack or by stopping the crack by drilling a small hole at the ends of the crack to relieve the stress.

After the cracks are prepped we use a 320 grit Abralon on and polisher to scuff the plastic. This plastic has a heavy coating on the outside and will require some finesse to knock it down. That will give a good base which to apply the first filler. In this case we’ll use panel bond sealer, specifically 3M 08115. The panel bond is strong enough to work but flexible enough when it cures that it won’t crack again. It’s a two part epoxy so you’ll need the right dispenser though you could mix it by hand if you were careful.
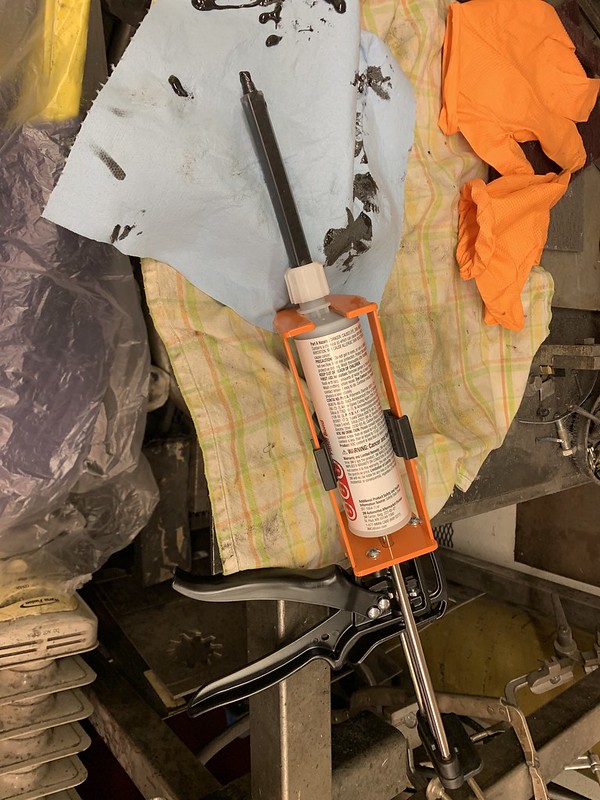
I applied it more liberally than I would body filler on a panel. Where filler is supposed to be used sparingly this is being used to replaced damaged plastic.
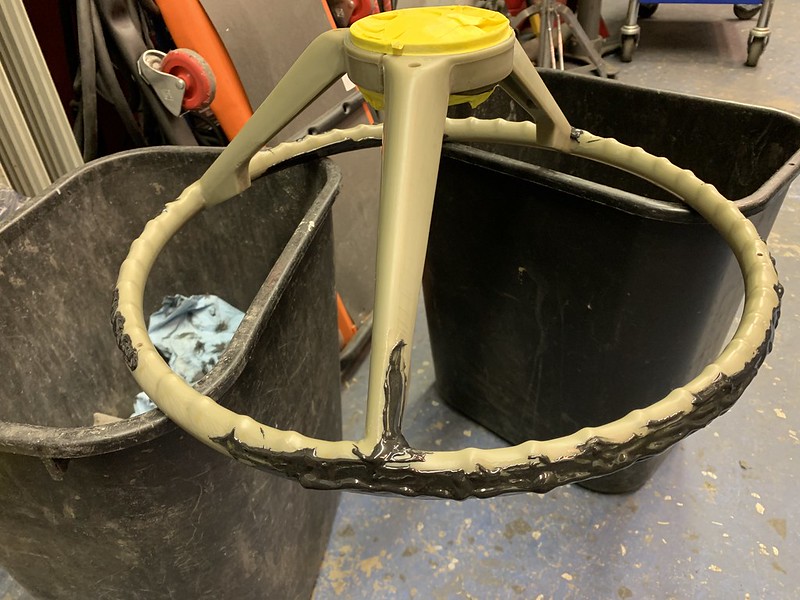
Once the adhesive has cured I get after it with a 60 grit DA. The adhesive isn’t as difficult to remove as body filler might be so don’t go too nuts when you start to feather it down.
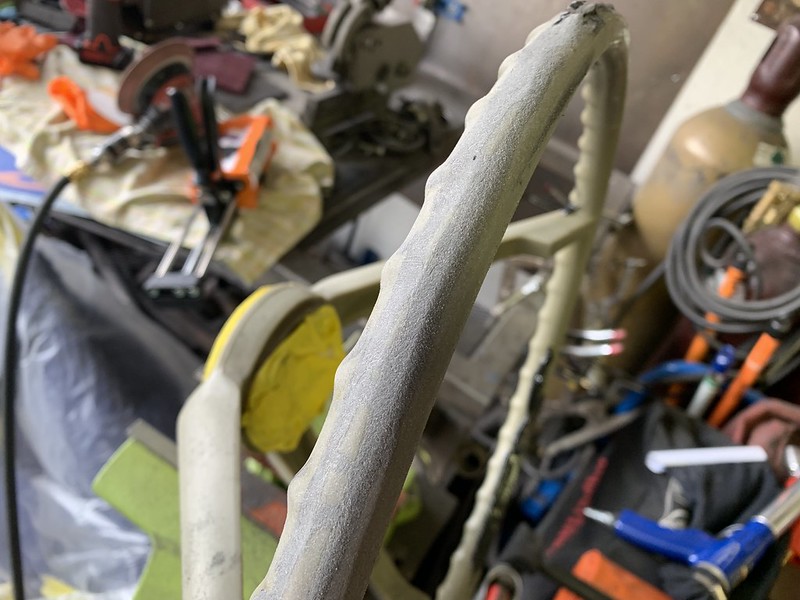
Once the big hunks are shaped roughly how we want we progress up to 120 grit, 220 grit and 320 grit on the DA. The original plastic shapes and handles sanding differently than the the adhesive so we’ll keep that in mind as we shape the piece.
Once the first layer is prepped it’s time for the second layer. For this we’ll use a skim coat of Evercoat Metal Glaze and Plastik Honey to thin the material. It’s thinned to a consistency of roughly pancake syrup. The goal is to get the nicks and divots out of the part. This needs to be applied more like body filler (which it basically is) though it’s quite a bit more liquid than regular filler.

The coat was applied a bit more aggressively than I would have liked. I used a body filler rasp to knock the big ridges down. From there I used 120 grit moving to 220 grit moving to 320 grit on a DA in slow speed.
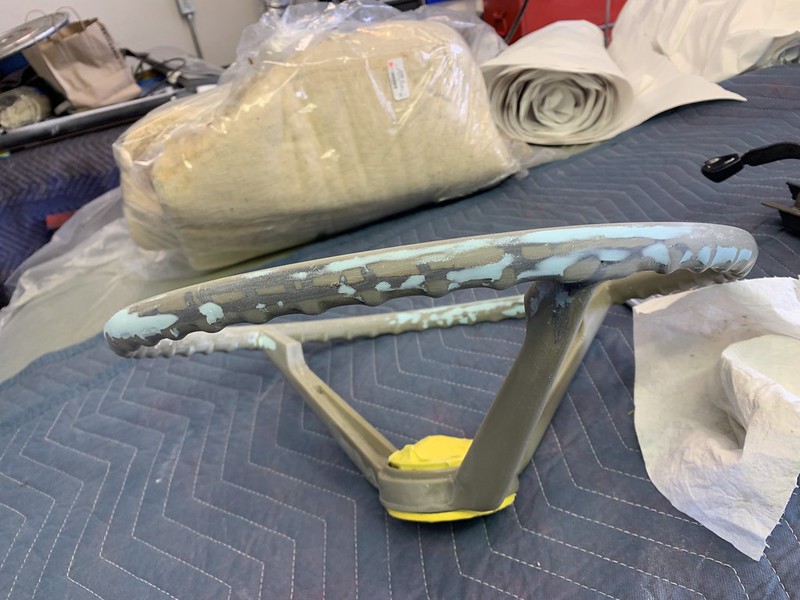
Now that the shape is complete it’s time to get the bumps and humps out. I was originally going to go from skim coat to epoxy primer but there were some chips I wanted to cover with 2K high build primer. The high build I had was old and not as effective as it should have been. Sitting in the garage over a Vegas summer dried and clumped the high build talc so the material was more of a sealer. It worked better than I thought considering the condition of the material.
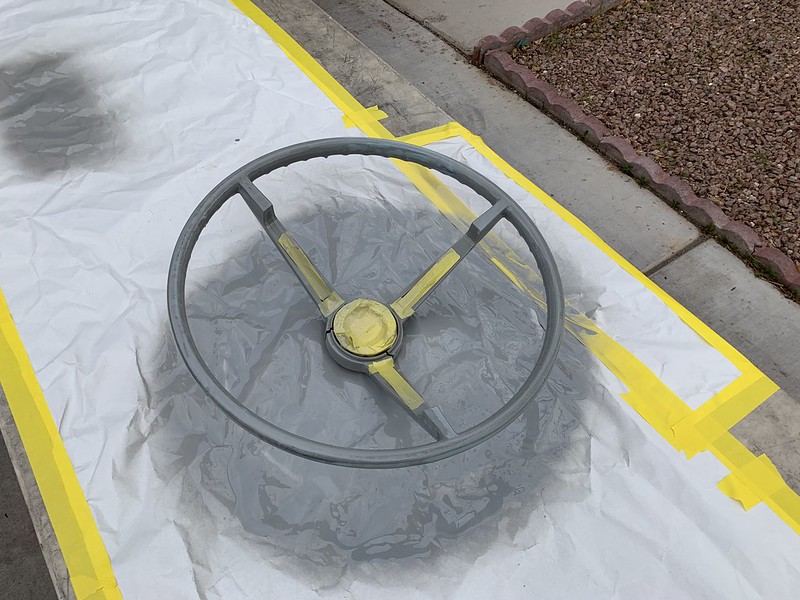
All in all the shape has come out pretty well. Next we’ll prime and paint.
