I’ve had the suspension finished for about a couple of months now. It rides great! The steering is what it should be and tracks well. The only drawback are the 13 year old tires. That still have quite a bit of the original whiskers on them. The dry rot has set in and the car wasn’t put on stands soon enough to prevent permanent flat spots. That makes the ride not as smooth as it should be but other than that it’s bueno.

The DIY spring perch project went well. It cost $30 for the bearing and template kit and that could have been it. However since I used shocks with longer and larger diameter studs I needed larger reliefs than the crimped tubing suggested and used 4130 chrome-moly. That was another $30 or so. All in not a bad mod. I’d like to say I could feel them specifically but so much has changed on the front and rear suspension pointing to one particular item isn’t possible.
Normally I’d powder coat something like this but I wasn’t sure how the bearing seals would hold up to the cure heat and didn’t want to make a jig to press the bearings and stud that wouldn’t mar the coating. I waited until the fab was done and painted them. I was meant to use Krylon 1613 semi flat. The first can went well on other parts of the car. By the time I got to the perches a second can was used and that wasn’t semi flat. It looked like semi gloss. I went back to the store and told them, said I’d buy another few cans if I could do a test shot and took one of the correct shade of parts with me. It looks like they got several cans, perhaps a case, of incorrectly labeled and capped paint. I left the perches semi gloss and went to the competition and got the last two cans of the proper shade.


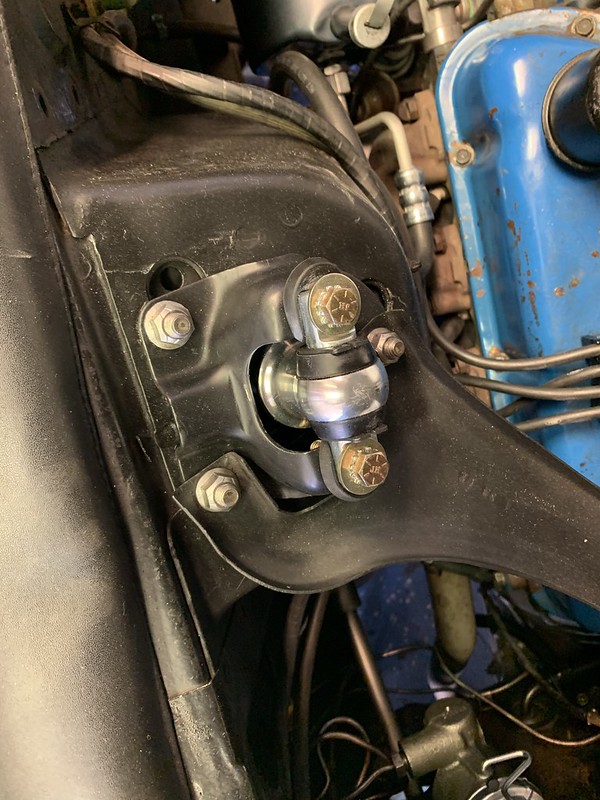
The parts I want to have more durability with or that aren’t being painted until some other part of the car is refreshed I powder coat. I generally use Prismatic Powders. They’re great, good pricing, top quality material and nearly every shade you could imagine. They’ve got a good match for the semi flat called Card Black that’s pretty close. I did the upper shock mounts, thermactor canister, battery mount and started on the wheels.


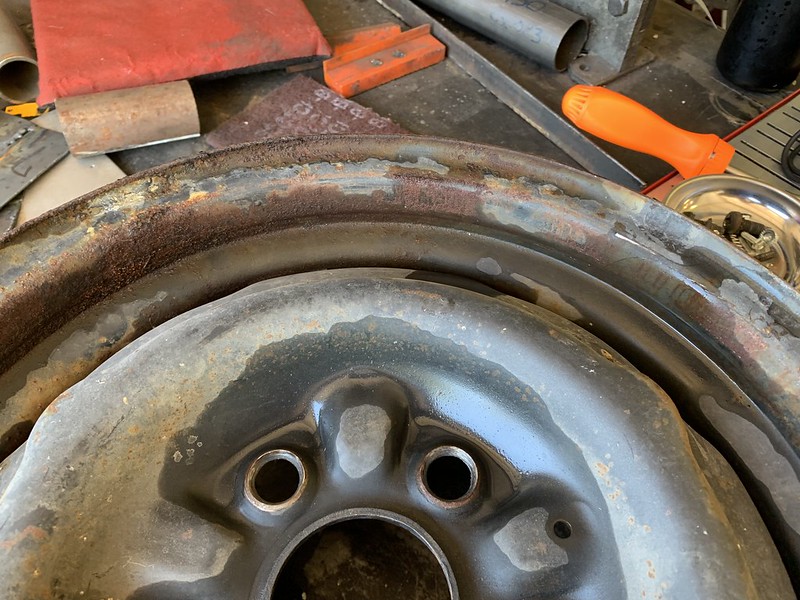
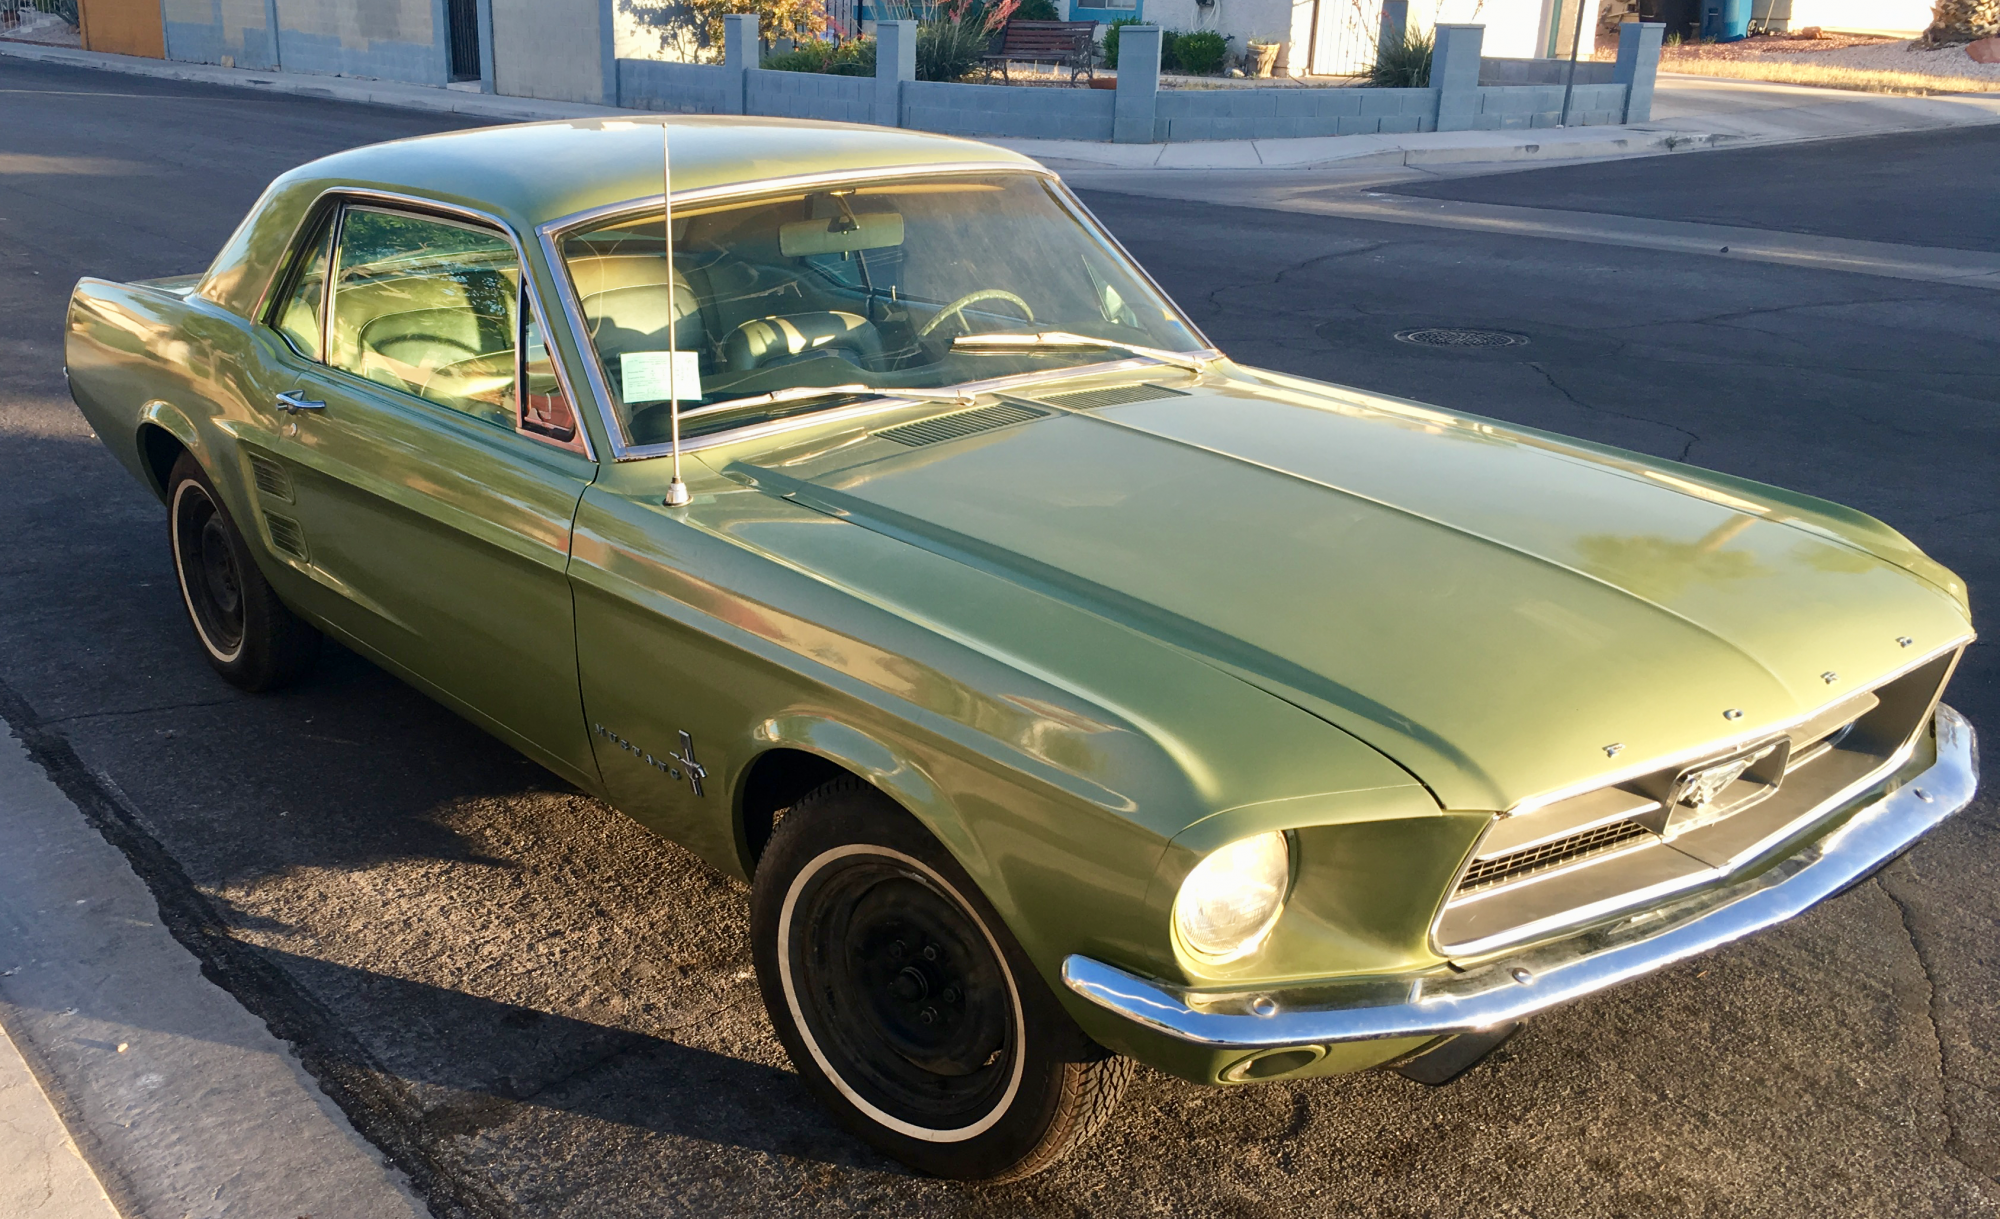
Now wheels and tires. As mentioned the tires are toast. I shouldn’t be driving on them at least not for any distance. It’s a bummer because in addition to still having some whiskers the tread depth is a full 9/32. That leads me down the rabbit how of “well do you want wheels”? I’ve got the full Mustang wheel covers with the horse emblem. They only fit a 14″ wheel. And you fellow Mustangers that have shopped for 14″ know the pickins are slim. They are also the original Fomoco steel wheels. I do like the look of the classic Cragars and the price at Discount Tire isn’t too bad and bundled with the tires I can get interest free for a year. Plus with new wheels you can go to 15″ or even 16″ and have a boatload more tires from which to choose. But I do want to have as many original parts as possible.
So I’ll stay with the 14″ and get Hankook Optima H724 whitewall in 215×75-R14. The rub is each wheel takes a couple of days to refurb or one long, full day. Being I don’t want to have the car up on stands as I need to be moving it I have to do one wheel at a time. The guys at Discount will accomodate. They’ll take one tire off an old rim and I’ll take that away. I’ve got a wheel from the spare that was unmounted by the local llantera that I’ve already refurbished. They’ll mount the a new tire on the reconditioned rim and a few days later I’ll pop on back doing it one corner at a time.