Parts delays aside the front is almost complete. New bushings and cleaned parts. It takes more to knock the grunge off the parts and clean them than to recondition the worn hardware and bushings. At a minimum every mating surface being bolt seats, faces of parts that mate, etc should be cleaned.
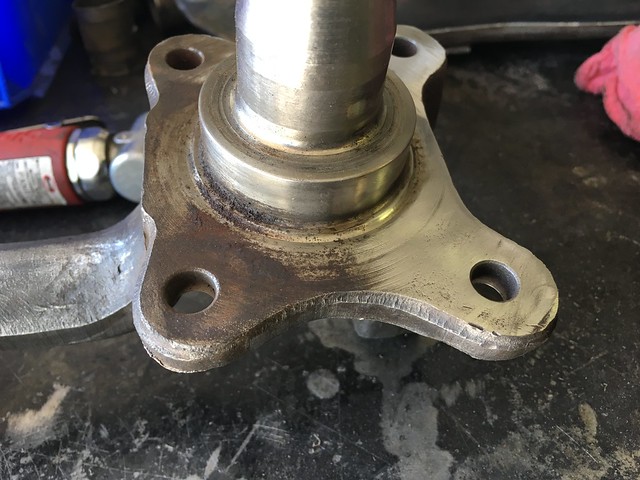
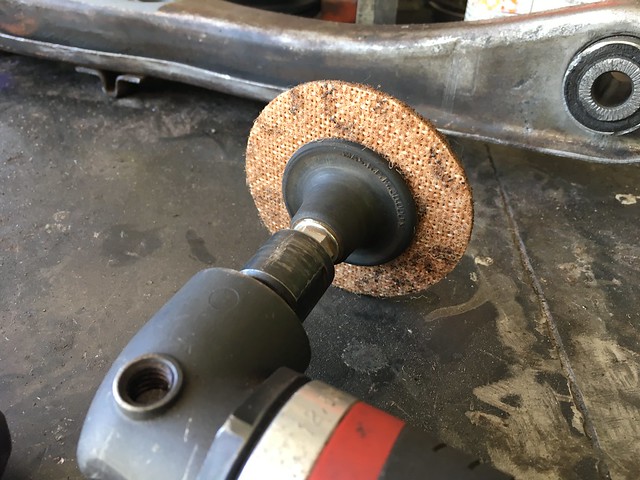
A handy trick is to use a Roloc pad that is smaller than your media. In this case I use a 2″ pad for 3″ media. Like Thomas’ English Muffins that extra bit gets into the nooks and crannies.
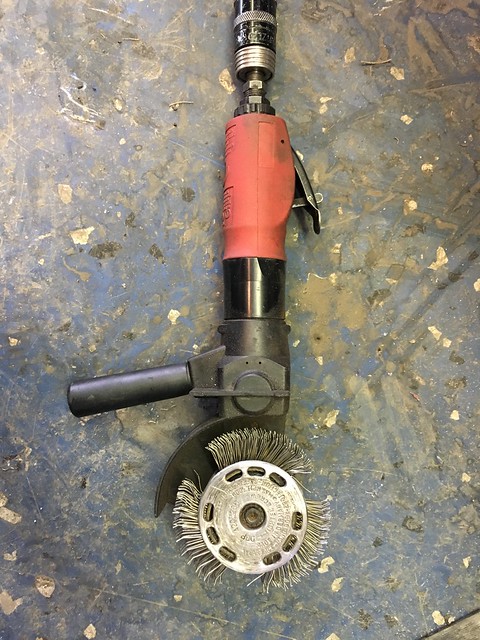
On the sticky oil/dirt caked parts I first use the Krud Thug tool (aka rotary wire wheel) as that thick gunk will clog abrasive pads and knotted wire wheels. I don’t apply a cleaner with the first pass. I’m just after knocking the big hunks of solids off the part.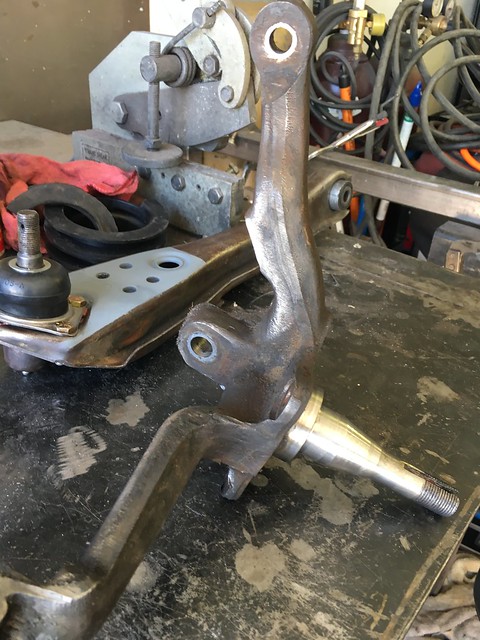
Ye ol’ Krud Thug.
I use a couple of different cleaners depending on the situation. On these after the chunks were removed I use Zep 505 cleaner/degreaser from the big box home improvement store. It works well and is safe and non flammable. In other cases I also use body shop wax and grease remover (naphtha and isopropyl alcohol) or plain old brake cleaner. The abrasives of choice for this part are Scotch Brite Roloc pads in brown and maroon in 1″, 2″ and 3″ sizes with some 50 grit fiber discs for good measure. If I were going to fully restore the part I’d still use the Krud Thug but after the chunks were dispatched I’d put it into the blast cab. For these rough cast parts I’d cover/tape the machined area and blast the cast area with aluminum oxide. For the aluminum parts I’d use a mid sieve glass.
Here’s a comparison of cleaned brake backing plate to spindle hardware.
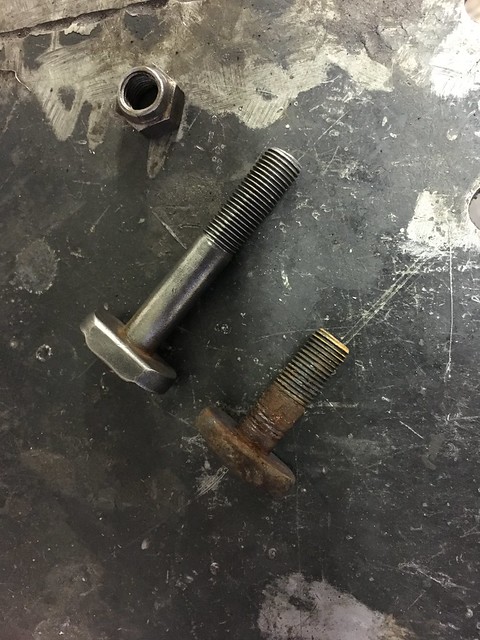
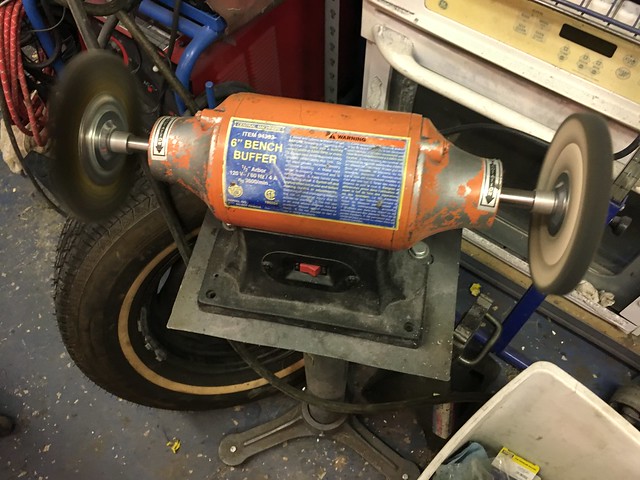
A go to tool for cleaning the hardware as shown in the pic above (plus many other things) is the HF buffer/polisher. I’ve had this one for a while. It’s another one of those good HF buys for small shop/home shop equipment. It will bog if you hit to too aggressively but for the price/performance you can’t beat the value. The trick like the other good HF bench tools is to replace the abrasive or cutter with a quality name brand unit. This is a Weiler brass wire wheel (because brass won’t damage or deep scratch many surfaces) and a buffing wheel and compound from MSC. The wheels and compound were more than the buffer motor (hell, the stand was 2/3 the cost of the motor). The compound used on these parts is white rouge. Be sure and get a buffer rake so you can clean the wheel after each use.
Why would you go to that trouble and just not buy new hardware and parts? Well, money. I’d rather spend 4-5 hours cleaning parts than spend a $100 or so and wait for them to arrive. Plus I enjoy it and find it therapeutic. If it’s off the shelf Grade 5 or Grade 8 hardware (or one time use fasteners like cotter pins, torque to yield bolts and some lock nuts) I’ll replace no questions asked. Some of this stuff isn’t available as normal hardware and when it is it starts to add up. I’m going for a driver here, a pleasure car and not so much an MCA champ.
With the parts and surfaces cleaned and prepped we start to reassemble the suspension.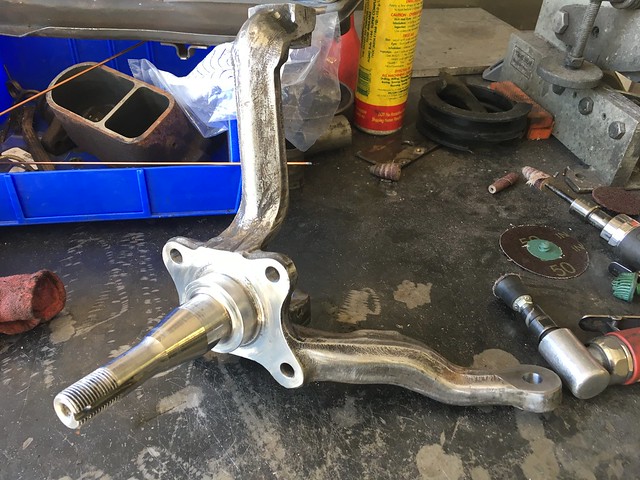

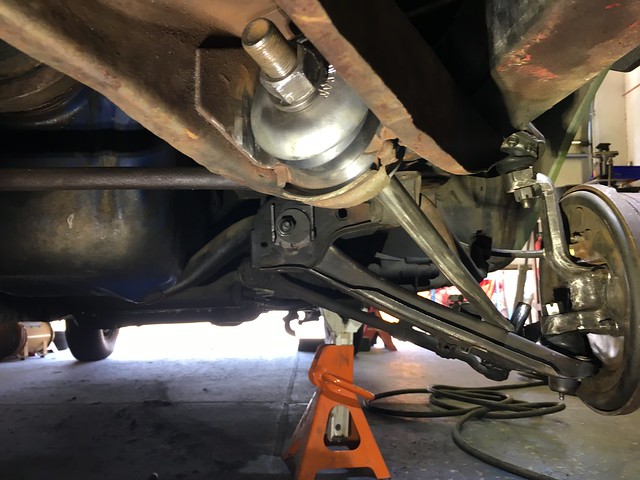
It took a bit more time than I would have liked. It is nice and tight though. The suspension settings are more than tweaked no. During assembly I snugged all the hardware, let the car bear weight, rolled back and forth (old race car guy tip to settle things into place) then jacked it back up and tightened to torque. There is some debate on tightening to torque in the air vs. with a load on. I prefer doing it static with no load. This is where a lift really comes in handy.
With the fore-aft swing in the lower control arm gone the toe on the driver side is wack. Toe in by about 2″-3″. Really whack. Remember back when I thought something might be broken on the passenger side causing massive positive camber? Well it was. The camber adjuster cam bolt head side cam plate had become detached which caused the bolt to not apply the same cam on each side. As well as resulting an a twisted, jammed bolt (needed to be persuaded out with a drift pin) it cause a lot of grief on the set up.
I’m going to put an alignment on it like I did with the race cars. String line, laser level and digital angle gauge. Unlike the torque settings those measurements need to be made with the suspension under load. I initially had +5 camber at the brake drum so I was hoping to see +1 or maybe +2 on the ground. Turned out to be -2 under load. That’s easily adjusted.
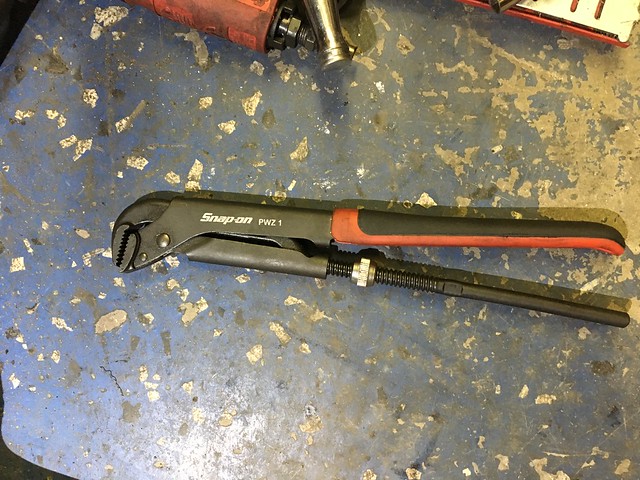
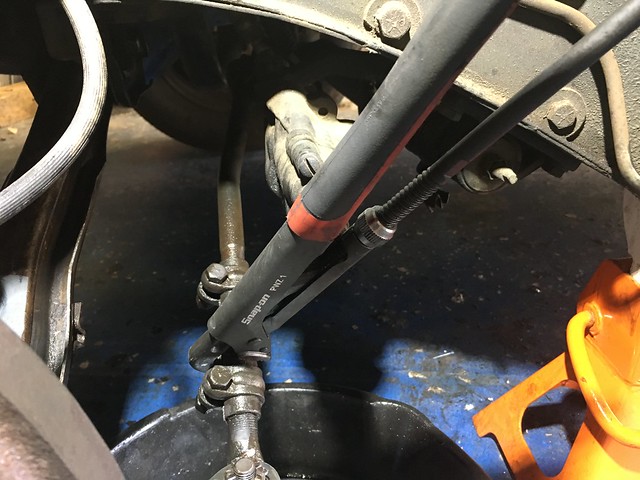
I just started using this Swedish pipe wrench as a suspension adjustment tool (or as they call it in Sweden, a pipe wrench). These things are great for tie rods and the like. Previously I’d used locking pliers, water pump pliers, big ass pliers. This beats all those hands down. I know of a couple of people that make this exact kind with the adjusting knob. There are a couple of others that look like it but only two I’ve seen with this exact same design. Knipex has one as does Bahco. The Snap On version is Bahco as they own Bahco. It’s called the PWZ series, from 8″ to 24″. The secret sauce is the way the clamp (they don’t lock like a Vise Grip), how you adjust the clamp, how easy it is to hold the clamp and keep moving the pliers to do something like turn a tie rod and how tight the opposing teeth grip the work piece.
Next will revisit the cooling system with the installation of a real water temp gauge and more testing running on the face of the sun around the Las Vegas valley.
