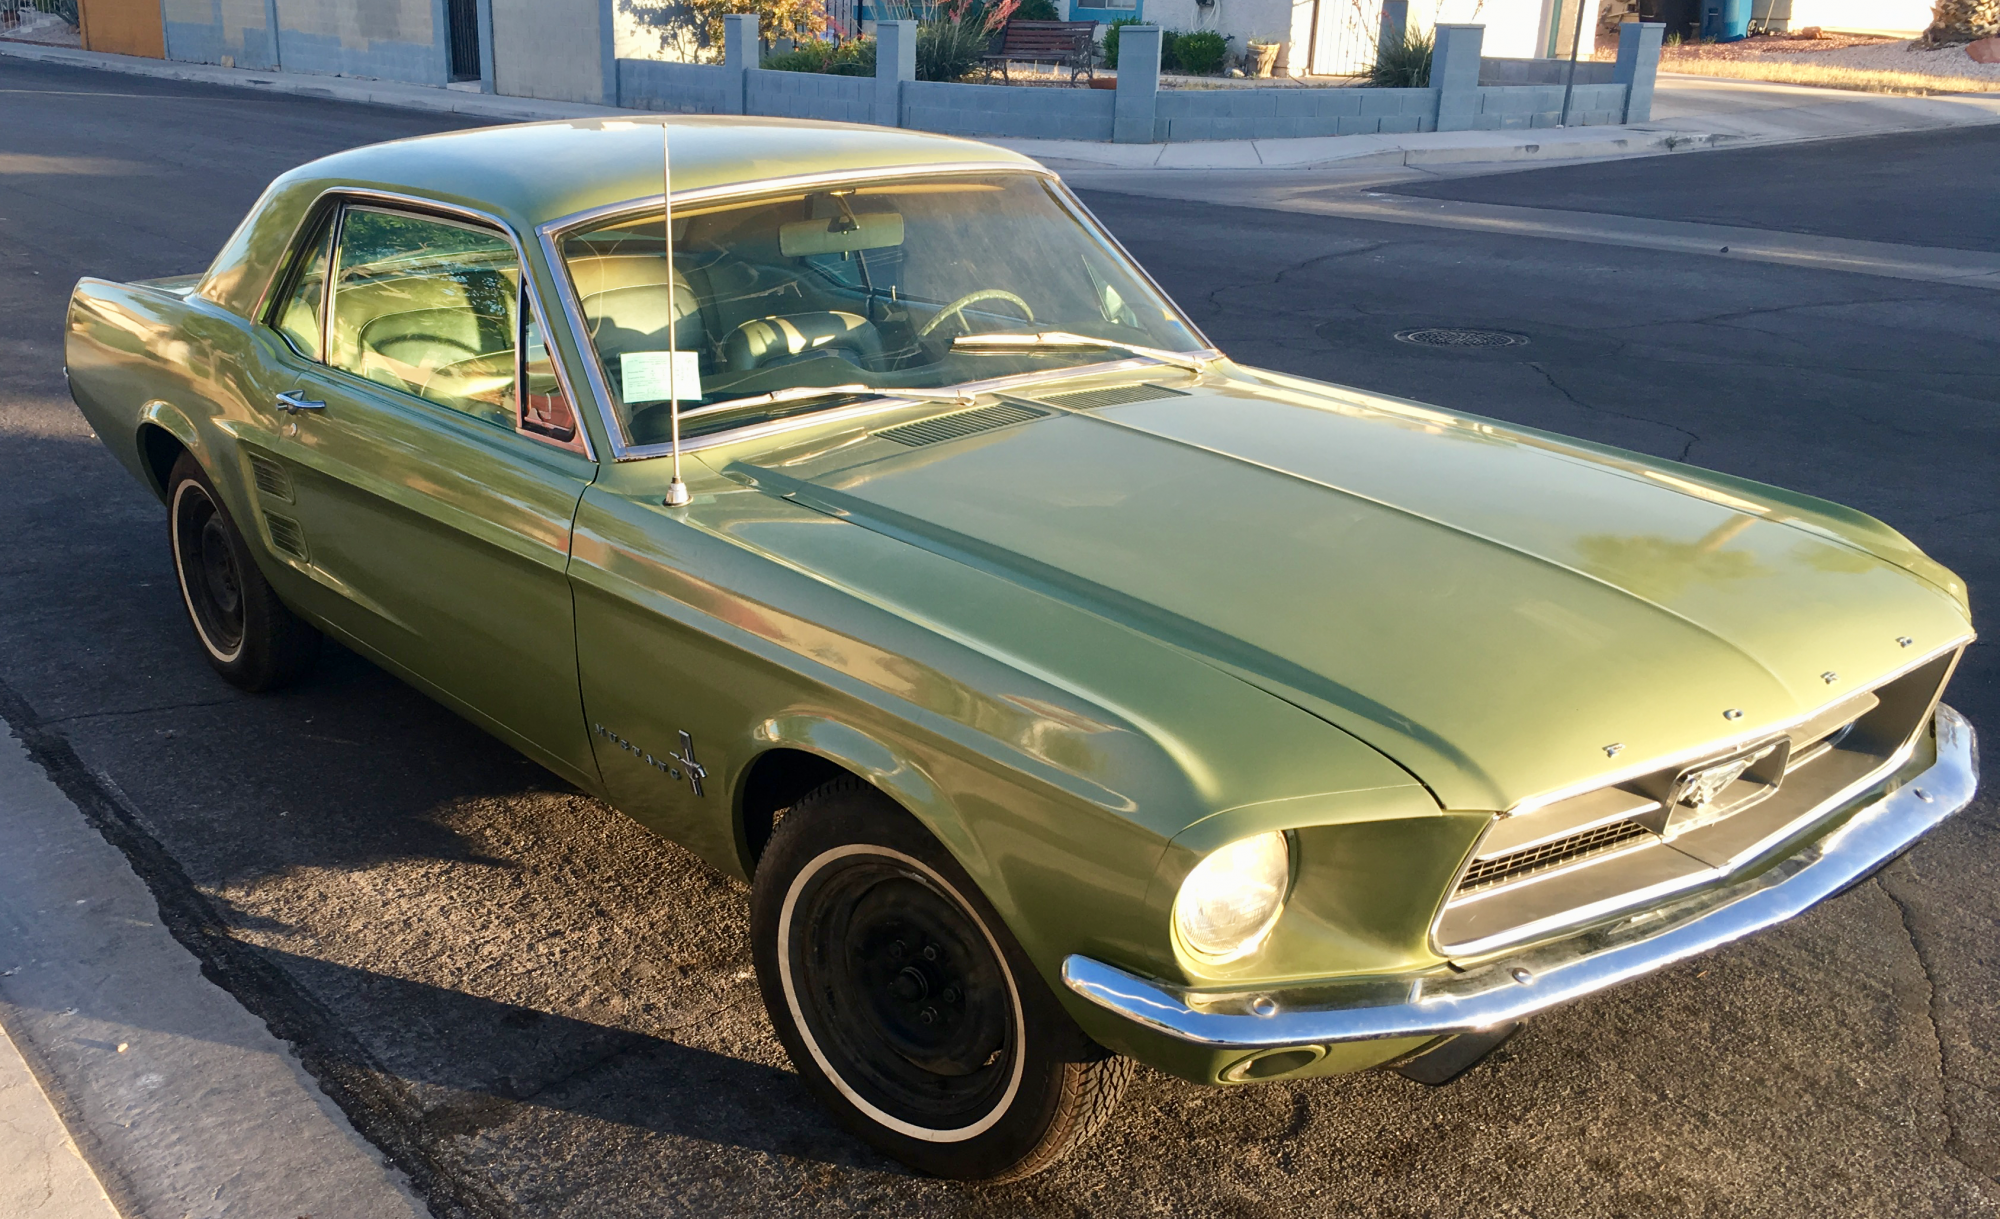
From a thread at VMF I decided to run some tests using thermal imaging to see what the effect of the exhaust riser crossover under the carb in the intake manifold was with regards to heat soak. We talk about it a bit at https://forums.vintage-mustang.com/vintage-mustang-forum/1140566-initial-timing-dummies.html#post9983340 . The car in question isn’t too far from me here in the valley. Same sort of environmental issues. So I decided to shoot some images over 10-15 mins to see what the heating characteristics are like in a 289 2V.
Finally buttoning up the front
Parts delays aside the front is almost complete. New bushings and cleaned parts. It takes more to knock the grunge off the parts and clean them than to recondition the worn hardware and bushings. At a minimum every mating surface being bolt seats, faces of parts that mate, etc should be cleaned.
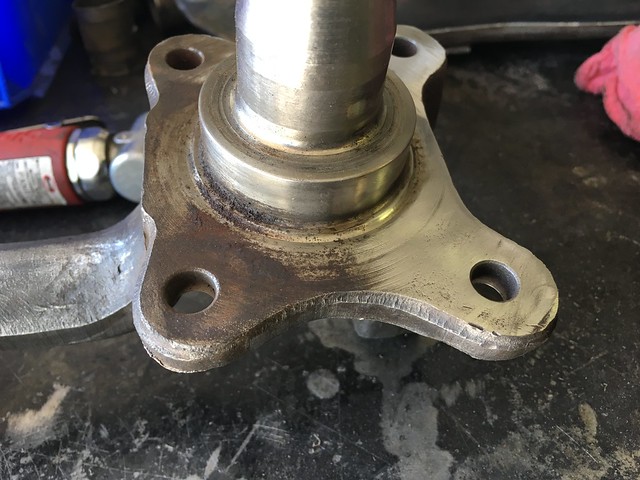
Lower front arms and a bit of tool time
Driver side lower front arm has a bit of a refurb and is ready to go on. A bit more than I anticipated but done none the less.
I love tools. Even the kids the work for me. I absolutely don’t need some of the high end stuff I get but I like to use good tools and I more or less collect them. Things I use that may not be available anywhere but the tool truck. You certainly don’t need tool truck tools to work on your classic Mustang (or pretty much any classic). Way back when I did an engine swap in the first car I owned a 69 Datsun 521 truck with a basic set of Craftsman hand tools and a rented engine hoist. A good set of combination wrenches, pliers, screwdrivers and sockets will get most things done along with a hammer or two and a voltmeter.
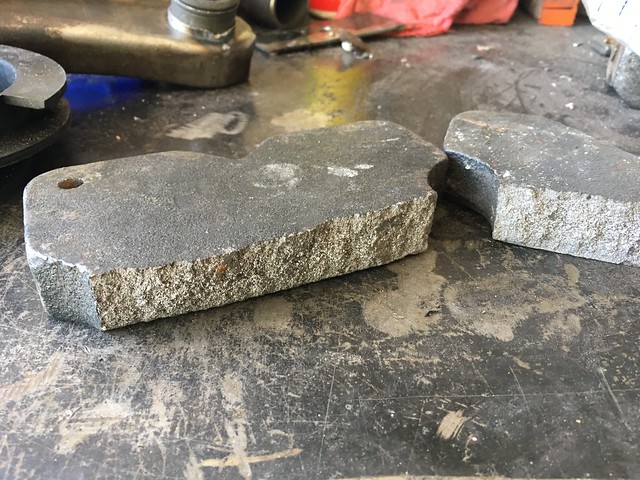
These days a set of Harbor Freight or Kobalt tools and you’re good to go. HF has come a long way since I first visited the Tacoma store nearly 20 years ago. There are still some things that aren’t so good at HF. Here are a couple.
The presses are a good value. The press plates are junk and potentially dangerous. There are many stories around the web about them breaking. Here’s mine.
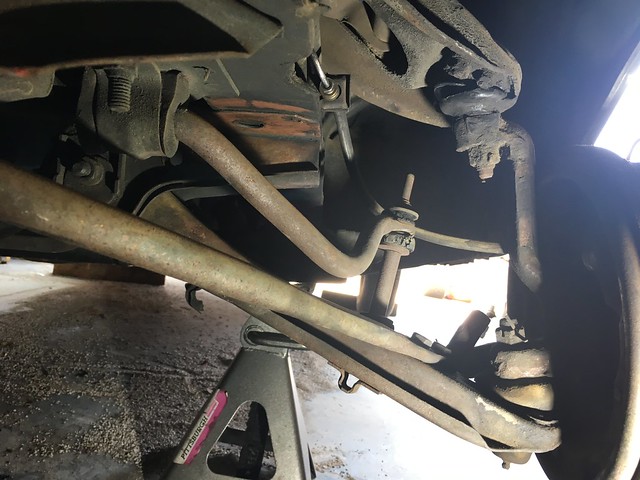
The Suspens(ion) is killing me
As the onion of the suspension keeps getting pealed back a usual amount of unexpected issues crop up. I’d hoped a long day, 10-11 hours would get it all sorted. Seized parts, as expected in a car this age and stubborn disassemblies add to the time.
Let’s have a look-see and what’s on deck…
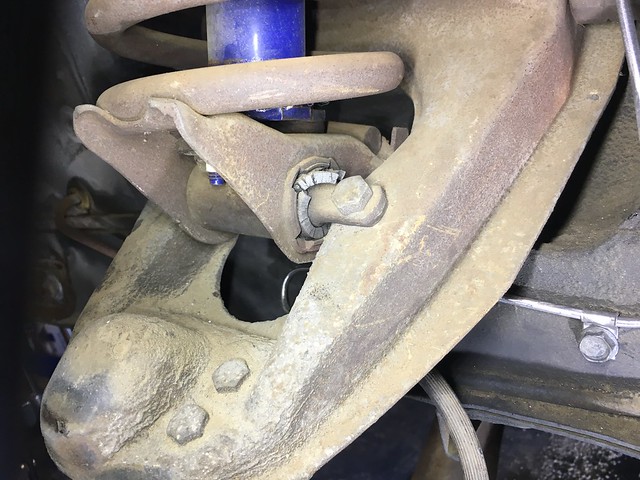
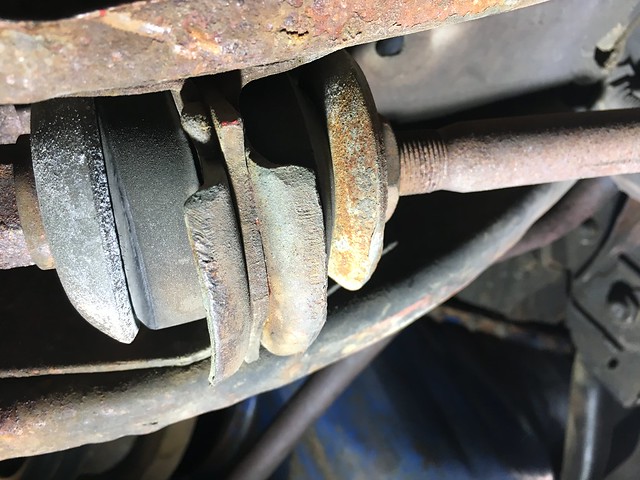
Cooling licked. Mostly
Been a serious last couple of days. I got the cooling issue mostly sorted. Runs cool but still has a stall issue. The stall issue I can trace to sudden accelerations and sudden stops when hot. If I just mosey around it’s fine. I put another 20 miles or so on it. Still a death trap over 40-45 mph. At 60 it goes batshit crazy on the front end. I’ve found the reason(s) but this post is about finishing the cooling system.
I’ve got a VDO gauge and sender on the way from Summit. I’m half temped to put it in place of the stock gauge in the dash. In the meantime I’ll tag the sensor into the heater hose outlet on the manifold. The fitting is pretty hammered now so for the time being I’ll drill out the top, tap it with 1/8″-27 NPT (just got a smokin’ deal on an almost new top quality SAE tap and die set) wire it up and let ‘er rip. For now I’ll cowboy the wiring and basically put the gauge on the hump above the shifter lever. I’ll sort out mounting later but I need to know exactly how hot it’s getting and what kind of rise it has. When I was racing this was the kind of thing we logged every session. Except when I ran in the Nascar Whelan All American series where no data of any kind was allowed, even on practice days. I’d come from more than a decade of logging at that point. I turned up at one of my first official practice days with an AIM EVO with 7 or 8 channels and at pre tech was told to go home for the day and remove it for when I turned up for the race the next day.
Here’s the fitting that will be modded, it’s been cleaned up since that pic (pre cooling system revamp) but it’s going to need a new one. In the end I’ll either assemble something from parts at Pegasus or get another of these and mod that. You resto mod guys could find a lot of good plumbing bits at Pegasus. They are a go-to for many racers for race plumbing and wiring.
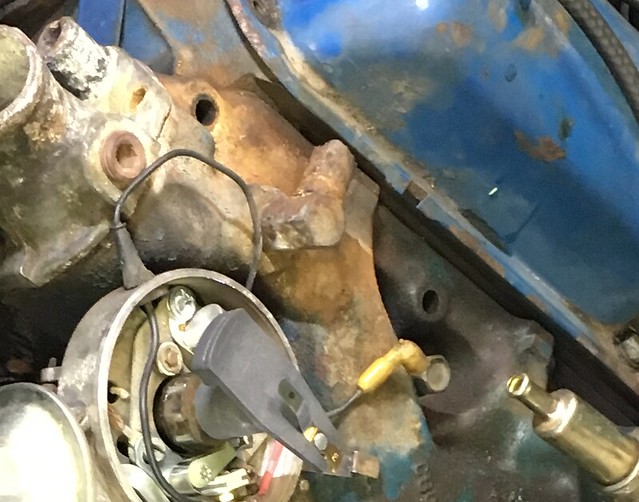
With the cooling system revamped, a test drive and new thermal images shot it looks like I’ve got most of it solved. Except for the stall problem. Looking around for tips I ran into what could be the issue in the FSM. The dashpot isn’t really working. The dashpot acts as sort of an automatic door closer for the throttle. Just as a door closer makes sure the door doesn’t slam shut, the dashpot makes sure the throttle doesn’t slam shut causing a stall. That’s new to me. Running carbs in circle track or shifter karts we didn’t use them.
This one is hammered. It doesn’t even pretend to dampen the throttle closing.
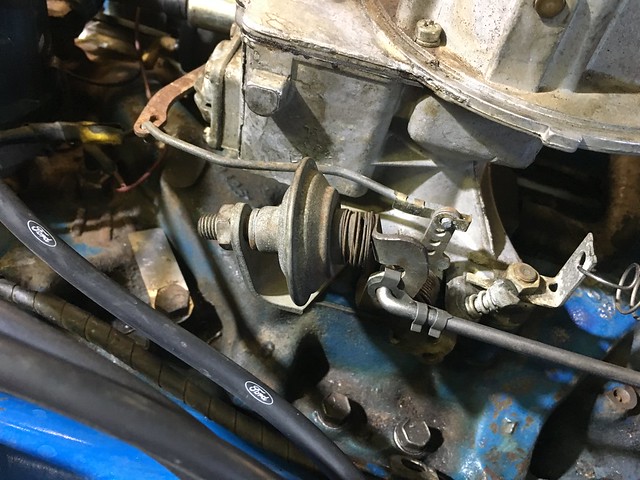
I did need to adjust the idle speed screw and the mixture screws and that helped with running in hot conditions. The acceleration/stop test will stall the car every time once it’s warmed up. I’ll get a new dashpot and take it from there.
The final tests are to check the timing and vacuum. The timing is pretty easy. It’s a bit more advanced than it was when I checked it the first time I fired the engine. Or I got the reading wrong. I went to adjust it and the distributor didn’t easily turn so I left it to another time.
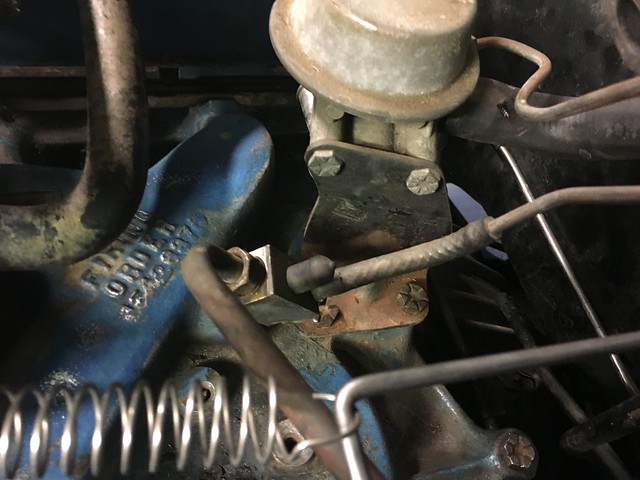
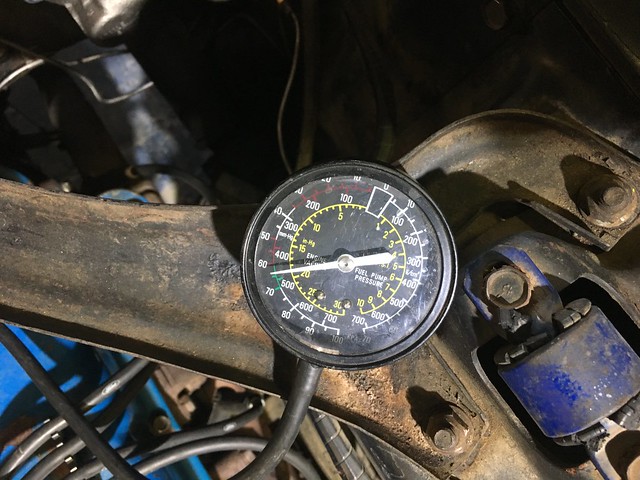
A vacuum test is easy. This is another one of those times when the Harbor Freight test tool is a go-to. I tag the tester right to manifold vacuum connection. It’s the nub that’s covered by the cap. The other two go to the smog system and transmission modulator.
The reading is in the ballpark. I couldn’t find it in the FSM but searching VMF Woodchuck had posted the specs. It’s about mid window at 19″ but it’s steady.
It seems a bit more tuning and getting a proper temp reading is going to be the key to reliability running when it’s 105-110 outside right now.
