
When fuel is left in a non running vehicle (particularly for years at a time) it can do some damage. Even though the carb was rebuilt shortly before it was parked time and chemistry took its toll. And I’m sure reviving it from a temperate climate to a high heat, almost no humidity climate did it no favors. I was hoping to get a few hundred miles on with the suspension, brakes and cooling before diving back into the fuel system. No such luck. It’s toast. The more it was running the worse it got. By the time I got it all opened and inspected on Thurs it was too late to order something to be here by Sat. I’ve got a kit from Mike’s Carburetor Parts on the way.
It was apparent the dashpot was shot. That was already in the plan, waiting on parts (which arrived Friday), to help with the sudden deceleration/ throttle slam issue.
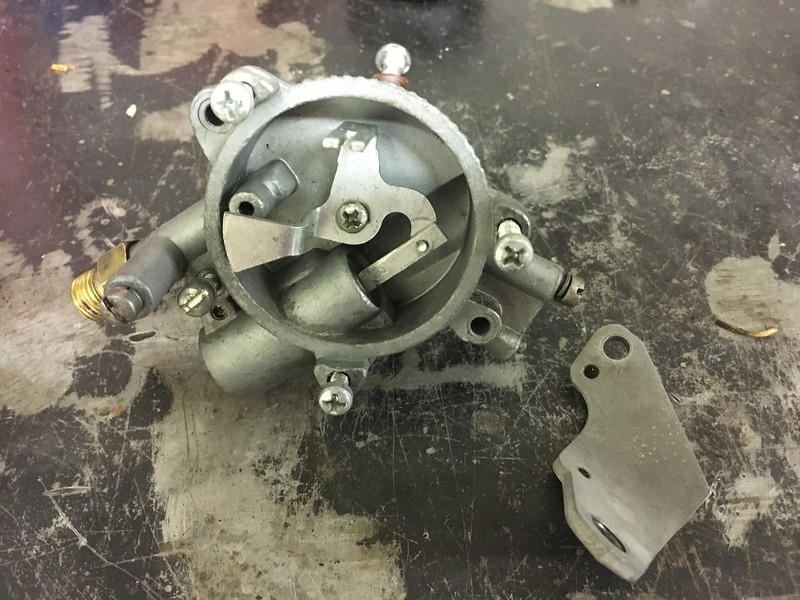
On a closer inspection the weep hole and cam slot in the accelerator pump cover was leaking as were the gaskets on the choke side of the airhorn. (the gasket on the left on top of the carb spacer)

The float bowl contained specs of coagulated fuel and rust.
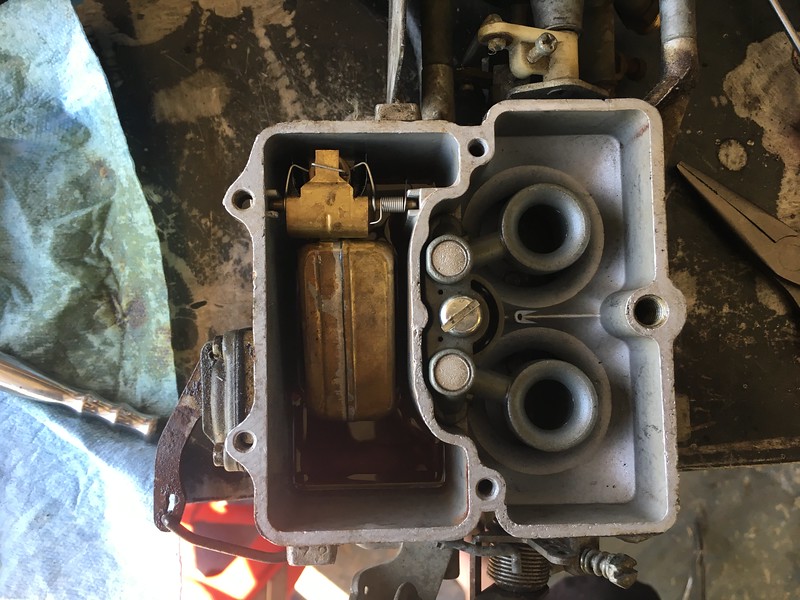
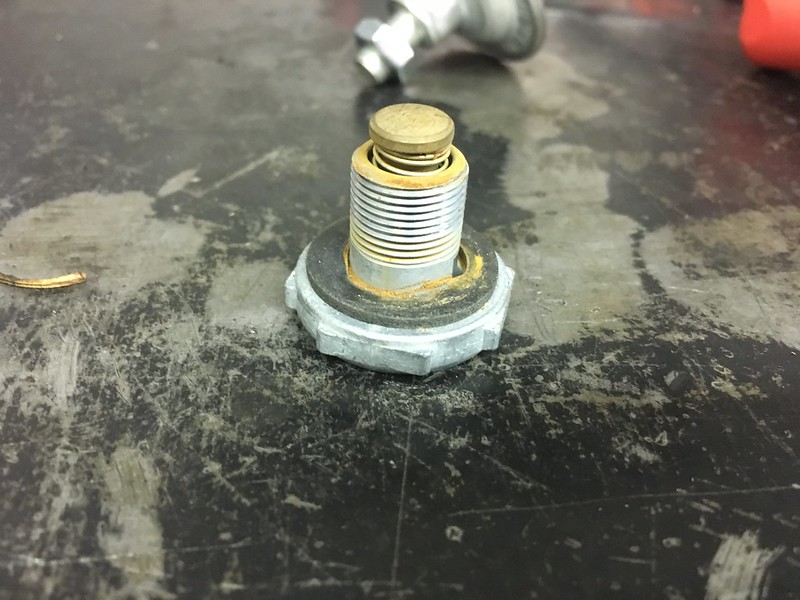
The accelerator pump was roasted. A bit more than a decade of not running with a fuel load took its toll. When that diaphragm breaks or stresses that’s how the fuel gets to the cam/weep hole side of the accelerator pump cover. The pump diaphragm had solidified in that position. There was almost no compliance. That explains why the flooding and stalling kept getting worse. Or one reason anyway.
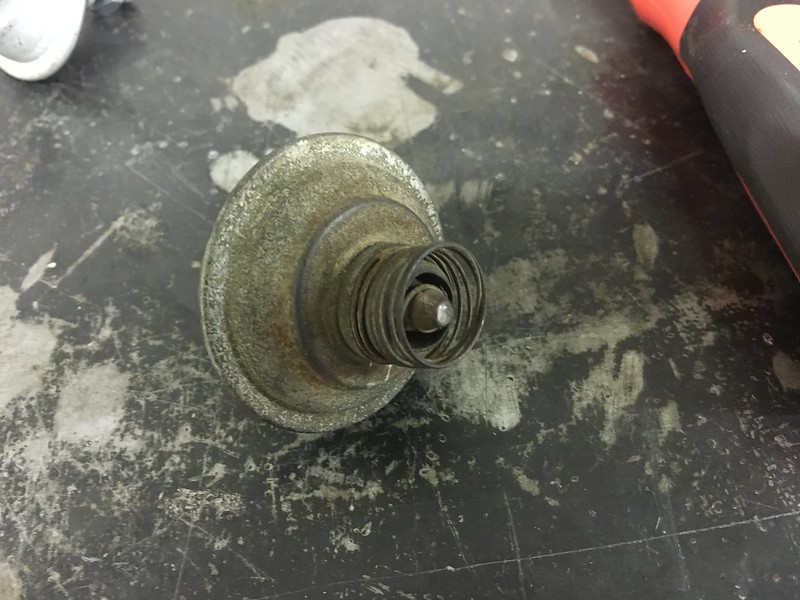
The rust on the power valve was much like the rust on the other parts in the carb. Again, little to no compliance on the spring. Were I a betting man I’d hazard the rust from the water left in the ethanol in the gas finally evaporated.
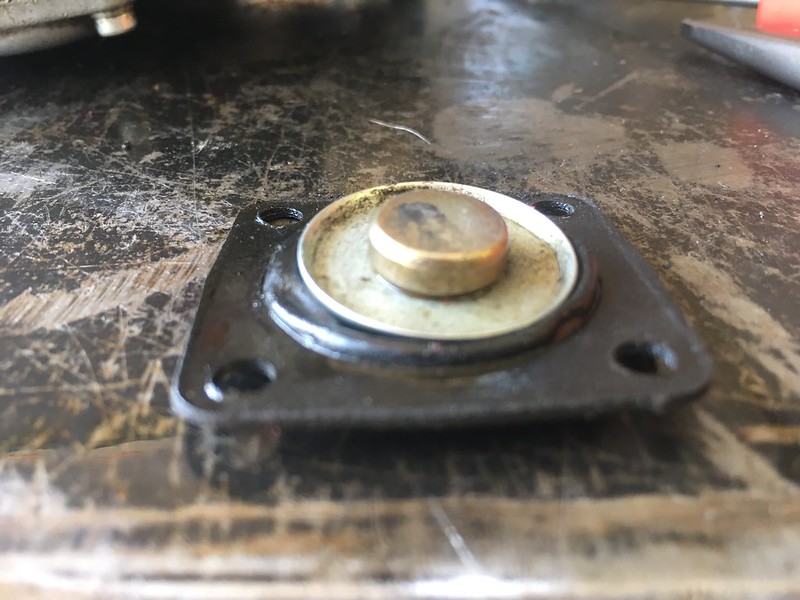
The choke cam and piston was sticking pretty badly prior to repair. A bit of soak in some Berryman and it freed right up. This is post Berryman. That stuff rules. Just like Sea Foam.
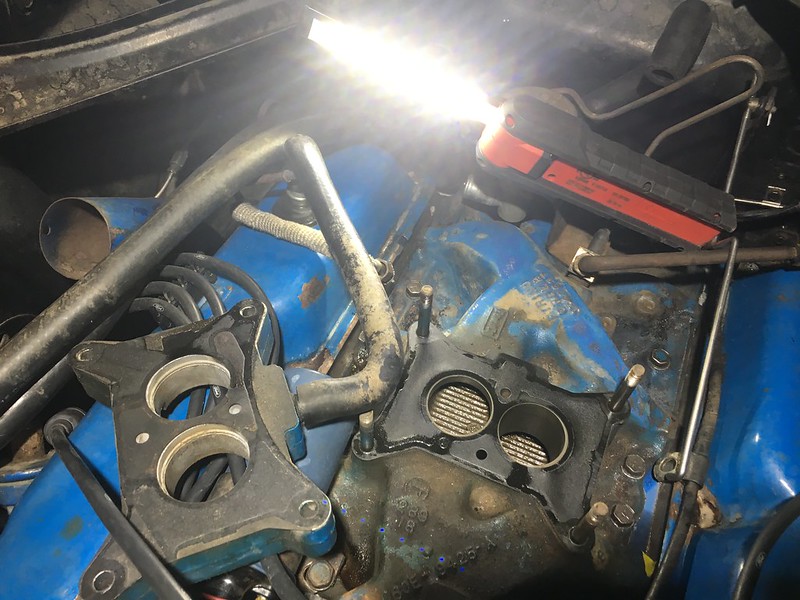
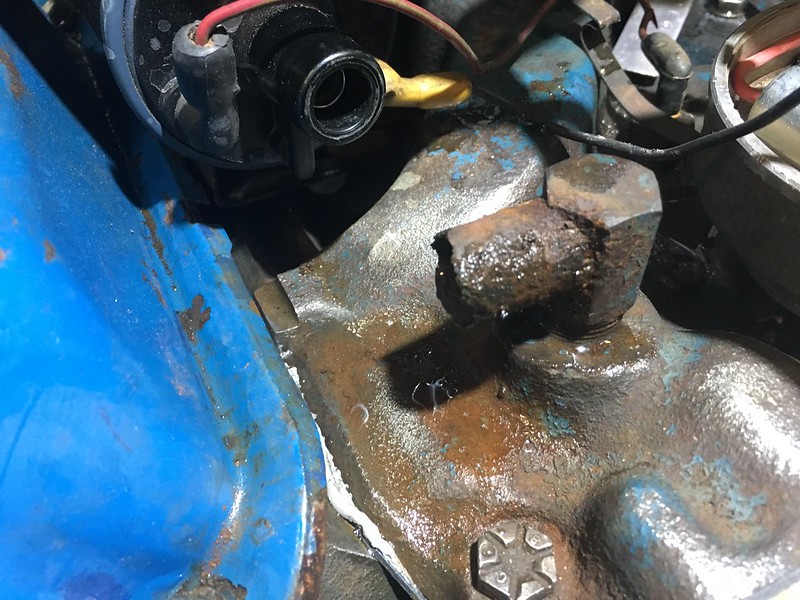
With the carb cleaning well in hand and the airhorn soaking in Berryman (and boy does it need it) we’ll move to the replacement of the heater return outlet hose fitting into the manifold. Which took place prior to me removing and cleaning the carb. (EDIT: I had the hose orientation backward, it’s from manifold to pump)
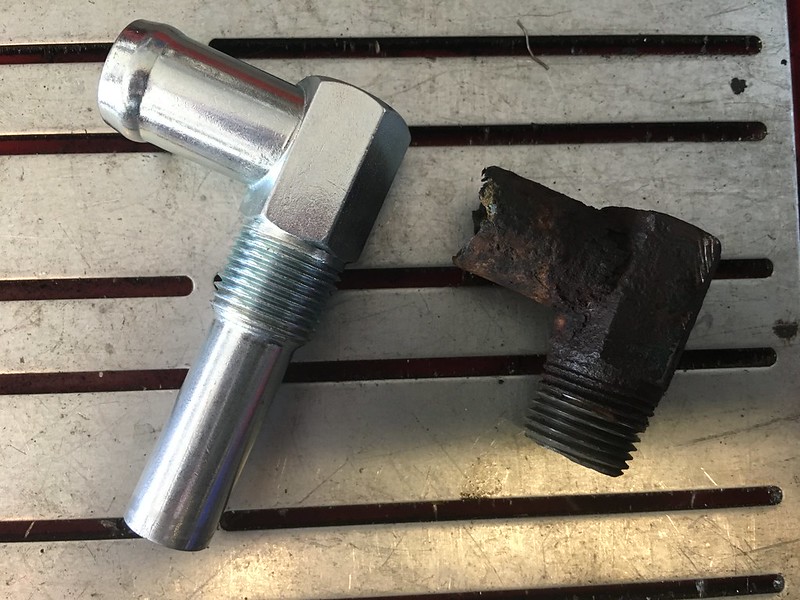
The old one is roasted. It appears to be the original, still has traces of Ford Corporate Blue under all the rust and gunk.
Here’s the new guy. It’s from CJ and says it’s the right number but it’s got the tube that flows draws further down into the manifold. That may be something that was addressed on a subsequent tech note or engineering revision but I haven’t researched it. Mannel would be the place to look for that kind of thing. (EDIT: not finding it in Mannel) It would make sense to drop it in below where the coolant was flowing toward the thermostat mount/outlet. Introducing that much turbulence into the stream couldn’t have been a good thing. We can tell by the thermal images that this engine at least is significantly hotter in that area.
The new one is the one on the left…
As petrified as the original fitting was I was concerned about snapping it off when removing it. After several douses of PB Blaster over a couple of days prior to when I was planning to remove it still no luck. Usually on something like this step two would be to use a heat wrench. That is heat the part until I can break it free. The heat wrench is the cousin to the flame hammer. Except that with the flame hammer there is no question the part is coming off. Damage be damned. Some call the heat wrench a MAPP gas or butane torch as they also would call a flame hammer a plasma cutter or oxy-fuel torch.
That part is in sort of a delicate place for a heat wrench. First, there is still fuel in the car (remember at the time the carb was still attached) and it’s pretty close to the distributor. The distributor would be a pain in the ass to remove right now since I don’t need to do that for any reason other than to heat the fitting. I could use welding blankets but that’s not going to help if I catch gas on fire. Since I’m working on an over heating issue, what better way to heat the part than drive the car 5-10 miles. It was like butter. Except for the part where I removed the heater hose too early and depressurized the system into my left hand glove. Fortunately the gloves saved me from the worst of it though the knuckle of one finger got a pretty good burn.
I was hoping to get the sender for the new water temp gauge installed in the top of the heater hose return outlet fitting. I made a test part with the old fitting to see about the clearance in the fitting. Way too tight. It almost blocks the fitting. It’ll be over to the Pegasus site to see what kind of 1/2″ NPT adapters I can fit together to get that sender installed. Worse case I’ll use the stock location and disable the stock gauge, at least for a while.