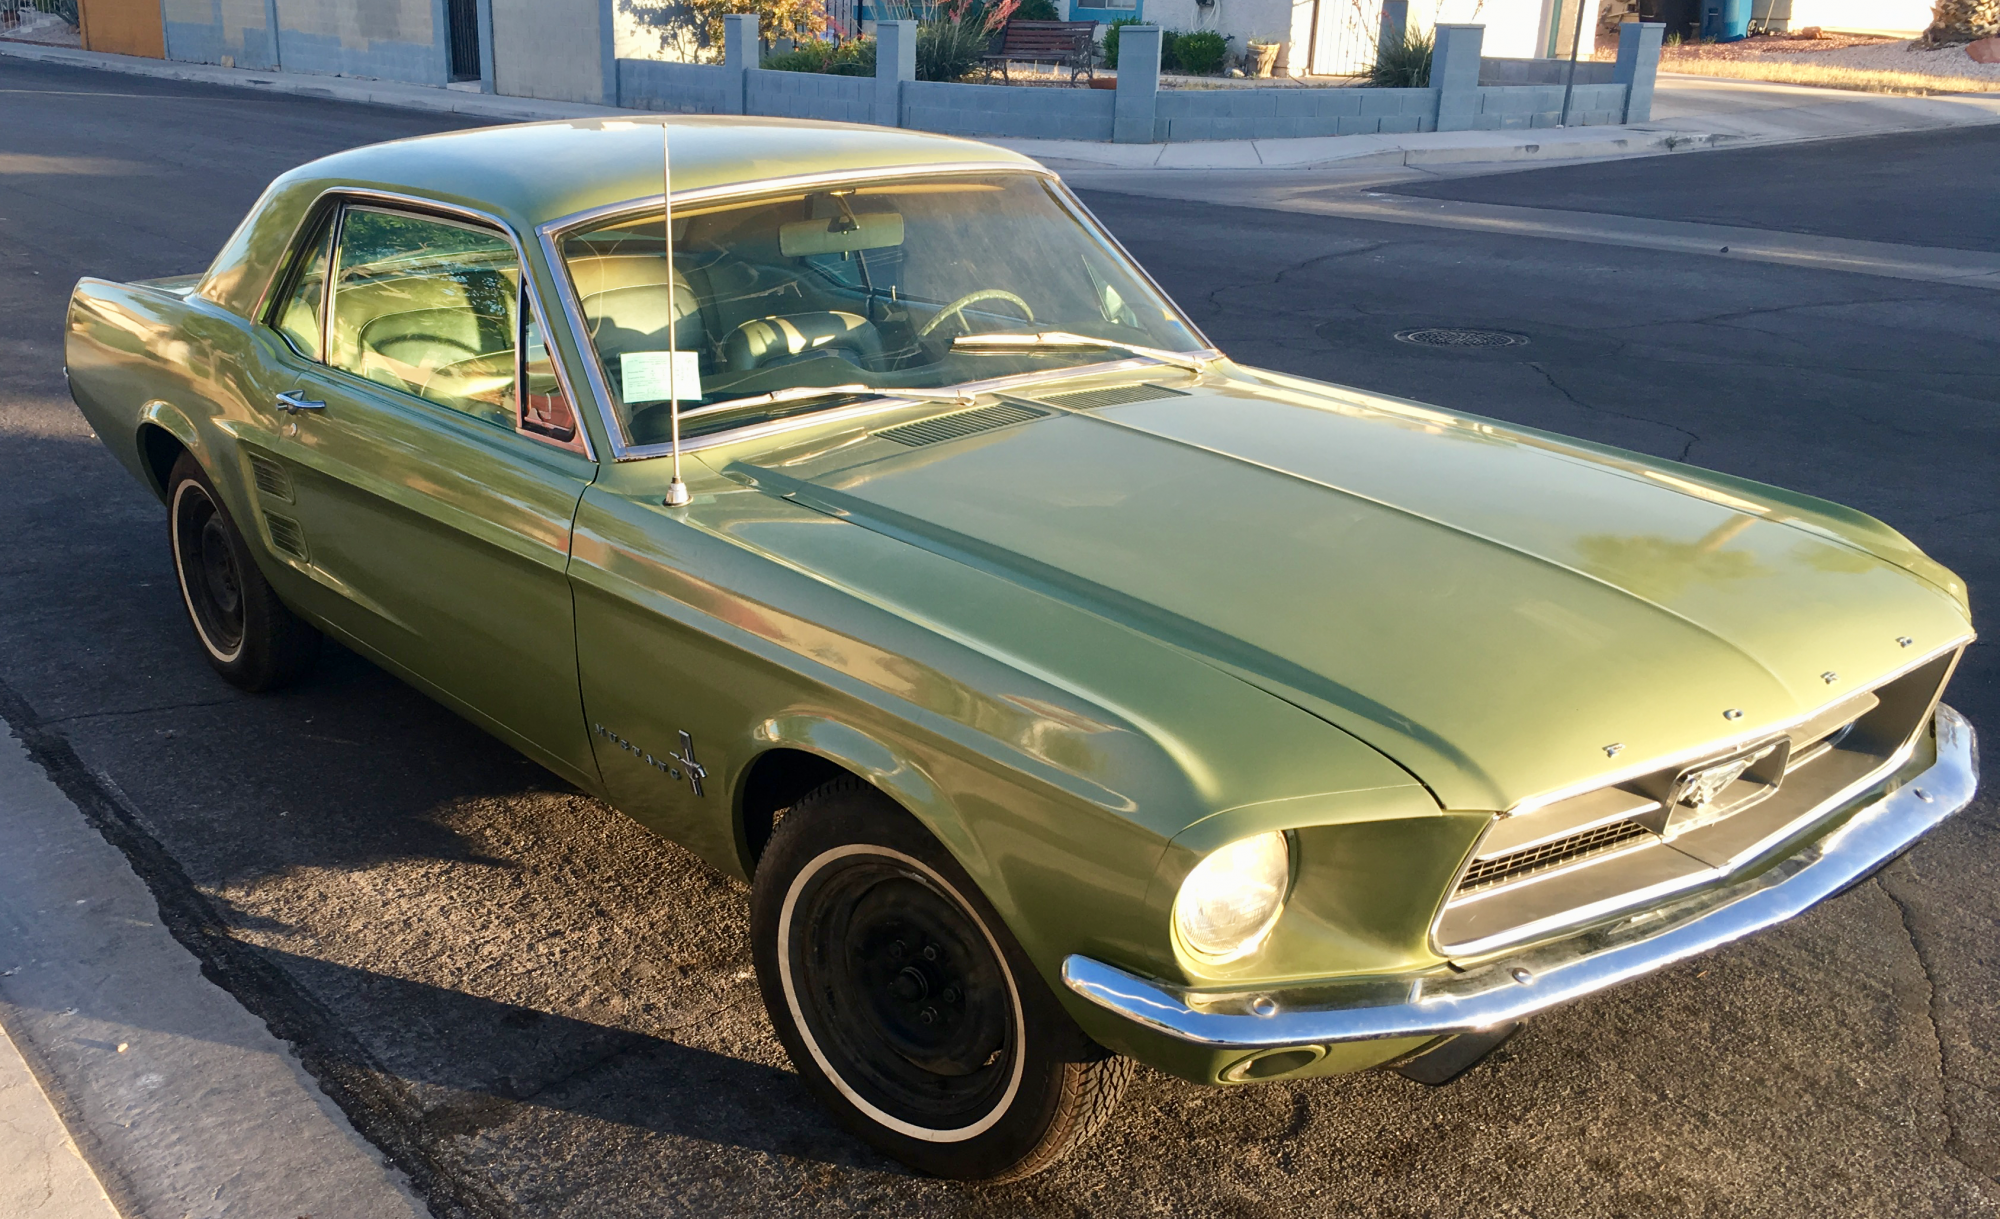
After putting some miles on and getting used to having a second car around the house we were looking to start a quickie refresh of the interior. Five or six years ago when we started the small batch manufacturing business we decided we really didn’t need two cars. It worked well for us to be a one car family. And we certainly didn’t want another car payment at the time. Now that the Focus is paid off we don’t want another.
The original plan was to finish the desert toy, a street legal class 7100 off road race truck and use that as a kick around car and desert toy. About mid way through that build Dad decided he wanted to pass the Mustang on to me as they downsized and moved back to civilization. The Ranger was sidelined to focus on the Mustang. It was meant to be easy to get back on the road. Which it was easy to get started and able to drive it. But not for long distances or being able to steer or stop. So a bit more was needed to get it back on the road. Turned out great.
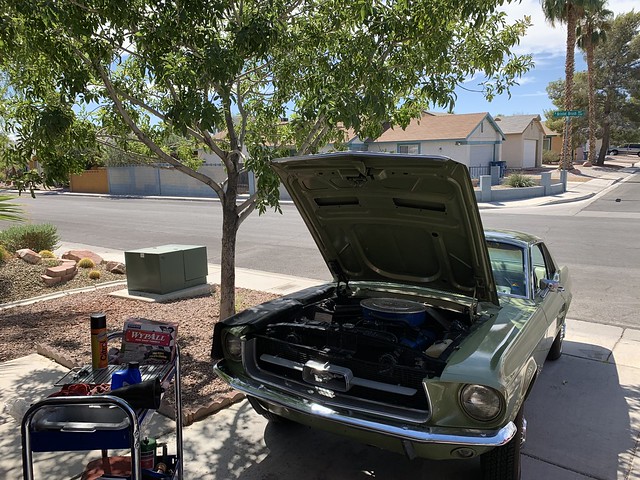
Obligatory shade tree mechanic photo. The tree was a mere Festivus Pole when we moved in 10 years ago. Now it provides actual shade.
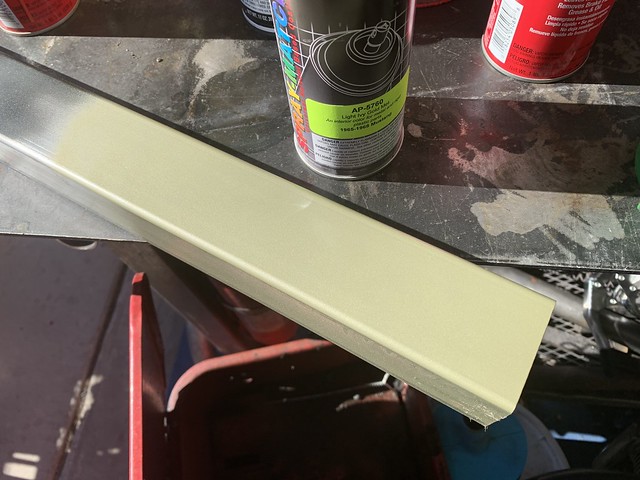
Now time to refresh the interior. Dad had most of the parts. He’d done a refresh in the mid 90s but it was time for another. The headliner is in great shape. The seats are well maintained. It’s going to need door cards and dash trim/bezels. (which he had including the gauge bezel) The dash pad is in fantastic shape. Over a few days we were going to strip the interior, clean the carpet, paint the interior with fresh Ivy Green lacquer from NPD which is a dead nuts ringer for the stock color.
We get it stripped down front carpet removed. At this point the back seat is still in. We’d planned to redo the deadening matting and take a look at the seam sealer. The matting didn’t look bad on the passenger side though it was from the refresh 25 years ago. We took the back seat out and found that not only was most of the batting missing, three of the mice that likely took it were dead under the seat.
Once that was cleaned up the inspection of the original factory deadening in the rear was rotted. I pulled it up for a closer look.
No good will come of this. Those are big, loose, flakey chunks of rust.
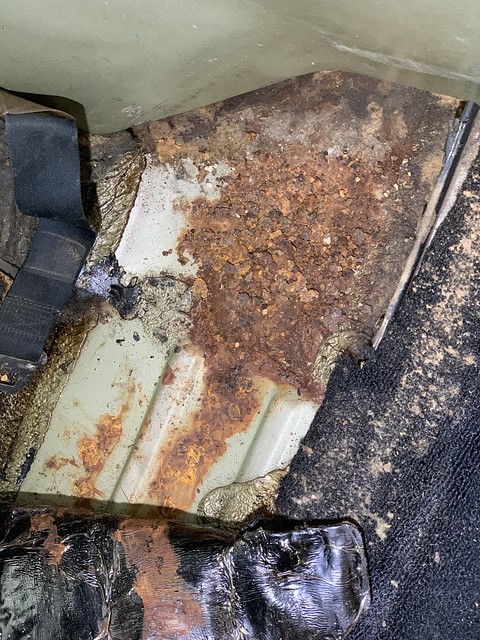
Now that we’ve vacuumed that out the news isn’t getting any better. It’s like when you know you’re heading for the wall and are wondering just how much it’s going to hurt when you hit. Or when you get up the next morning.
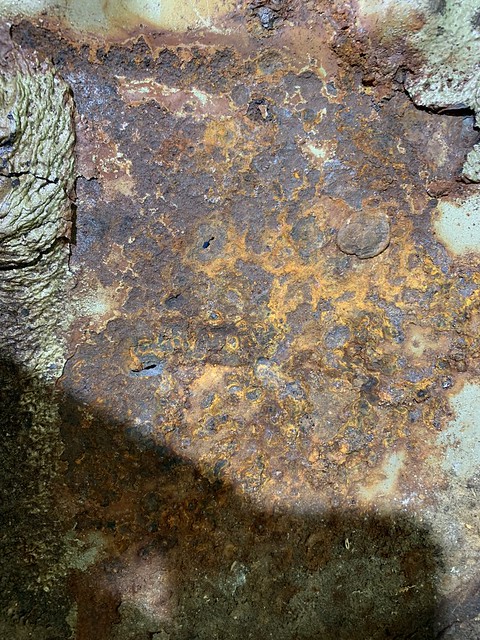
Let’s take a 36 grit flap to it and get it over with. Rip that scab right off.
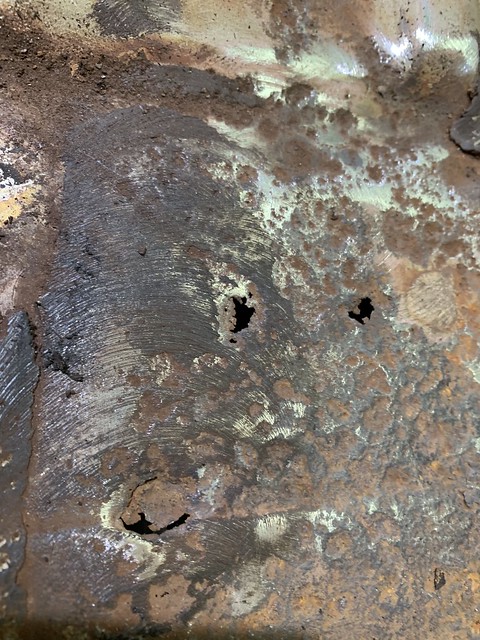
After poking at it even more it’s worse than that. Most of it is over unibody frame rail. That’s a large part of why I couldn’t see it when I checked for rust damage. So let’s cut the worst of it out and see what’s happening in the rail pocket.
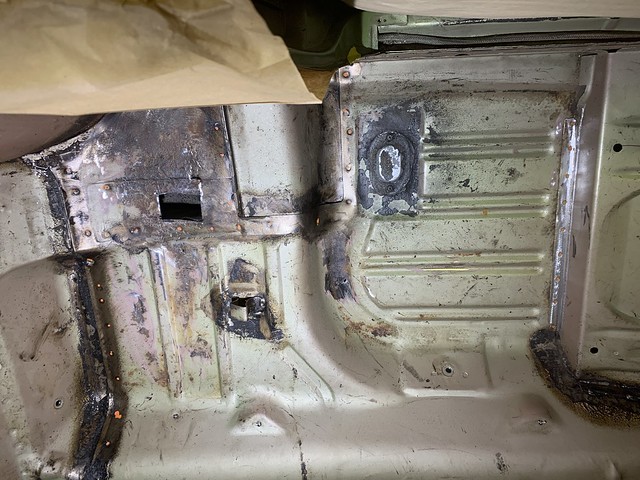
The inside of the rail looks fine. I’ve marked the spot welds I can see at this point. I’m waiting on the panels and weldment and sealer assembly manual before I tear into it. It’s a bit difficult to see in this pic but there are a couple of holes in the rear footwell.
Here is why you always cut and replace more than just in the vicinity of the holes. This is the stock 20 ga panel.
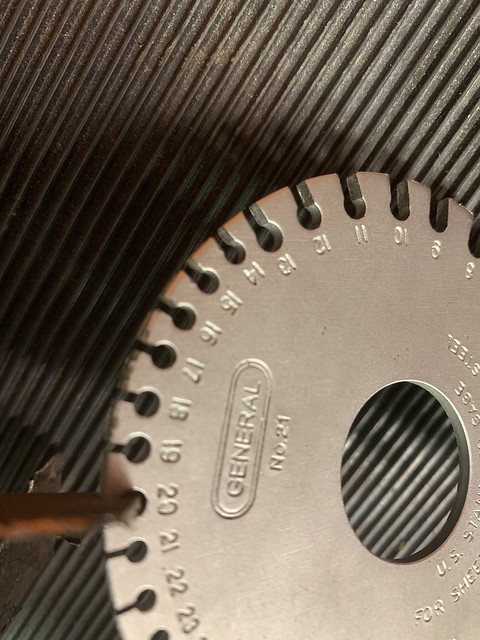
Here’s what it looks like around the rotted parts. It’s a whole four gauges less than what it should be.
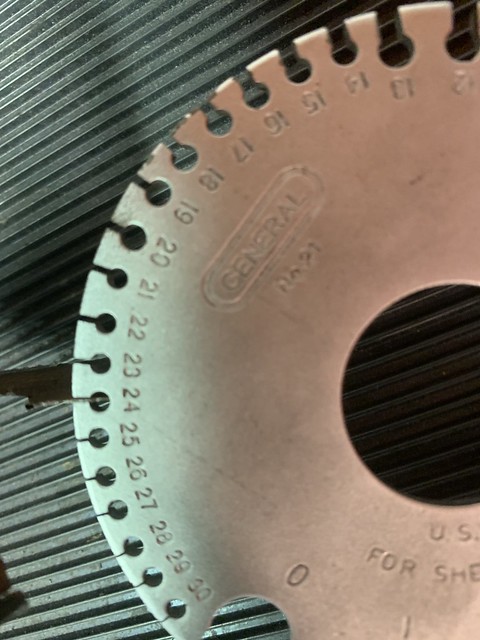
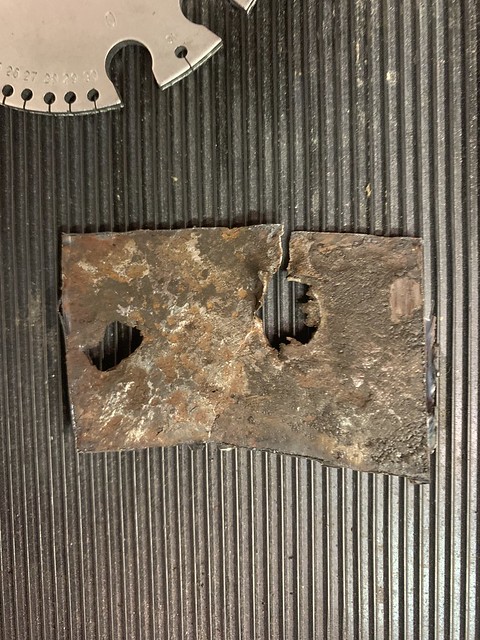
Bad news. I was able to rip that hole by hand just like it was foil.
That will be a task. The cause has been traced to a missing water seal panel for the rear window. You can see how it ran down into the window then out into the cabin under the rear seat and just sat there. It’s probably from snow melt when the car was stored for 11 years.
Right after I found the rot in the back I decided to pull the front deadening out and have a look.
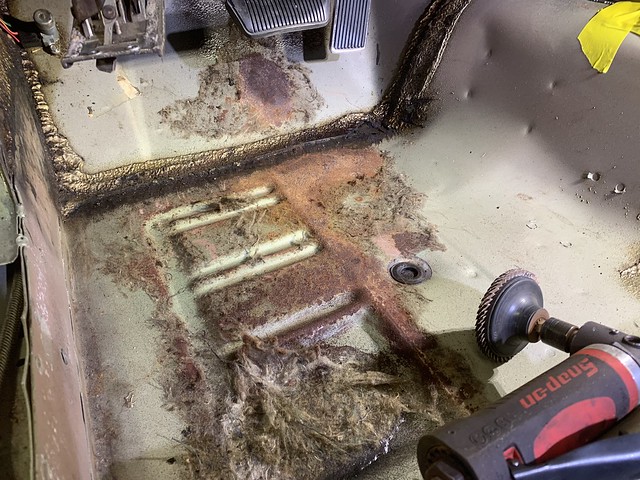
I tested the cowl again. Same as before, no leaks. The other side is fine. This one is more difficult to pinpoint the cause. It looks like a failed seal on the steering column hole. There are some pocks in the floor panel and were I doing a full restoration I’d do the floor on this entire side. I’ve poked at it pretty good with a screwdriver and it’s not failed. If it do decide to do the front I’ll just replace the short panel instead of full front to back. I don’t want to pull an entire side of the floor out with the car assembled. I want to take as few bits out to minimize any twist that could happen.
I still need to get under it and strip to bare metal the areas around where the panels will be replaced. It will be a while before I’m done.
