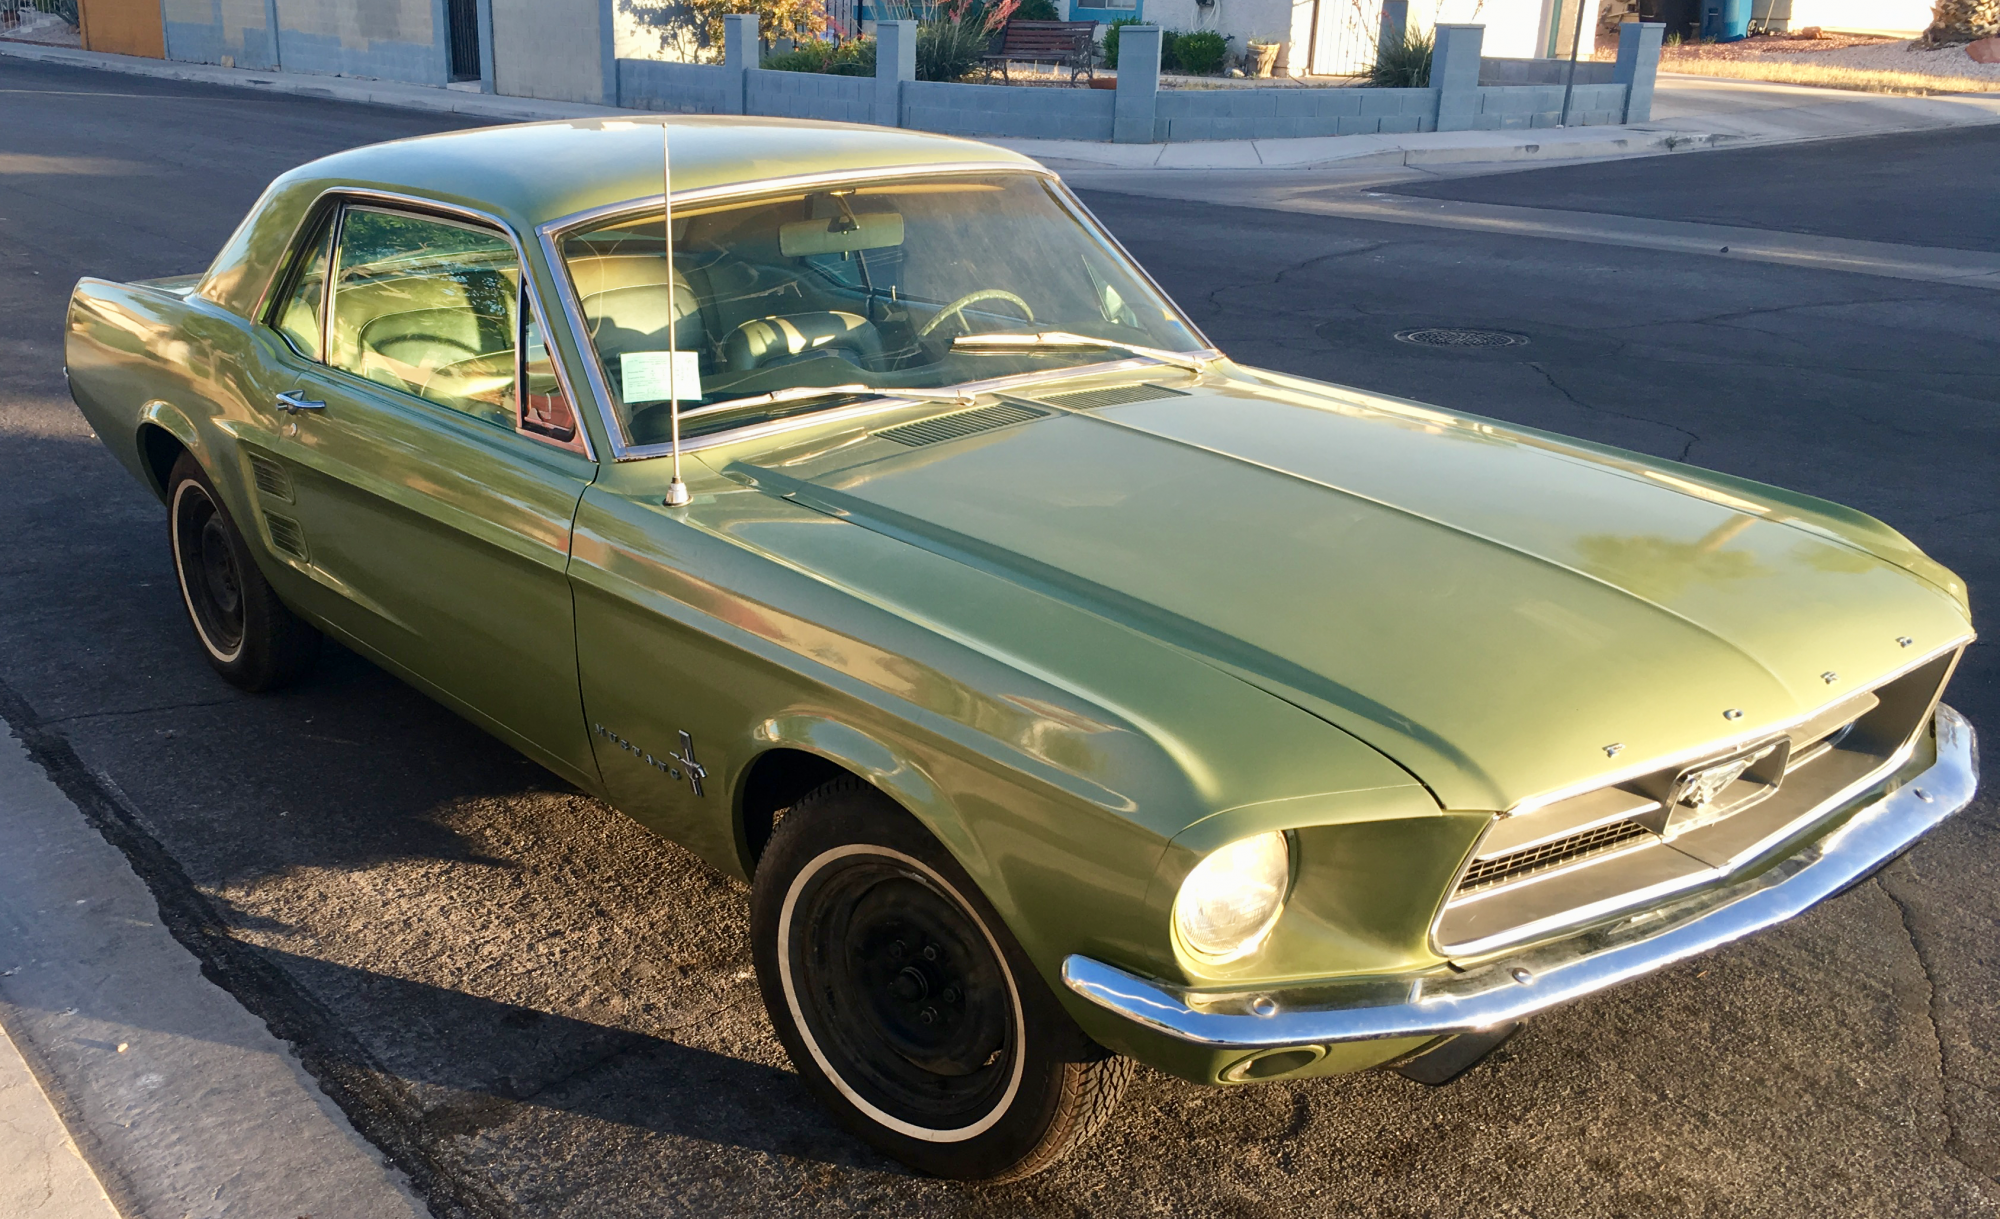
With the holidays over it’s time to start updating on the progress. It’s still been a slog. One thing leads to another leads to another. I am at the point where I’m able to start final assembly on the interior. But first here’s where we’ve been over the last month.
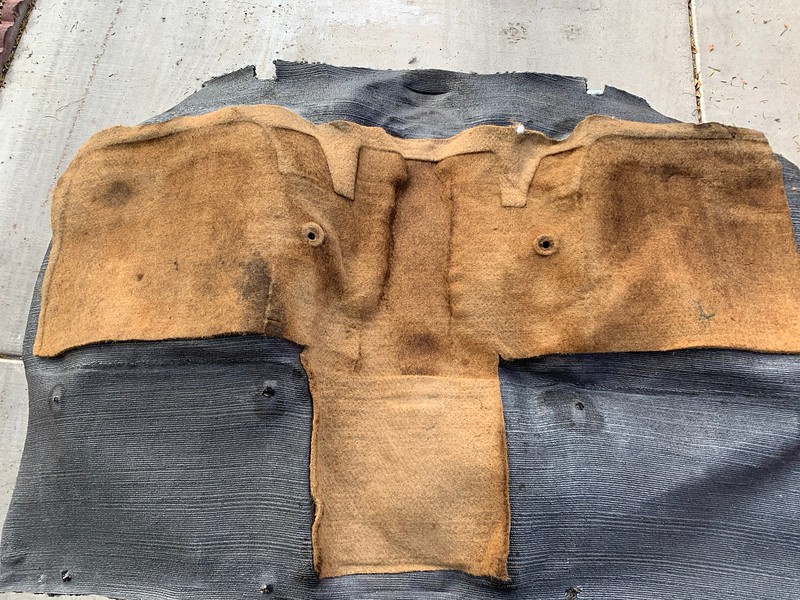
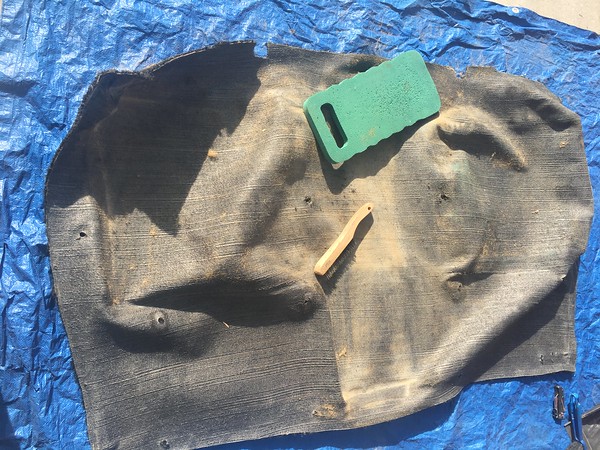
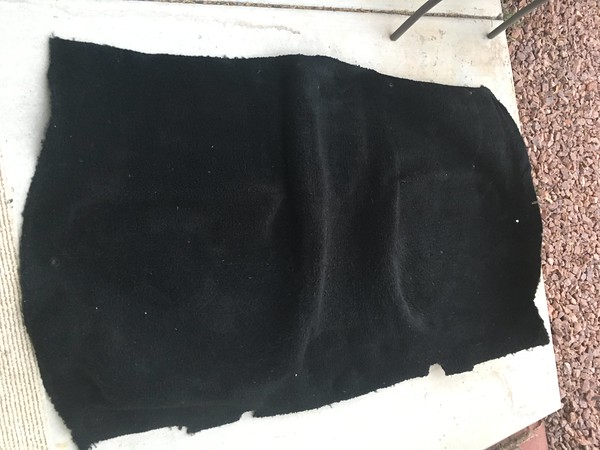
We’re using the carpet that came out of the car. It was installed in the mid 90s when the last refresh happened. It was dirty, the backing was trashed but otherwise it’s not in bad shape. With some jute backing from Mac’s, Tuff Stuff, a Spot Bot with Bissell heavy duty carpet shampoo and a bunch of elbow grease she whipped the carpet back into shape. Here’s the rear section, the front was the same thing.

The carpets and rear quarters have been whipped into shape. I refurbished the rear quarter windows and regulator. It was 50 years of grease and gunk. The rollers needed replacing but the rest of it was in good shape save for the weatherstripping and other rubber. I left the window glass seal in tact but replaced all the other rubber and felt parts as well as the regulator rollers. All the tracks and regulator mechanism were throughly degreased, polished and re-lubricated with white lithium grease. It’s a night and day difference in window action. The single shot doesn’t do it justice. It took a few days to do both sides not counting the chrome, felt and rubber work. The rubber and seal parts were Daniel Carpenter by way of NPD. Outstanding quality on the parts with an excellent fit. To cap off the quarter window refurb I used the paper/rubber quarter water shield from NPD.

I was able to salvage the chrome and on the outside of the trim it’s not too bad for 50 year old chrome. The inside though was pretty pitted. I didn’t want to spend the money on repro parts as my frames were still factory nor did it make sense to have those parts re-plated. My method was as in the previous post using buffing polish and fine grit abrasive pads. I did a comparison on part of one part using steel wool as the initial abrasive to knock down the lumps on the pits.
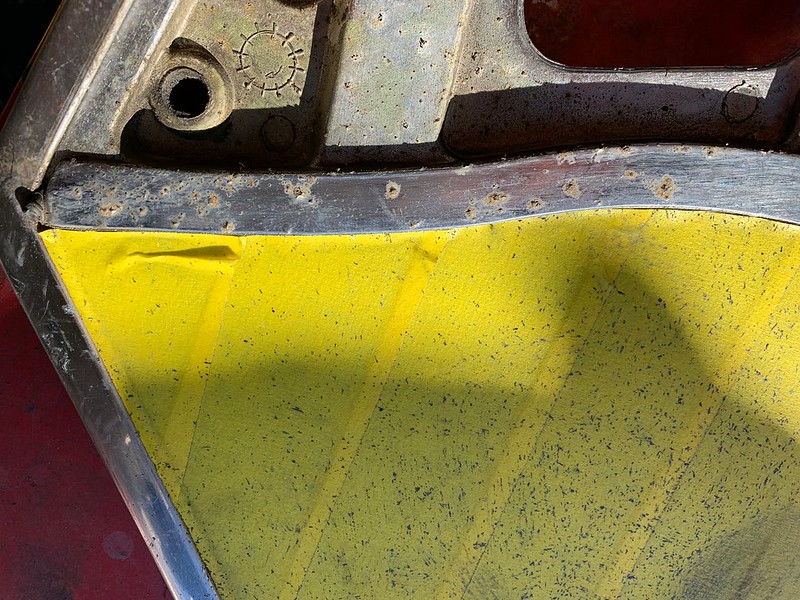
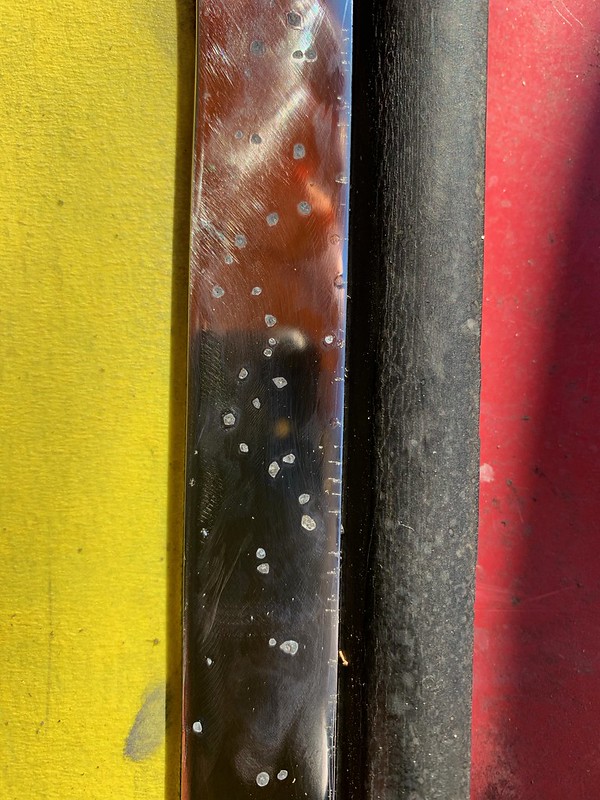
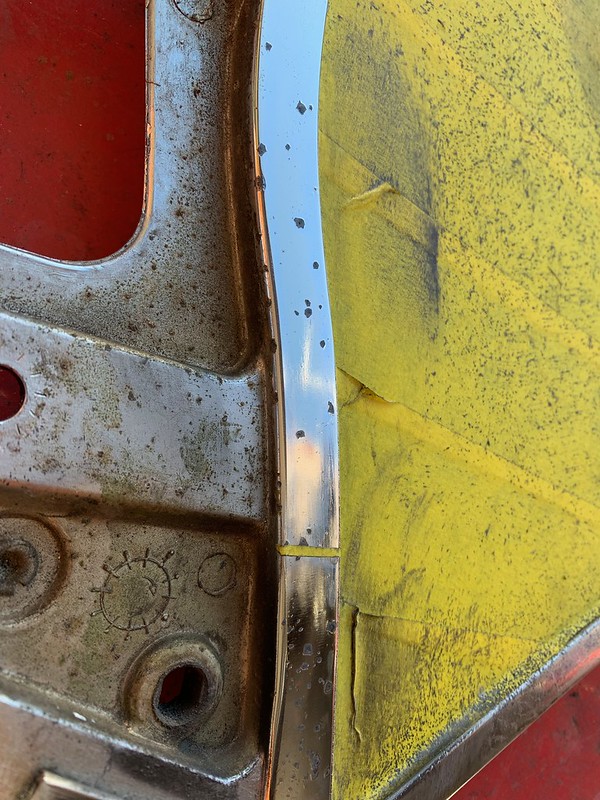
The outside of the frames don’t look anywhere near that pitted and have cleaned up quite a bit better. I still may use chrome paint of some of it but the damage isn’t noticeable except when you’re sitting in the back looking out.


Next up painting the dash and the doors.