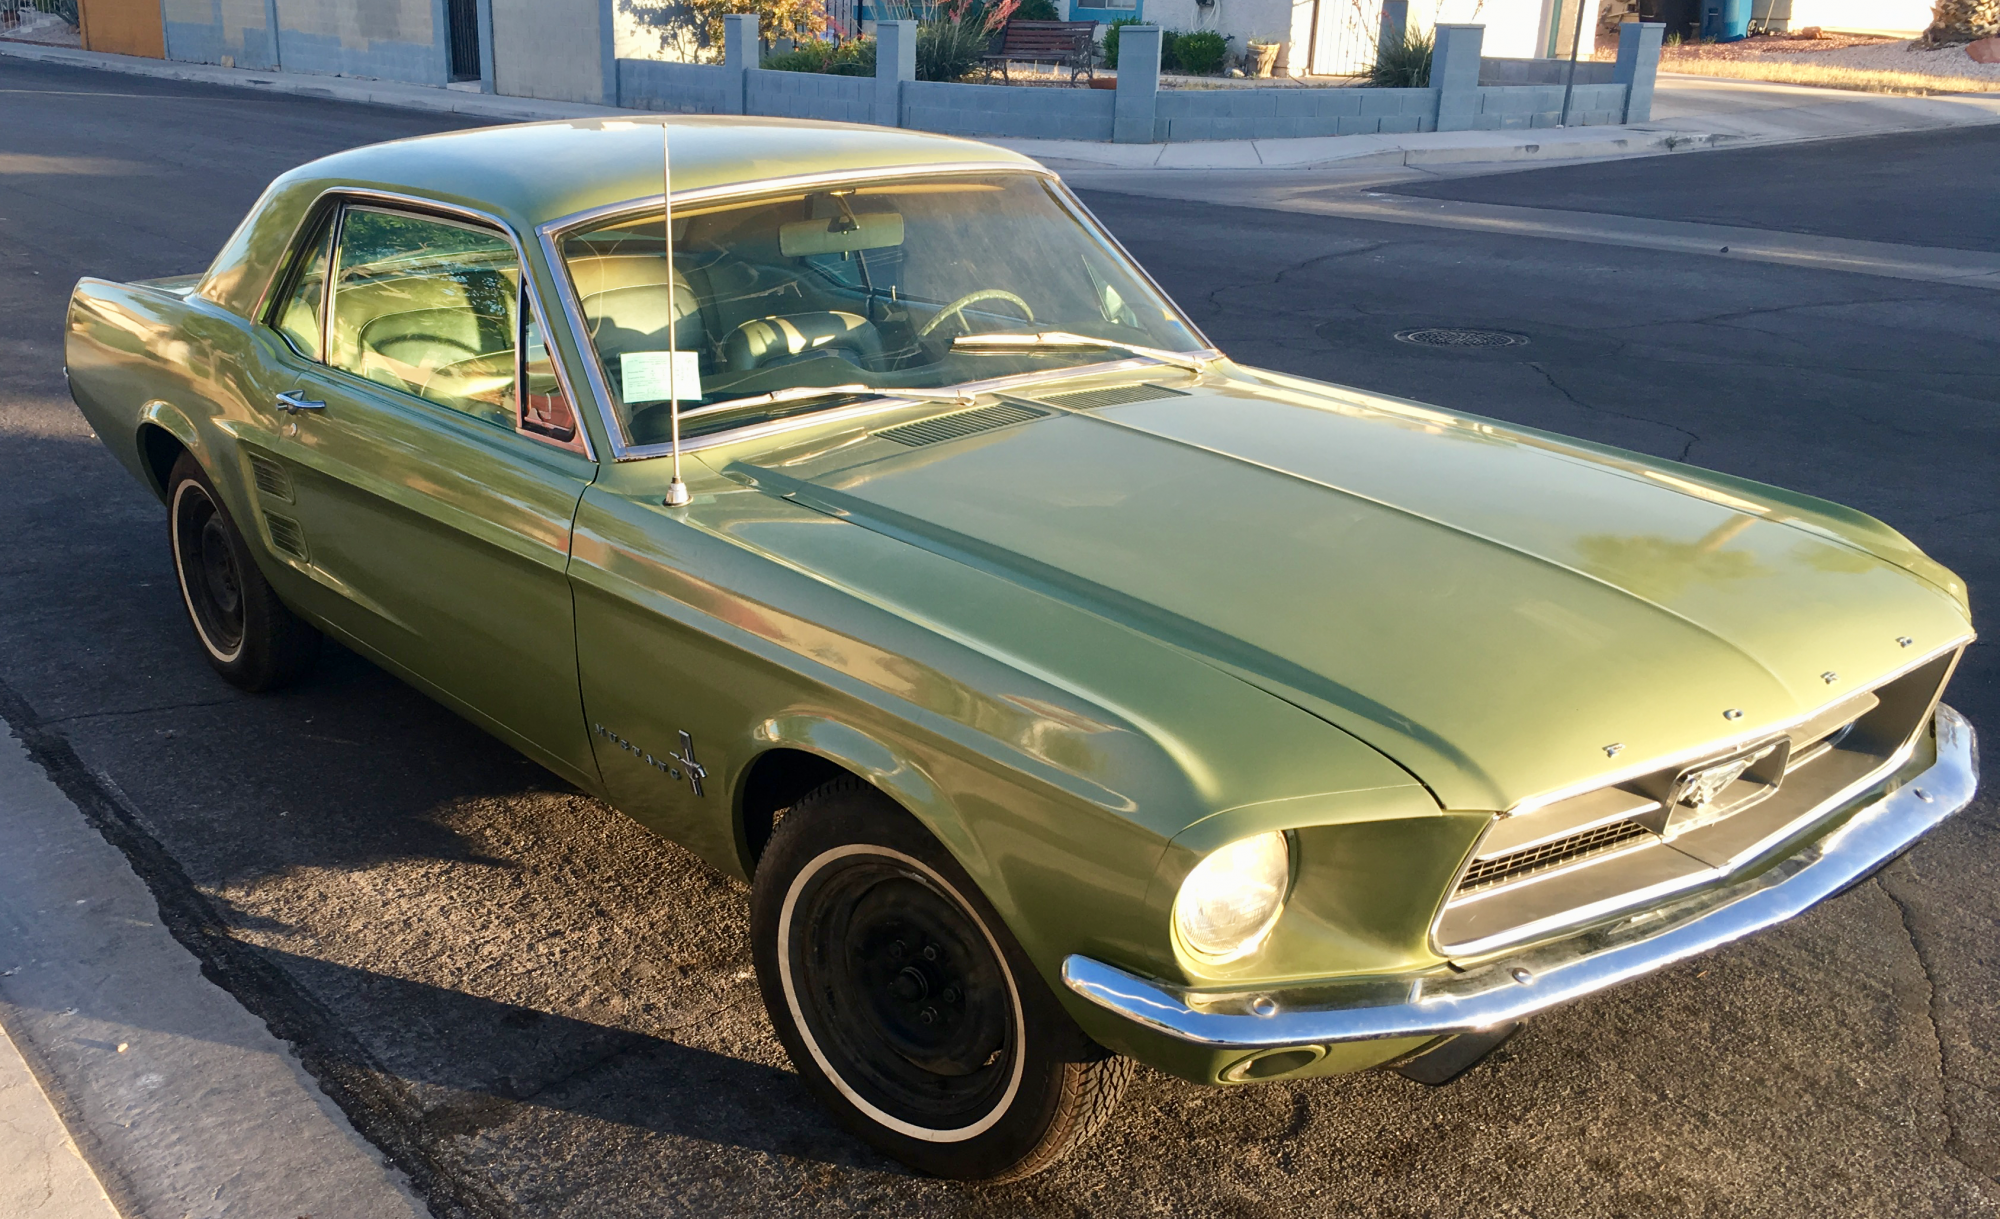
I couldn’t wait to get on the road again…
No updates for a while but plenty of work. And plenty of waiting for parts. Since the last time there has been fuel system rebuild including carb, new pump and tank. The sender was new a couple months ago so with these other parts it’s all fresh and spanky.
The motivation to do it all came from the carb rebuild. When I was testing the carb rebuild the fuel was sort of a Gatorade orange. The treatment I’d done to the original tank was still allowing what was etched into the tank to be pumped into the fuel system. There weren’t big chunks only small sediment and the color. The pressure from the pump tested good. It appeared that was a replacement pump. Still with the sediment and the aged looking pump better to replace now. I got a Delphi at Rock Auto for $15.
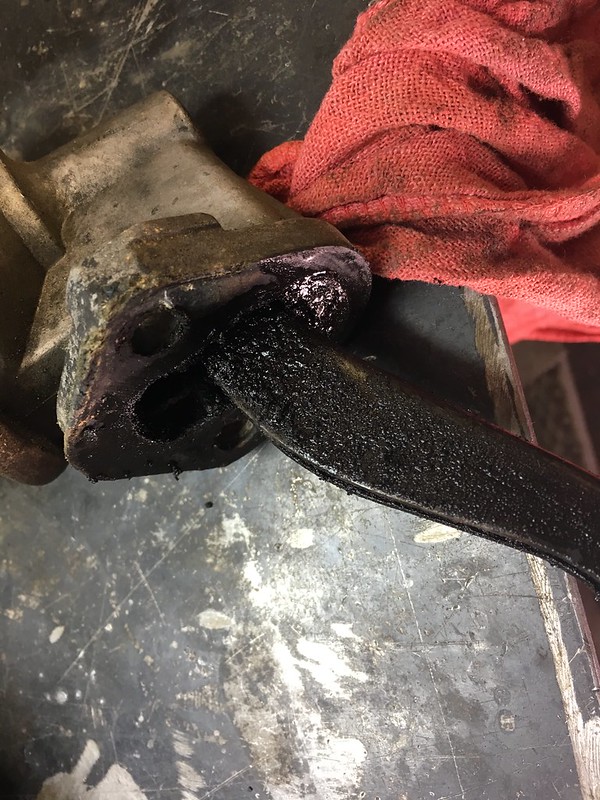
When I pulled it out I’m seeing more evidence of oil sludging. It is a 51 year old engine (the casting code says 51 years 4 months at this point) and I’m told the short block has never been taken down. I should expect some and as in the lifter valley there is more here.
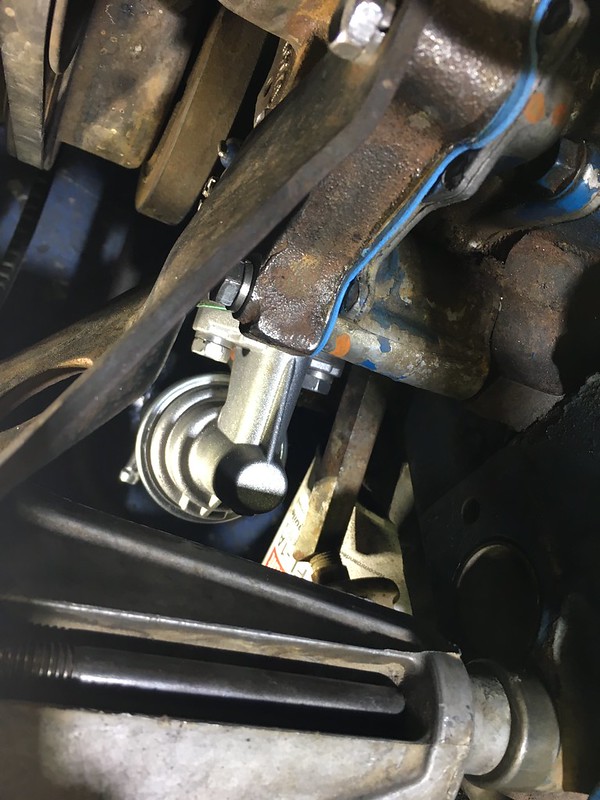
Moving the power steering pump out of the way was the best way to install it. I took it out with a wobble extension on low profile sockets but pulling the steering pump out of the way turned out to be much easier to get the part back in. It’s all shiny and out place compared to the other parts.
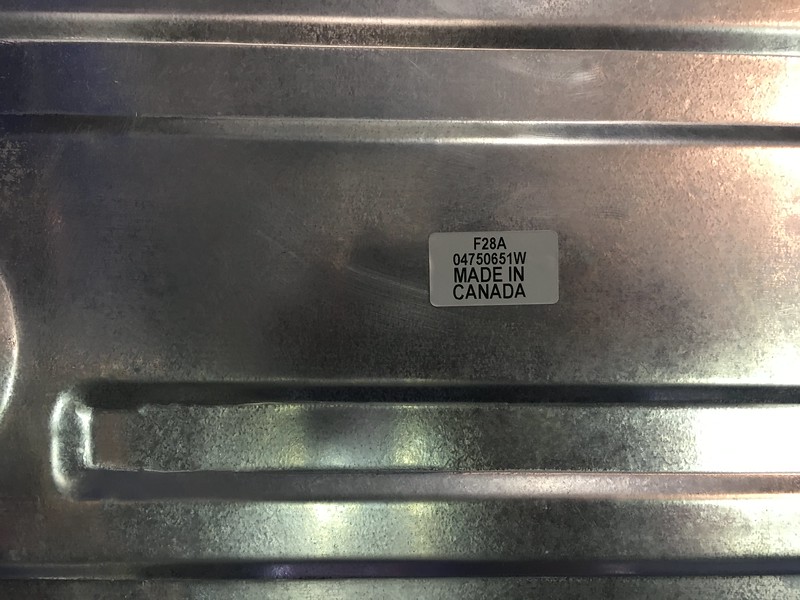
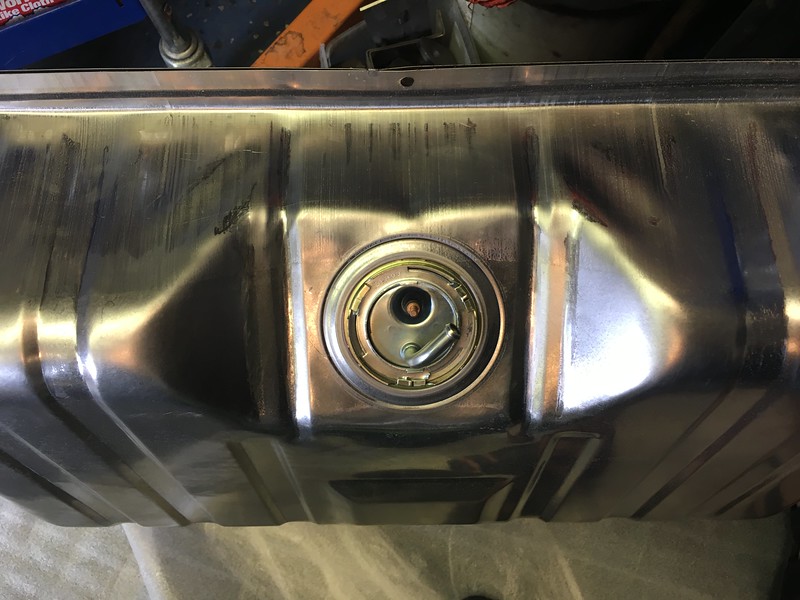
The tank was a Spectra Premium from NPD. I’m impressed with the quality of the part. Imported from Canada, eh, it’s well built from quality material. It’s Ni-terne coated to keep the rust away. A deal at $118.
The carb re-build was completed before the tank and pump arrived. At one point prior to rebuilding the carb I almost pulled the trigger and a complete Holley EFI system. I’ve got the chops and tools to work on carbs and keep them tuned (from the circle track days and shifter kart days) so I figured rather than dropping the dough on that right now I can fix what I’ve got and be on my way.
A rebuild kit from Mike’s Carburetors in Chehalis (near the old country…) and I was in business. It’s a good kit. About $20, ships fast, I had it two days and the parts are quality. I figured I’d test the float before reinstalling it. Good thing to as it could take on air. I tried my hand resoldering it. I got most of it sealed back up but the top near the needle tang didn’t take. As I was sealing it I noticed a rattle. The melted solder from the leaky joints was accumulating in the float. It would still float but I decided it was worth it to get a new one. The choke thermostat was hammered as well so I replaced that too. Another $25 or so and it was good to go. If you remember in the previous post the dashpot was done as well and that set me back about $40 on ebay for a reproduction. Mike has them for about $18 but it’s not an exact reproduction and you have to cut the plunger to length. The fuel filter is from NAPA for about $6 to round it out and I’m $90 or so in parts into the carb. It’s tip top.
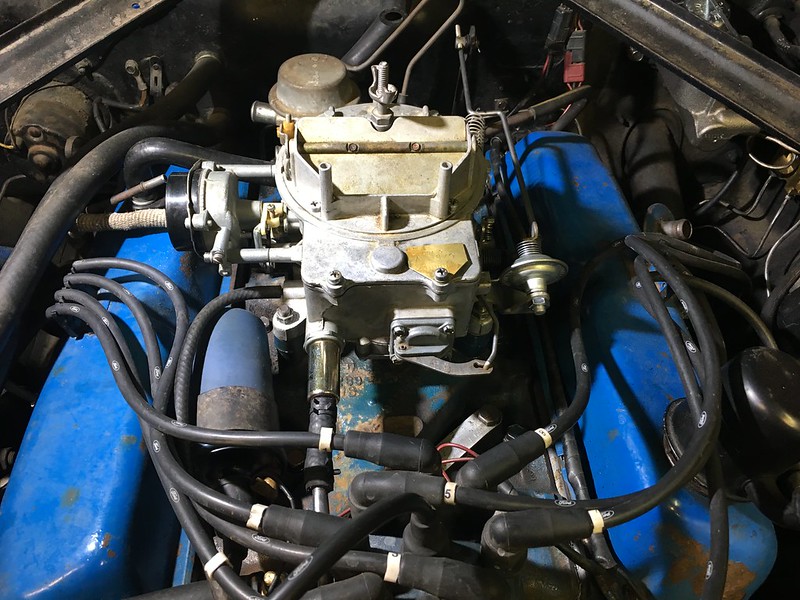
The rebuild process is straight forward. If you are new to carbs the 2100 is a good place to start. It has minimal parts, the adjustment windows are pretty wide and it’s easy to work on. The things that I had to pay attention to were how flat the power valve cover and the accelerator pump cover were. On the first install there was a bit of a leak at the accelerator pump and a pretty significant drip from the power valve cover. The pump cover turned out to be curved a bit from whomever rebuilt the carb last playing He Man Master of the Universe on the screws. I flattened it between the vise jaws, hit both sides with Scotchbrite and we were good to go. It felt like a strong accelerator pump again.
The power valve cover had the same sort of gorilla grip and I did the same thing. I also checked to make sure I had the gasket aligned which it was. It fired up and ran well for a minute or two then flooded and stalled. I checked the gasket again and it was fine. I left the cover off, put the carb on blocks so I could see the underside of the power valve and filled to bowl to see if I could spot where it was leaking. It turns out it was leaking through the diaphragm of the power valve. A quick reach out to Mike explaining the methods and results he sent a new valve right away. He’d never seen that before but was quick to get the new part and didn’t hesitate a bit when I told him what was up. That’s world class service in my book.
At that point I put it back together, filled the bowl so it would start easier and to do a wet float level adjustment. It was a shade high, less than 1/16″ but I left it. It traveled well, the needle seated well. I left it where it was and put the carb back together. It fired right up. It was running well for a minute or so and started to get really rough. I gunned it to clear out what I though might be a buildup. I looked through the gap between the hood and cowl and saw fuel gushing out of the bowl overflow or airhorn. I didn’t wait to see which exactly before I shut her down and jumped out to make sure I didn’t set anything on fire.
That can be a sign the float level is too high or the needle was stuck open. It was only a shade too high but I’ll open it again and reset the level. The needle was moving great and seating well when I sealed the carb. It shouldn’t be that tweaky though or have moved that much. I got the Mity-Vac out to pump out what was in the bowl. As I put the hose in I noticed a bit of wire and thought ‘what’s the bowl return spring doing out this far”. Except it wasn’t the small spring on the bowl shaft. It was the float retainer that wasn’t reattached to the needle seat the last time I had the bowl out. DOH!! There was nothing providing the lock so the float could fulcrum in relation to the fuel level so as the fuel came in the float bobbed to the top of the bowl causing the needle to never seal. That resulted in fuel being pumped in and filling the bowl causing the over flow condition. After locking the retainer around the seat in its proper play everything is well.
Next up the road test and to see what’s going on with the cooling system.
