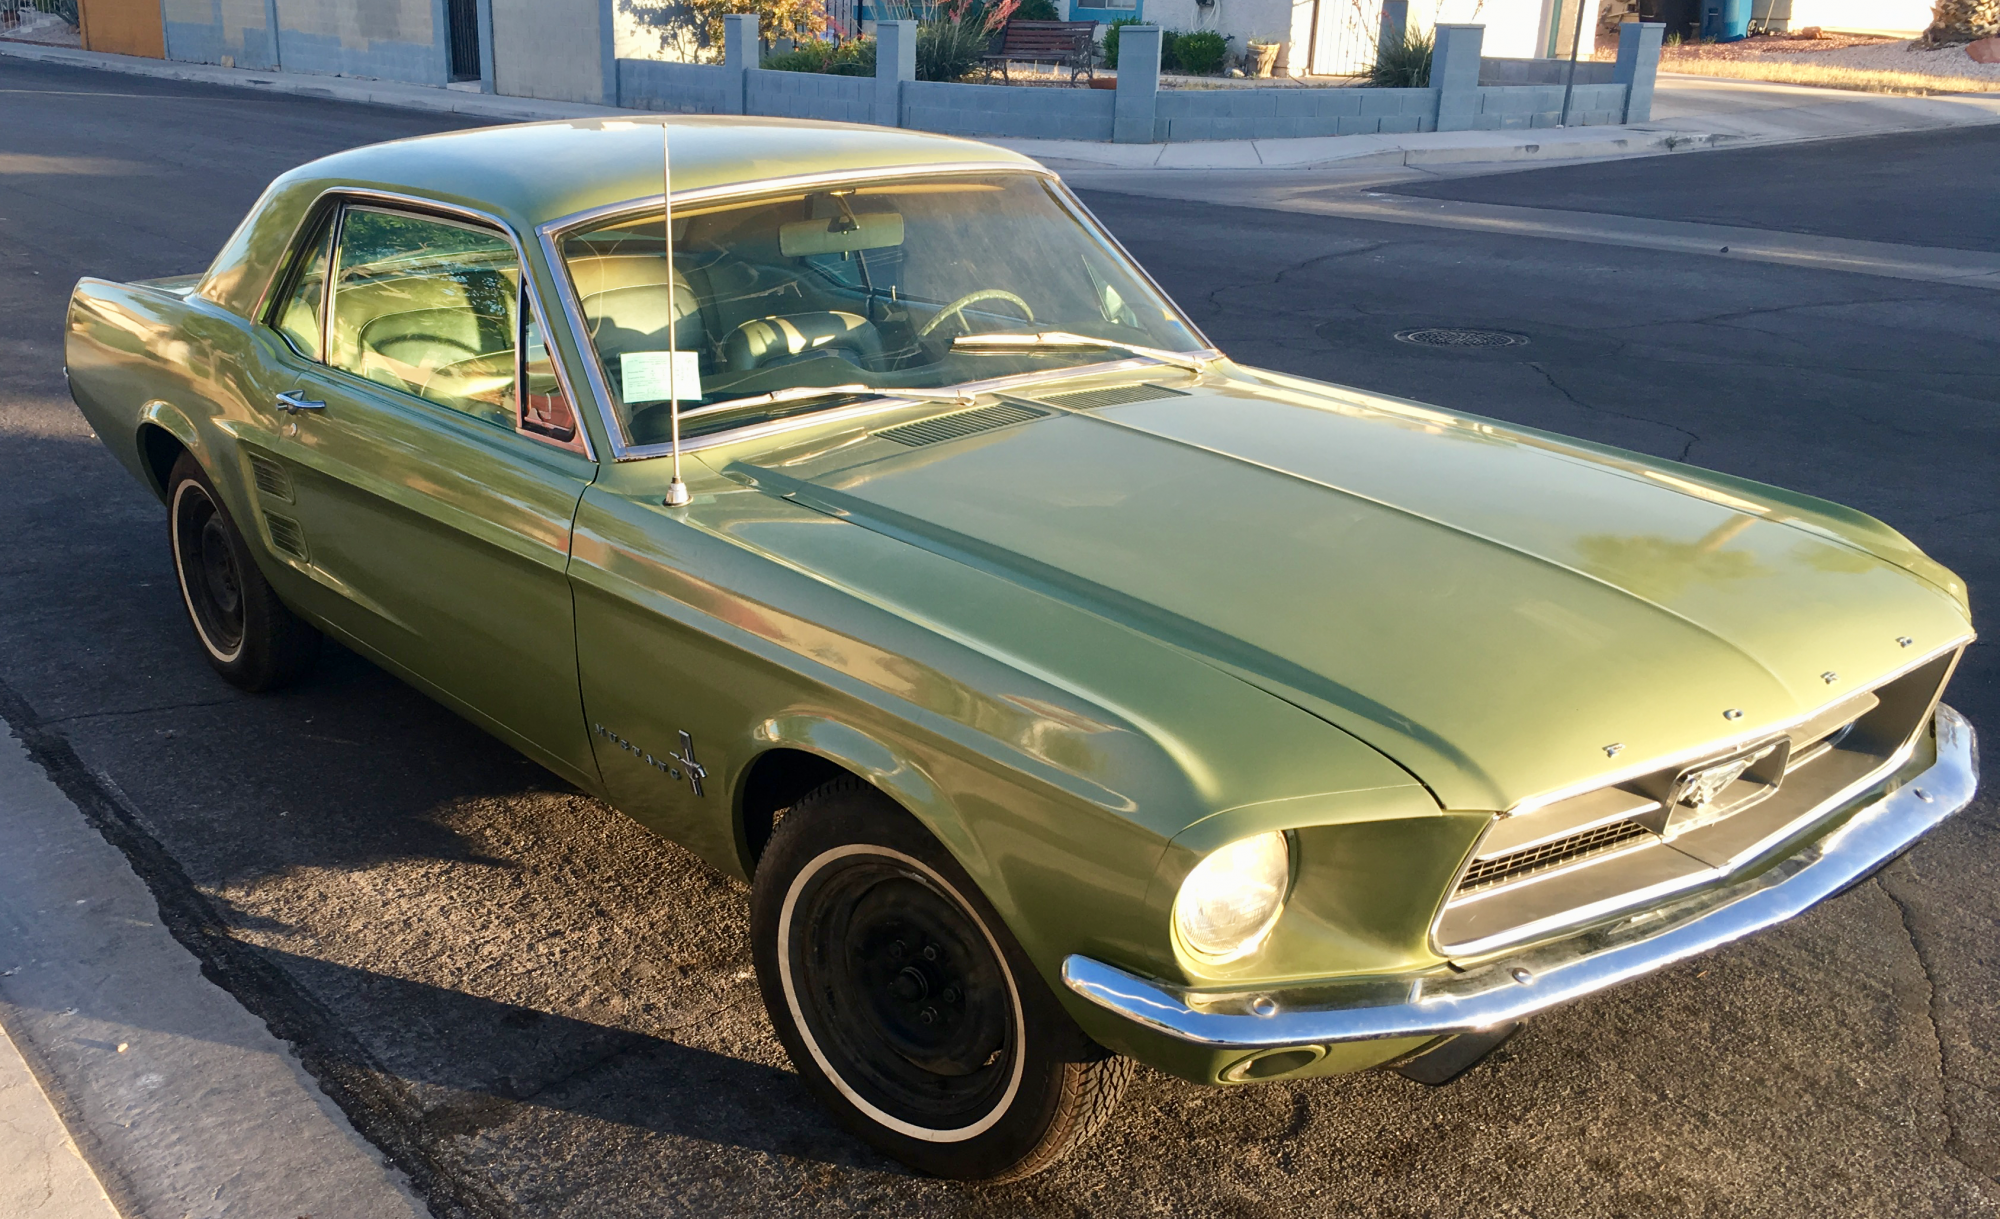
It was a bad week for the vise in the ol’ shop.
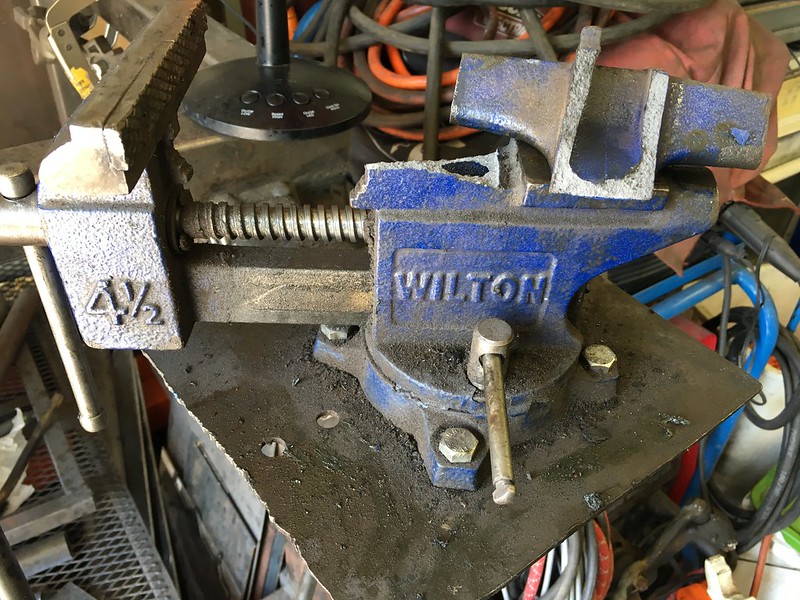
I was whaling on something but I can’t remember what it was. The part broke free but when I went to close the vise it looked like the front jaw was low. Turns out the rear jaw was dislodged. That’s a bummer. That was a good vise. My wife got it for me when I first built the garage when we moved in about 10 years ago. And I certainly used it outside its design capability. On Amazon I got a Wilton Tradesman. Hopefully it will be here in the next couple of days. It’s 53 pounds so even the Prime is slow boat shipping. And I get a free 4 pound hammer with it. I’ve always wanted a bullet vise and with this deal it will make sense. It will outlast me. http://www.wiltontools.com/us/en/p/1755-tradesman-vise-5-1-2-jaw-width-5-jaw-opening-3-3-4-throat-depth/63200
Prior to the vise going to live upstate on a farm with your uncle I was able to pretty easily get all the steering parts off the car. I thought there was a rag joint on the steering shaft. Sure would have made taking the box and shaft out a lot easier. As I’m looking at the MPAC at my box code (SMB J) I confirm it’s a 16:1 ratio, 1-1/8″ sector shaft. Perfect. Except it says the column shaft is 41″ and some odd inches. The others are around 4″ and change. I’m figuring bad scan from an old doc (I got the pdf version of the MPAC) because they wouldn’t have made the thick sector shaft box with no rag joint, right? Turns out, wrong. This is one of those times where having the FSM, assembly manuals and MPAC make all the difference in the world rather than having to tear into it with brute force and awkwardness.
I got one of the original 1-1/8″ sector shaft boxes but it still had the full length column on it. The box was phased in starting May 67 and this box was made May 3rd with the car assembled mid May. Don’t know how many long shaft 1-1/8″ boxes were out there but mine looks to be built during the transition to rag joint.
It took a couple of hours and several trips up and back on the creeper and a bit of crawling around in the cab. Times like this I wish I had an under dash creeper. Yep, they make such a thing. https://www.tooltopia.com/whiteside-utdii.aspx
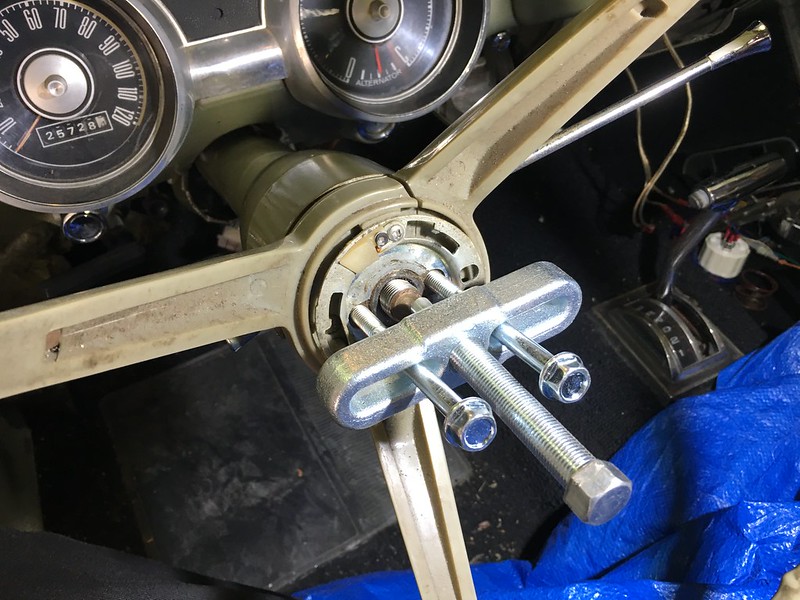
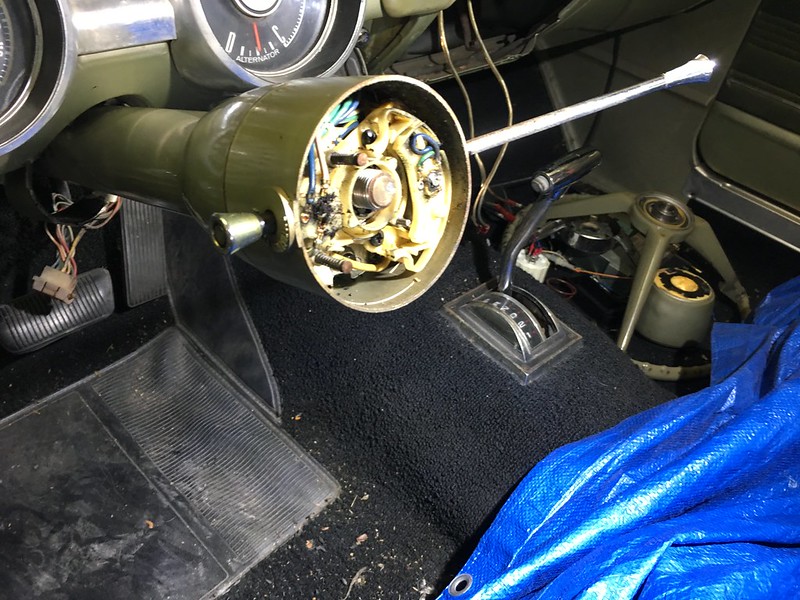
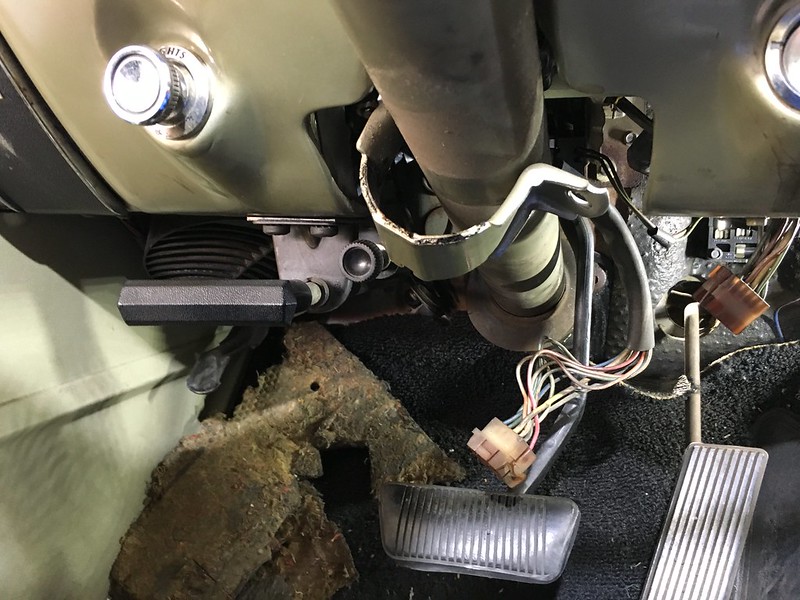
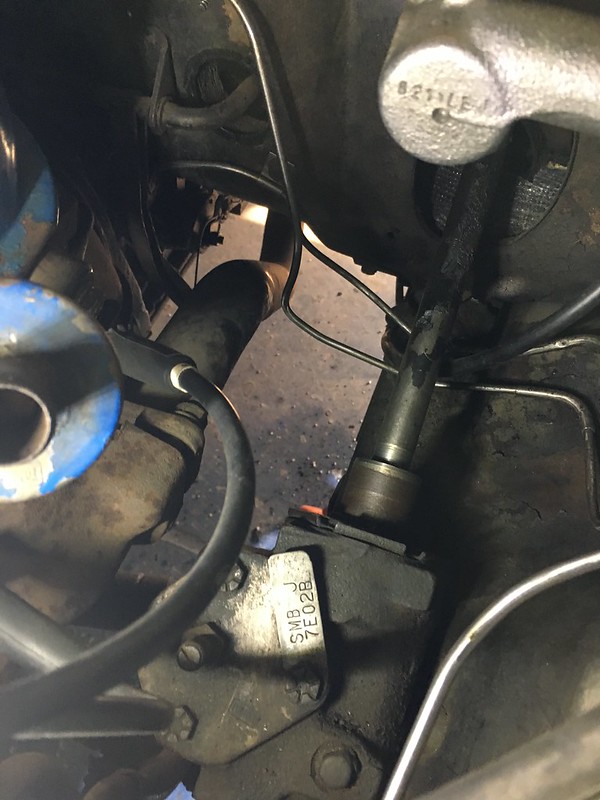
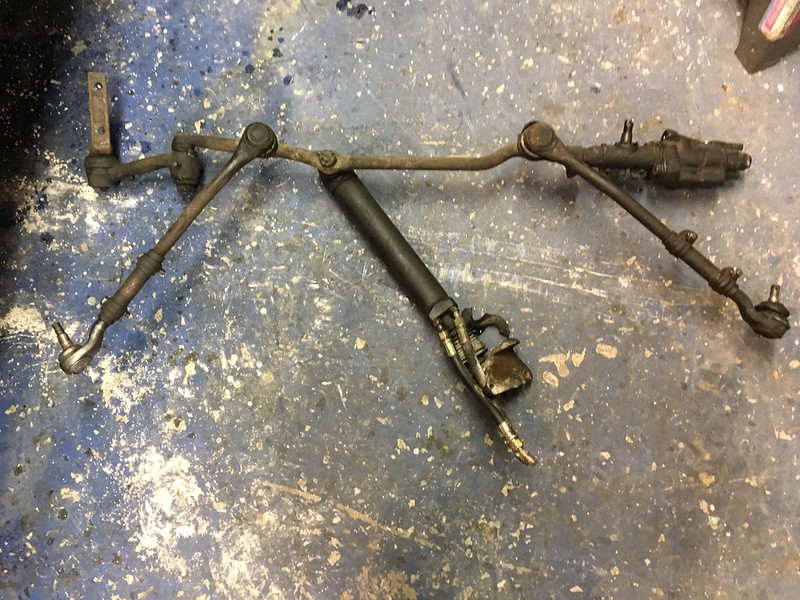
That bit of mechanic’s yoga lead us to this. There is a bit of old grease in the box.
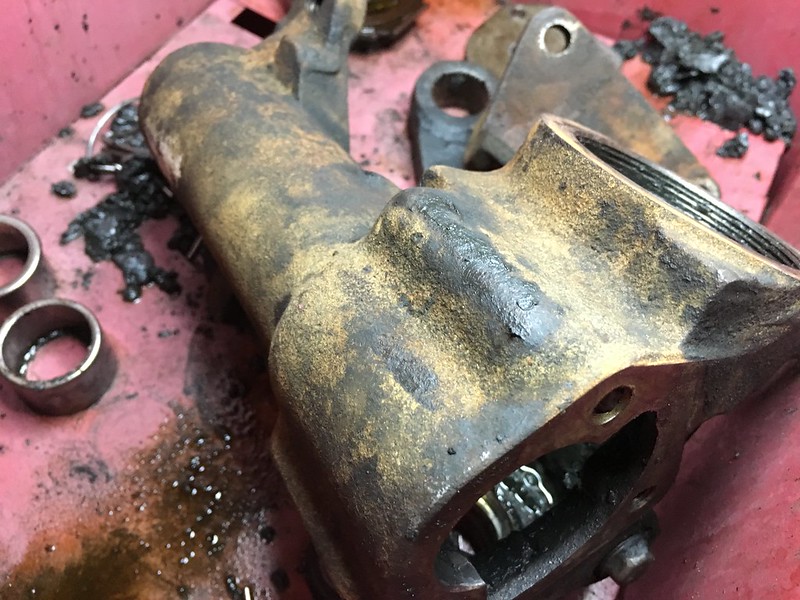
It needed quite a cleaning. The bearings came out as rollers stuck in stale grease. The lateral play on the box was good. You turn the shaft and the pitman turns correspondingly. However the vertical play was pretty out of whack. There were scores and nicks on the bearing surfaces of the sector shaft but the gear was good and the those marks buffed right out except for a few that were just a smudge enough to catch a finger nail. Being you can’t get sector shafts anymore (or they’re hard to find without being in a box) and a complete box is about $600 with the long shaft it’s worth it to clean everything up and use it.
Surprisingly the worm/shaft end bearings and races looked great and cleaned up well. Those are the most expensive parts of the box rebuild. But the adjusting set nut to set that bearing preload is ultra seized to the larger column insert with the bearing race. Haven’t found those separate either. Those need spin independently, set the race with the big insert and tighten the set nut to keep it there. Except right now it moves as one piece. Shouldn’t be too difficult to separate those.
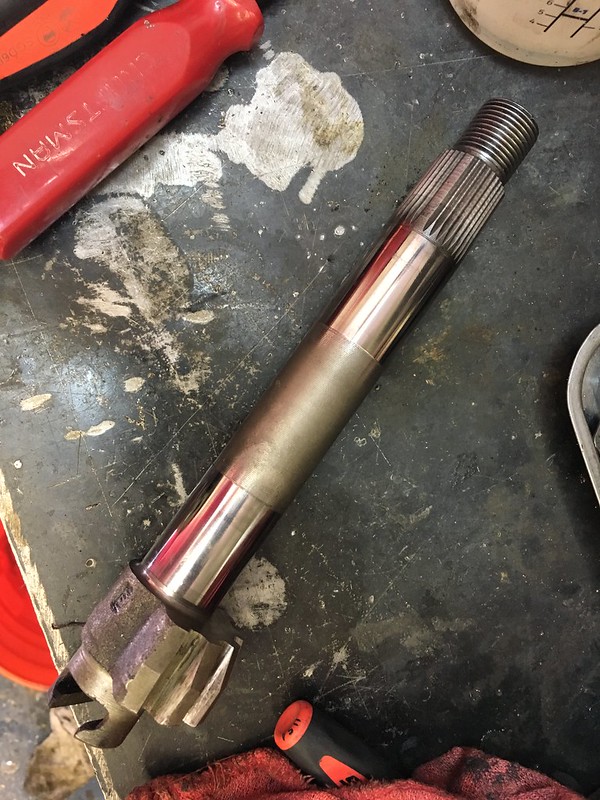
This is mid way through the sector shaft refurb. It came out great though I don’t have any pics of the final result.
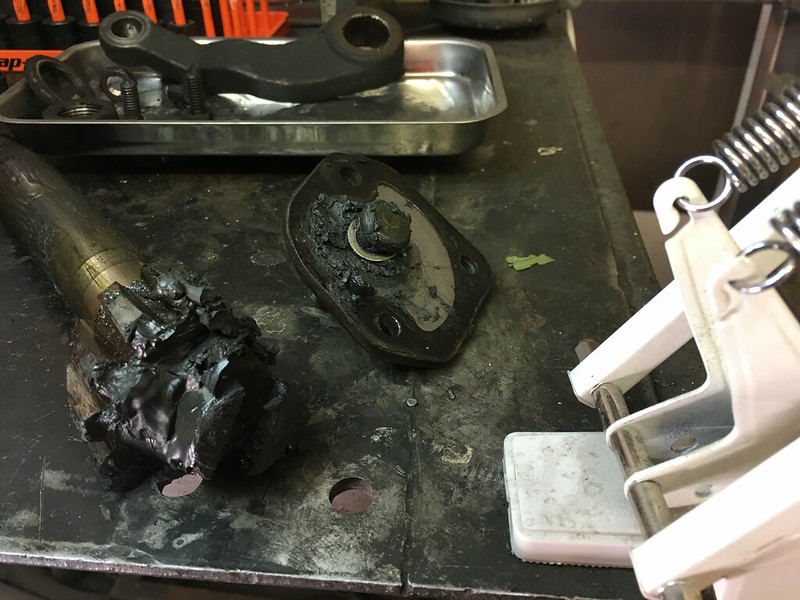
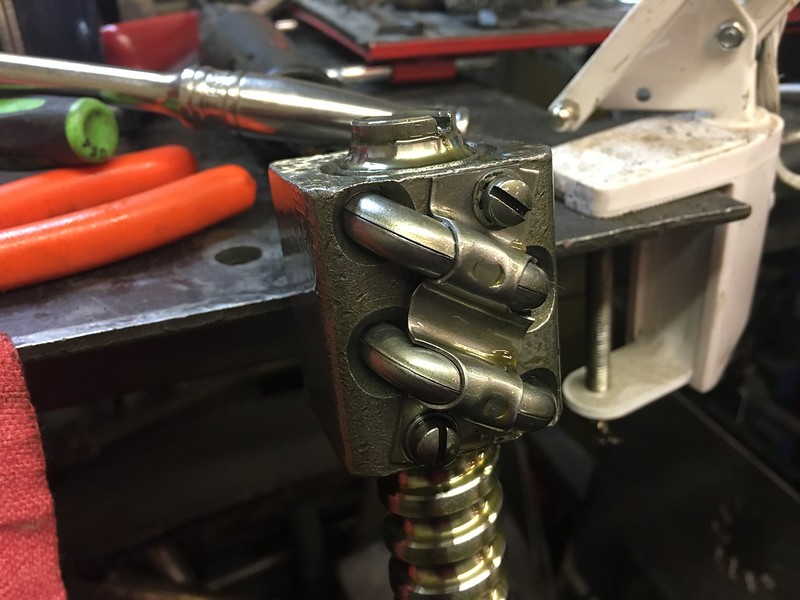
Until the new vise gets here I can’t work on rebuilding the steering components. Well, I could but holding the parts for rebuilding and restoration is tough without having something to hold them. I started by trying to get the end cap off the control valve. I ended up clamping it to the bench to get the cap off.
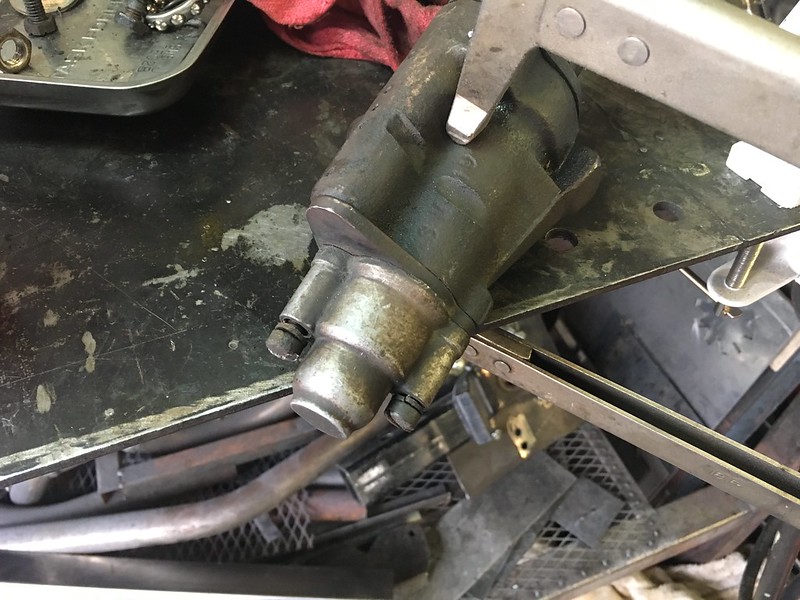
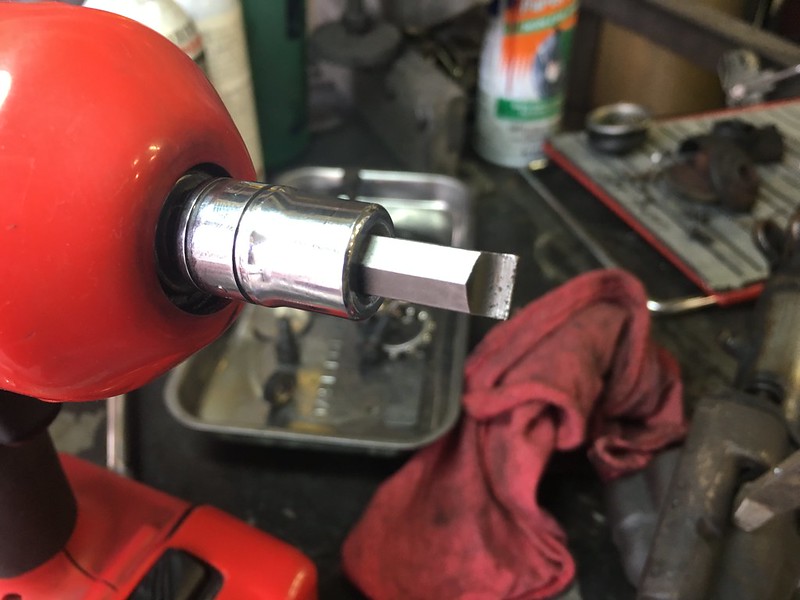
The pic is with the screws loosened (finally) by using a flat blade on an impact. Didn’t budge with a screwdriver. Didn’t budge with a flat blade socket and breaker. This is after a few liberal baths of PB Blaster. It may have been easier with a vise instead of a clamp but viseless was where I was. This finally did the trick.
The control valve was hammered. The ball stud was sticking at one point and the boot was trashed. The mechanism has seen better days. There was also what looked like heat scores on the steering rack connection end. It appears the stud play is what was causing the quarter turn of steering input before the wheels moved. I’ll put it aside with the ram until I get the vise.
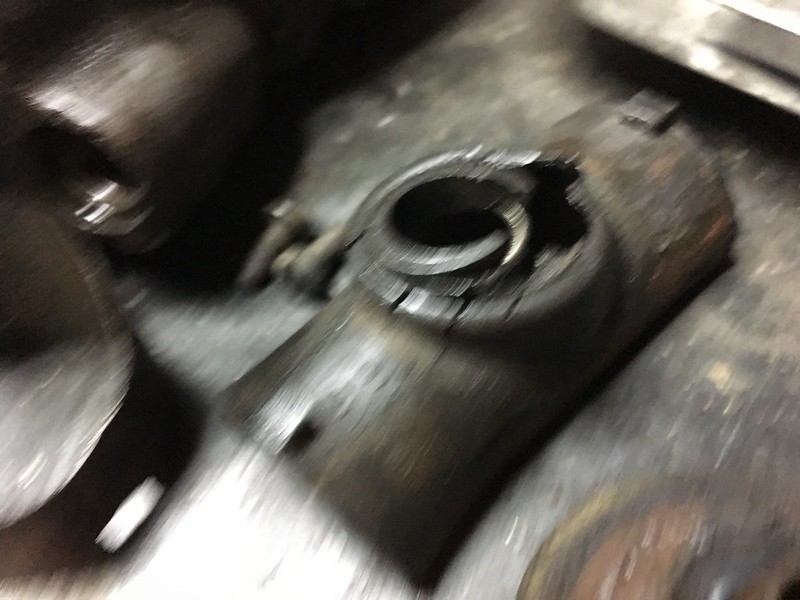
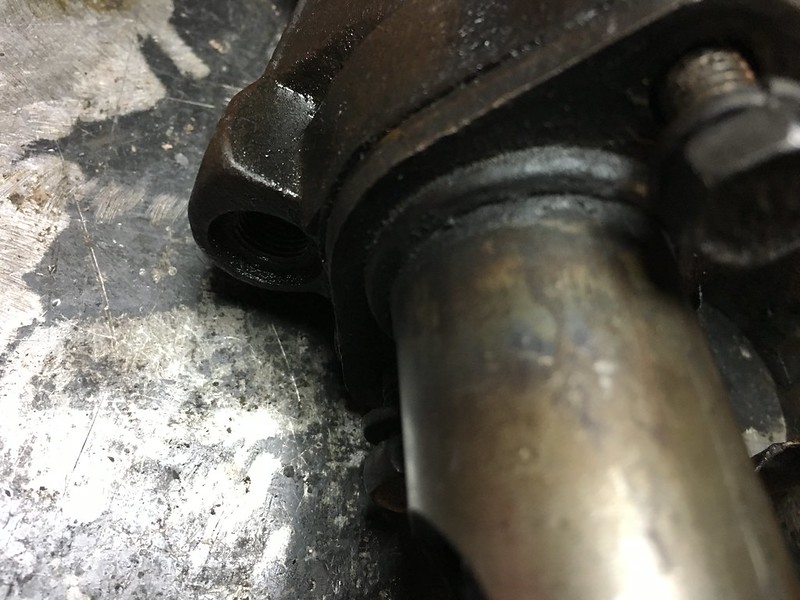
With not a lot to do until the vise shows I turned my attention to refurbing the link assembly. That’s mostly cleaning and some dust boots. The steering idler will be new, the bushings on the one on the car were smoked. You could grab the idler assembly with the car on the ground and shake it and get an 1/8″ or so play.
One thing that was mentioned in the FSM was not to service the ball worm gear in the box unless it absolutely needed it. The test for if it needs it is free movement of the gear block on the worm. This one had so much hardened grease in it the block couldn’t fall under its own weight.
I’ve rebuild boxes with worm gears before and as long as you’re careful it’s not difficult. Make sure it’s right because if you bind this puppy up there won’t be any steering.
To remove the gear block from the worm you have to remove the bearings. I drained the bearings into a cup with solvent based parts cleaner. Once the bearings are out the block will slide off. Count ’em. Needs to be 62.
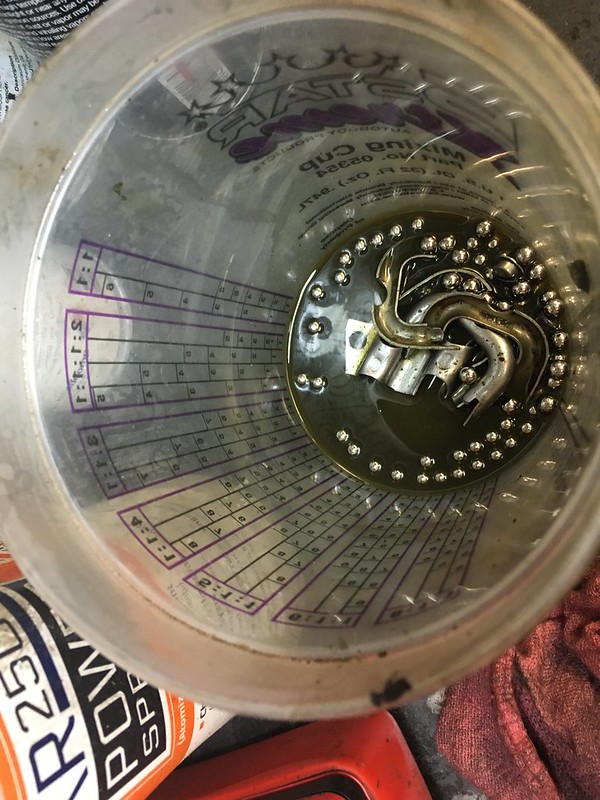
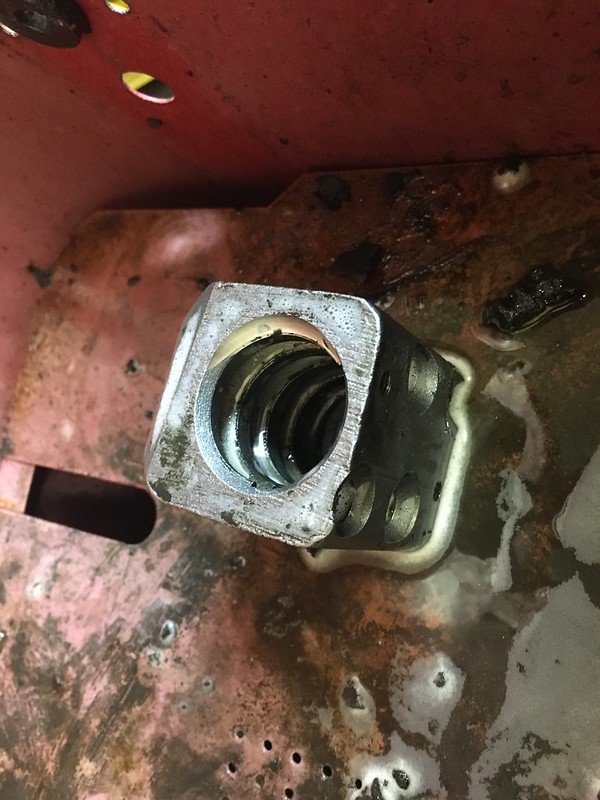
I used Scotch Brite and a buffer to get the parts cleaned and back to spec. In addition to the worm and block being caked with old grease dirt and grime had found its way into the mechanism. The bearing return tubes were caked, below is a before and after. The worm (shown before) needed a cleaning and buffer. It’s good but there is some scoring and light wear that’s not going to buff out. The bearings though looked good. They cleaned up and and look score free and round. The irony here is that the bearings are the only part of that assembly that is readily available.
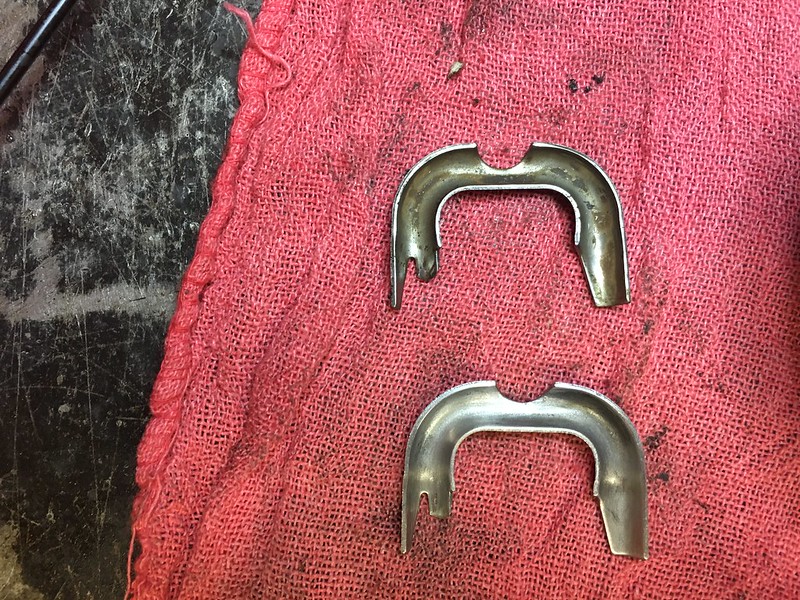
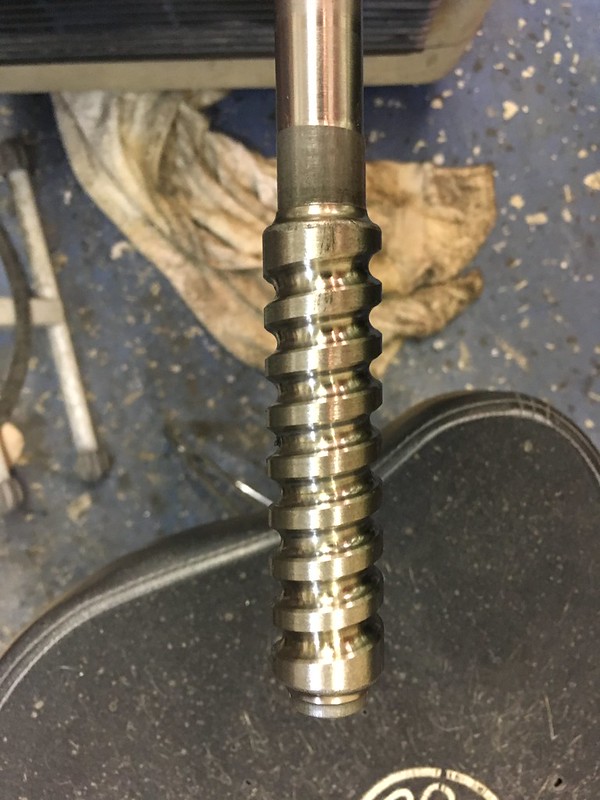
With some elbow grease and a bit of time the assembly was tip top and ready to install. It falls under its own weight with only the lube of the new assembly in a smooth manner. When it’s put back into the housing it will be packed with grease. To help get the bearings back in I used a magnetic pickup tool so I didn’t drop them.
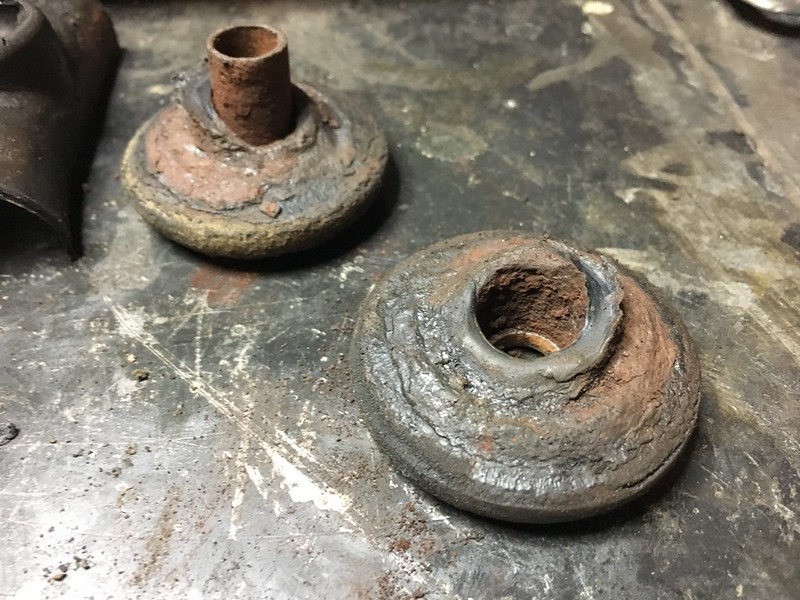
Without the vise I only inspected the ram. The mount bushings were a bit perished as ol’ Edd China would say. The ram is definitely leaking out of the hose connections.
I’ve got parts, seals, bushings, etc for the box, pump, ram, control valve and all the dust boots. I’ve also got a new idler assembly. I may get new tie rod ends though they didn’t look bad when I was doing the knuckles and suspension. I reckon it will be the better part of a week or so until I get the vise and I’m able to start rebuilding the parts.
