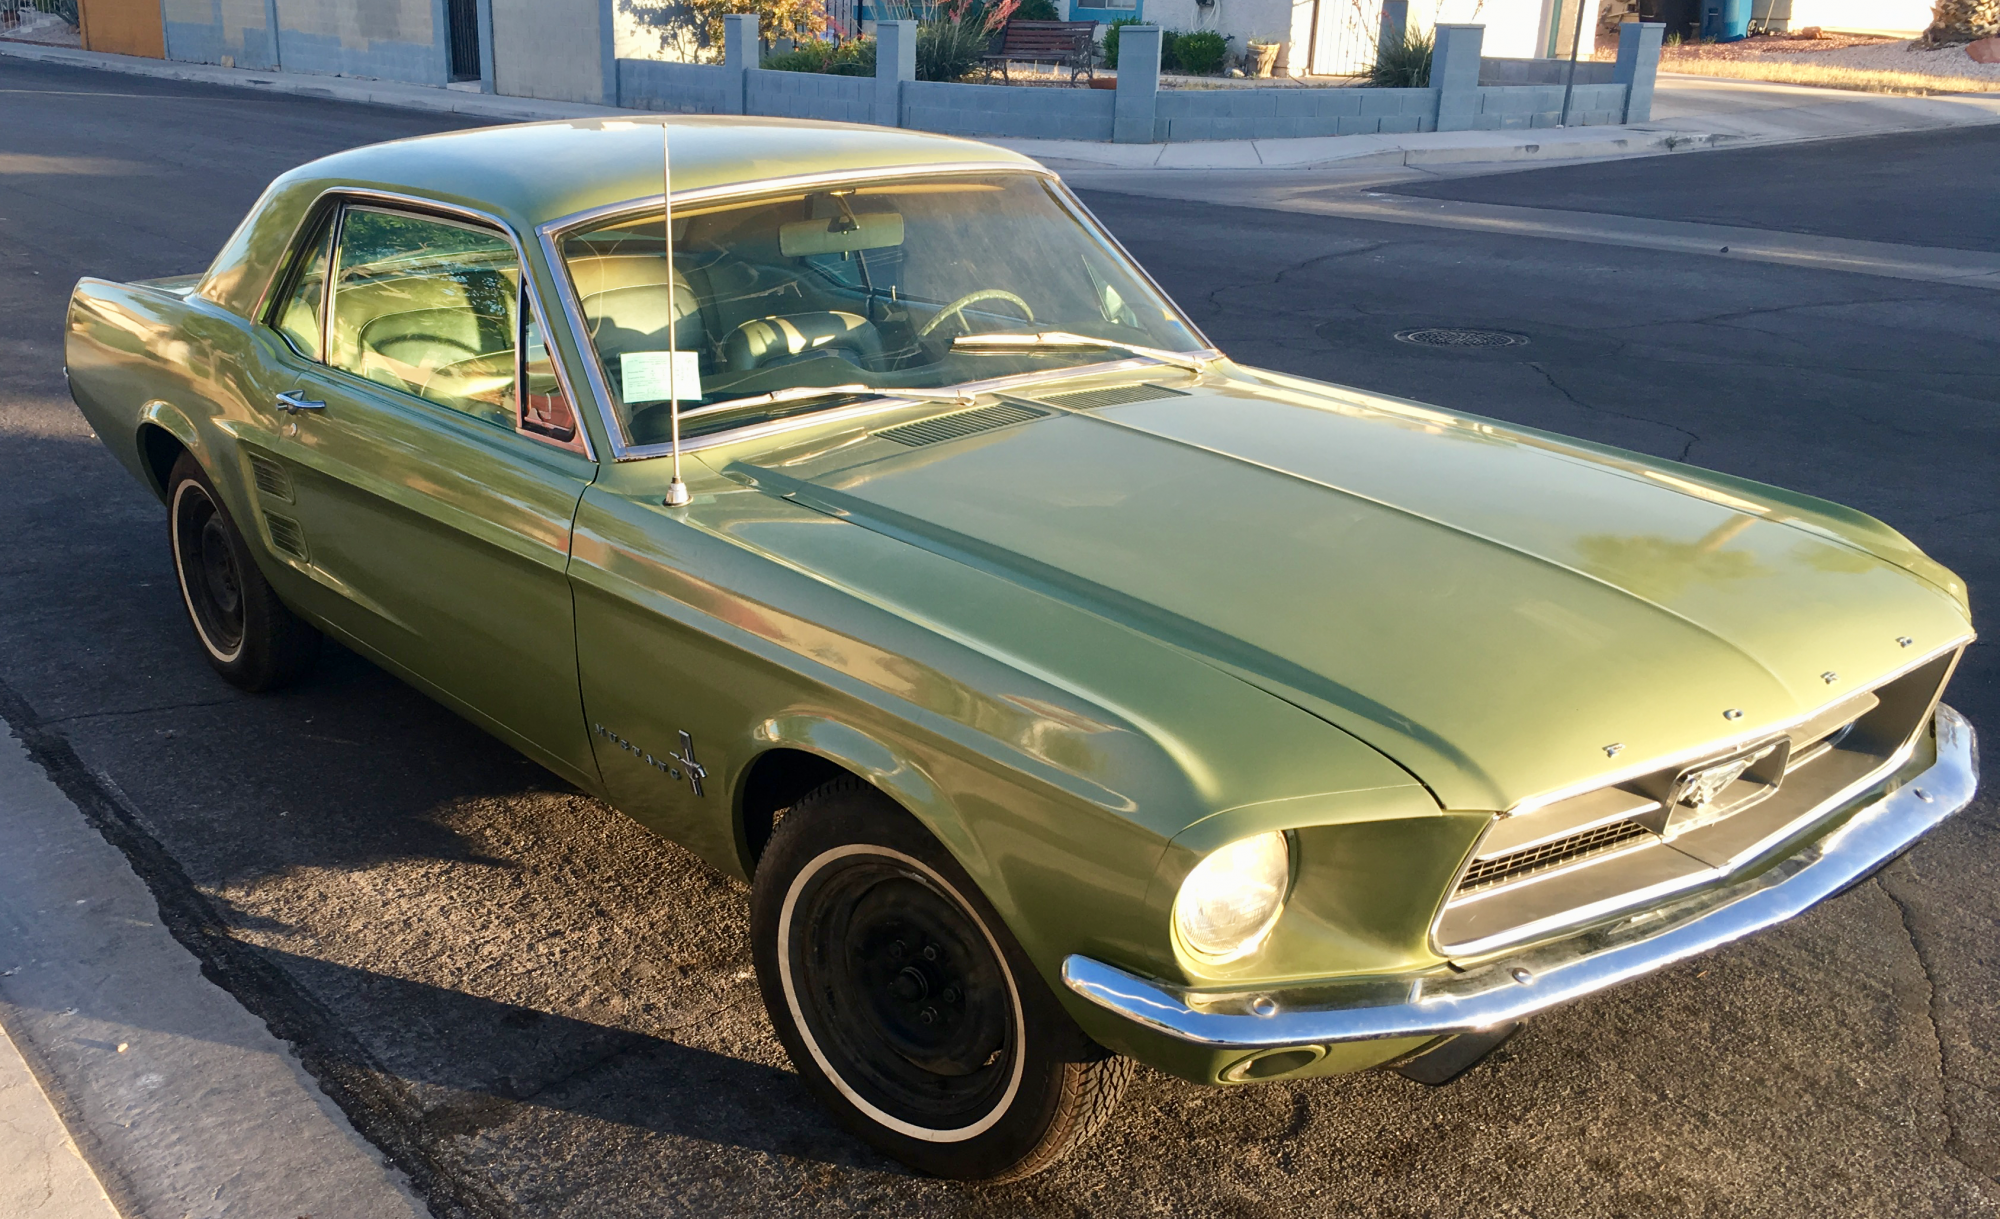
The wheel is done but not without some drama and disappointment. The initial plan was to shape it, prime it and finish it with the Seymour custom rattle can lacquer from NPD. From there I’d do a spray out and see if that coating could be cleared. After shaping and high build primer a couple coats of Transtar epoxy primer is laid down.

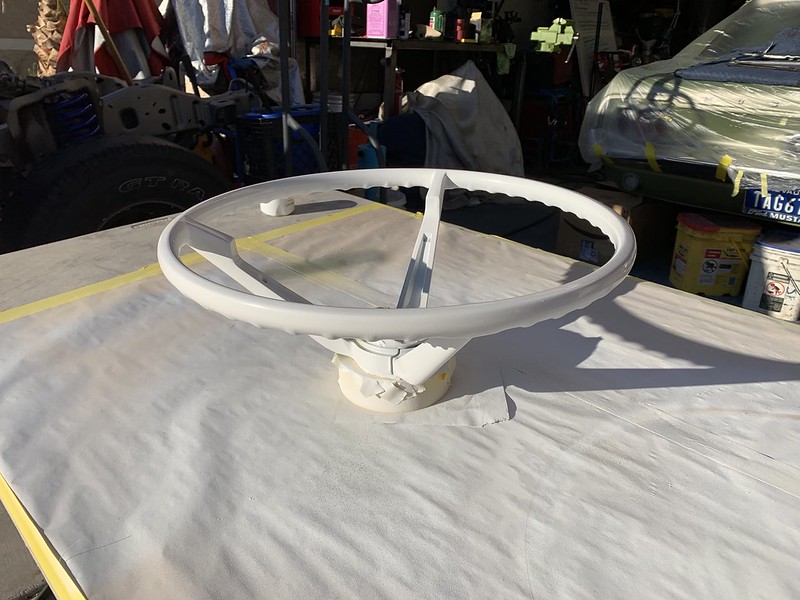
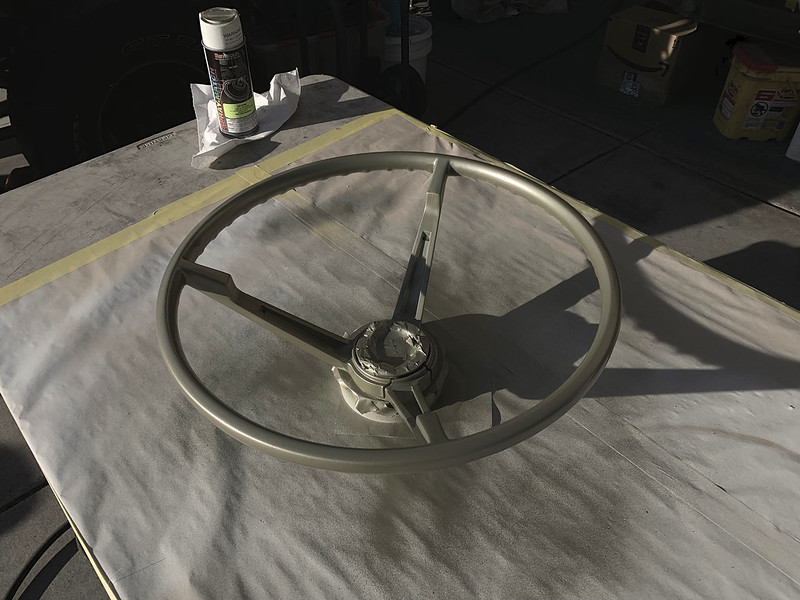
The secret of getting as good a finish as you can is all about the layers. They need to bond together to produce a strong, smooth finish. Many if not most custom painters use coatings and chemicals from the same product family or at least known combinations. For example the last full paint job i did I used PPG Deltron as the color with Tamco reducers and Euro style clear. The Tamco materials are made from BASF resins and are high quality. They’re basically PPG clones at a much more reasonable price.
Using a non catalyzed color coat over higher end primers could be problematic depending on the top coat. Quality auto finish products have tech sheets that detail how to apply, when it should be applied and other info like sanding grit and surface prep. Unfortunately the NPD clone lacquer (or any of the NPD mixed paints) has no tech sheet. Using the paint to top the epoxy primer was a disaster. It was coating failure city.
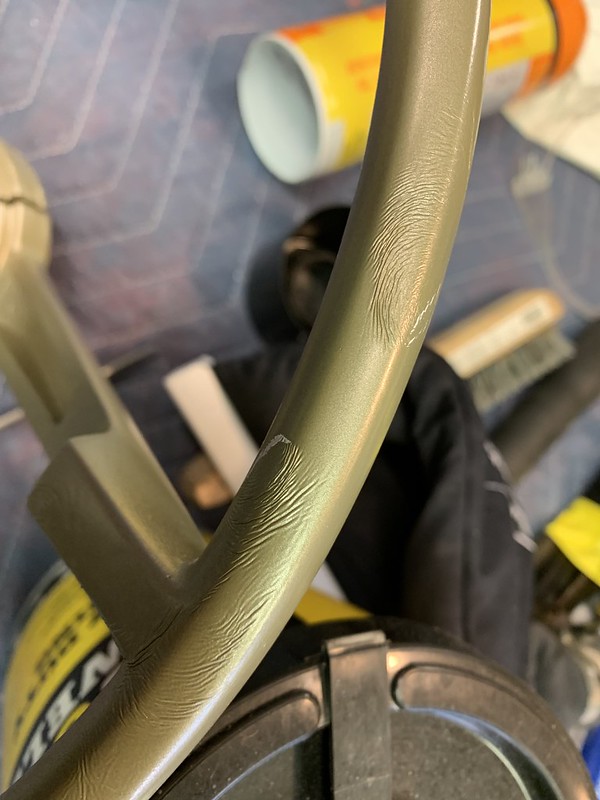
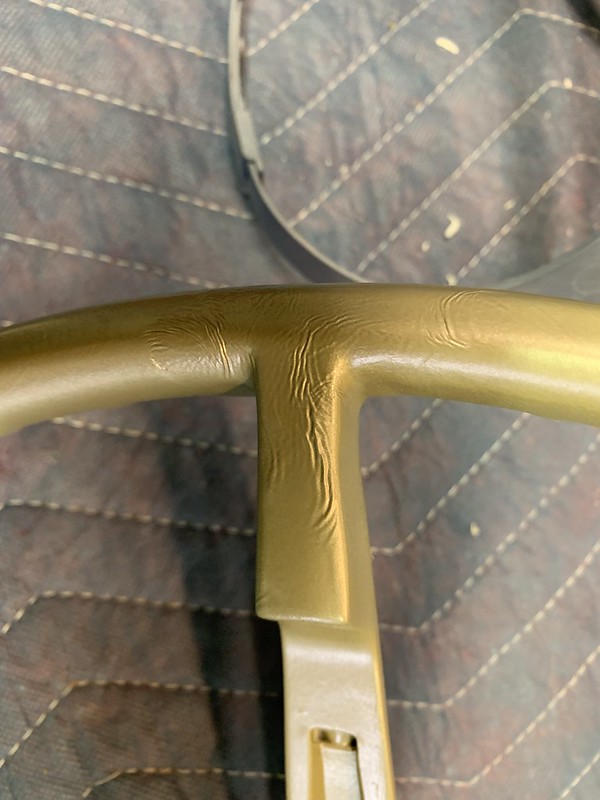
That is a gigantic bummer. It’s going to require stripping all the color coat from the part. Once a coating starts to fail it’s best to take it all off. If it’s failing now leaving it as part of the substrate is asking for trouble. Out of epoxy primer I hit the local auto body finishing joint and opted for a can of Transtar 1k primer. It was a bit more rough than I’d like compared to the epoxy. The epoxy is about $80/qt with activator. The 1k is about $15 a can. And like the other Transtar products has a tech sheet so you know if it’s compatible with your application.
I stripped a great deal of the failed coating with Kleen Strip aircraft stripper. I normally use a heavy concentrate of methylene chloride (powercoat stripper) but I was out and the local supplier was out as well. For the rest I used a DA at 120 grit to 220 grit to 320 grit. It took a lot of the smoothness of the shaping off the part. It took about an hour to get the part to the point where I could apply the primer. The primer went on well though not quite as smooth as I’d like. The epoxy is self leveling which is one of the reasons it cures smooth.
I had to change the strategy on the color coat. The Light Ivy Gold I used originally (and on the interior trim) wasn’t exactly the right color for the wheel. I had some difficulty finding a color code for Light Ivy Gold. My local PPG and Axalta jobber went from being a great locally owned, family run high end auto paint jobber to getting bought out by a large chain when the family decided to get out. If you get the counter boss, who likes to insert himself in each transaction, it’s more like an argument or trying to convince him what he thinks I want to do isn’t what he thinks I’m saying.
For example if I say “I’m looking for 1967 Ford paint code I” (Lime Gold Poly). I get told that’s not a valid factory code. Not now it’s not but I need the one from 1967. You know, about 20 years before you were born. PPG 2054. Or when asked for the proper color name I say “Lime Gold Poly”. “Poly? Poly what?” That’s what they called metallic back in the olden days. “OK, so you want Metallic Lime Gold?” Never mind that that nice lady that was helping me before he horned in on the deal had the code and printed the mixing tags. He was “going to check, just to be sure”.
It was one of the longest 30 mins of my life. I bought the Omni MBC budget line from PPG. A quart of Omni is $50, a quart of PPG Deltron (the good stuff) is $150. My guy back east can get me a gallon of Deltron for $225 shipped ($175 plus $50 shipping). From the local jobber the Deltron is around $500/gal. There was some other back and forth about which colors are available in Deltron that aren’t available in Omni. On the plus side I did get to see a spray out of Ditzler Hot Rod Black to compare to the Krylon rattle can that is used in the engine bay. I’m going to use catalyzed auto paint for the rest of the project (even though the rattle can NPD worked great on the dash and interior). The HRB isn’t an exact match but it plenty close for my driver project.
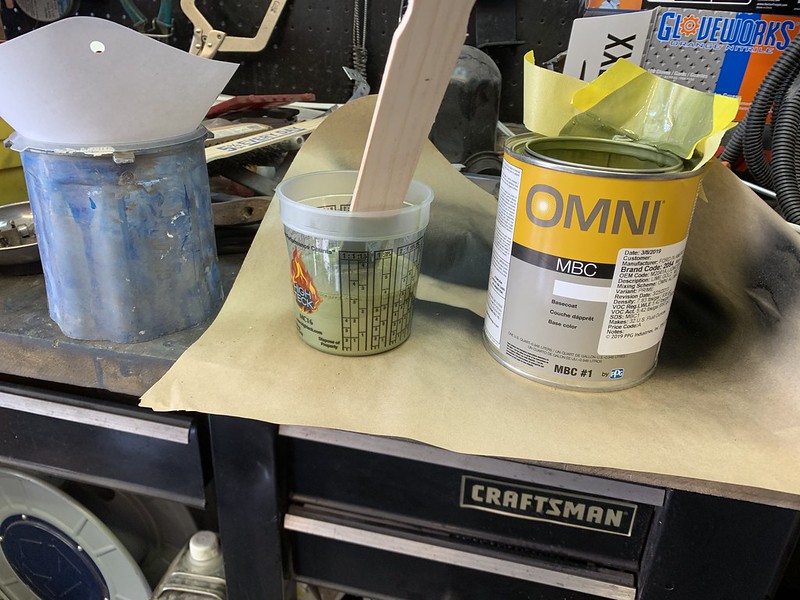
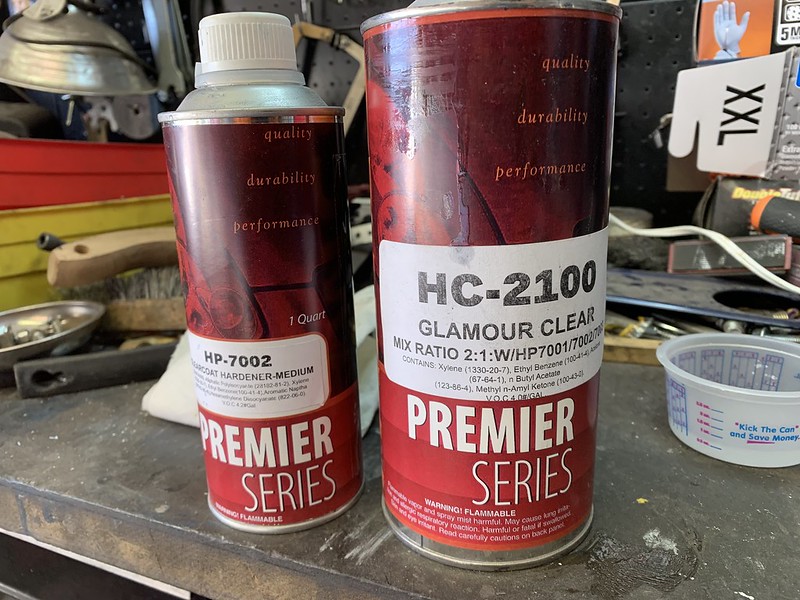

All in all it could have gone better. Having to top coat it again cost about four hours. It’s better than it was by far but there are some details I wish I had done better. We’ve also been working on the seats. What was left of the foam was shot and the mice got the batting in the rear seat. The seats are a lot tougher to finish than they look.
