Lots of working on the car and some driving. As I’m posting this it’s back up on stands finishing off the new suspension and a rebuild steering gear. I’d rebuilt the steering system last year but the box was toast and needed to be sent to Chock for a full rebuild with some new internals. The box wouldn’t hold a calibration and after my wife riding with me a couple of times she complained she didn’t want to ride in the car until I fixed the steering. No problem. So I did this. No passenger seat, no problem..

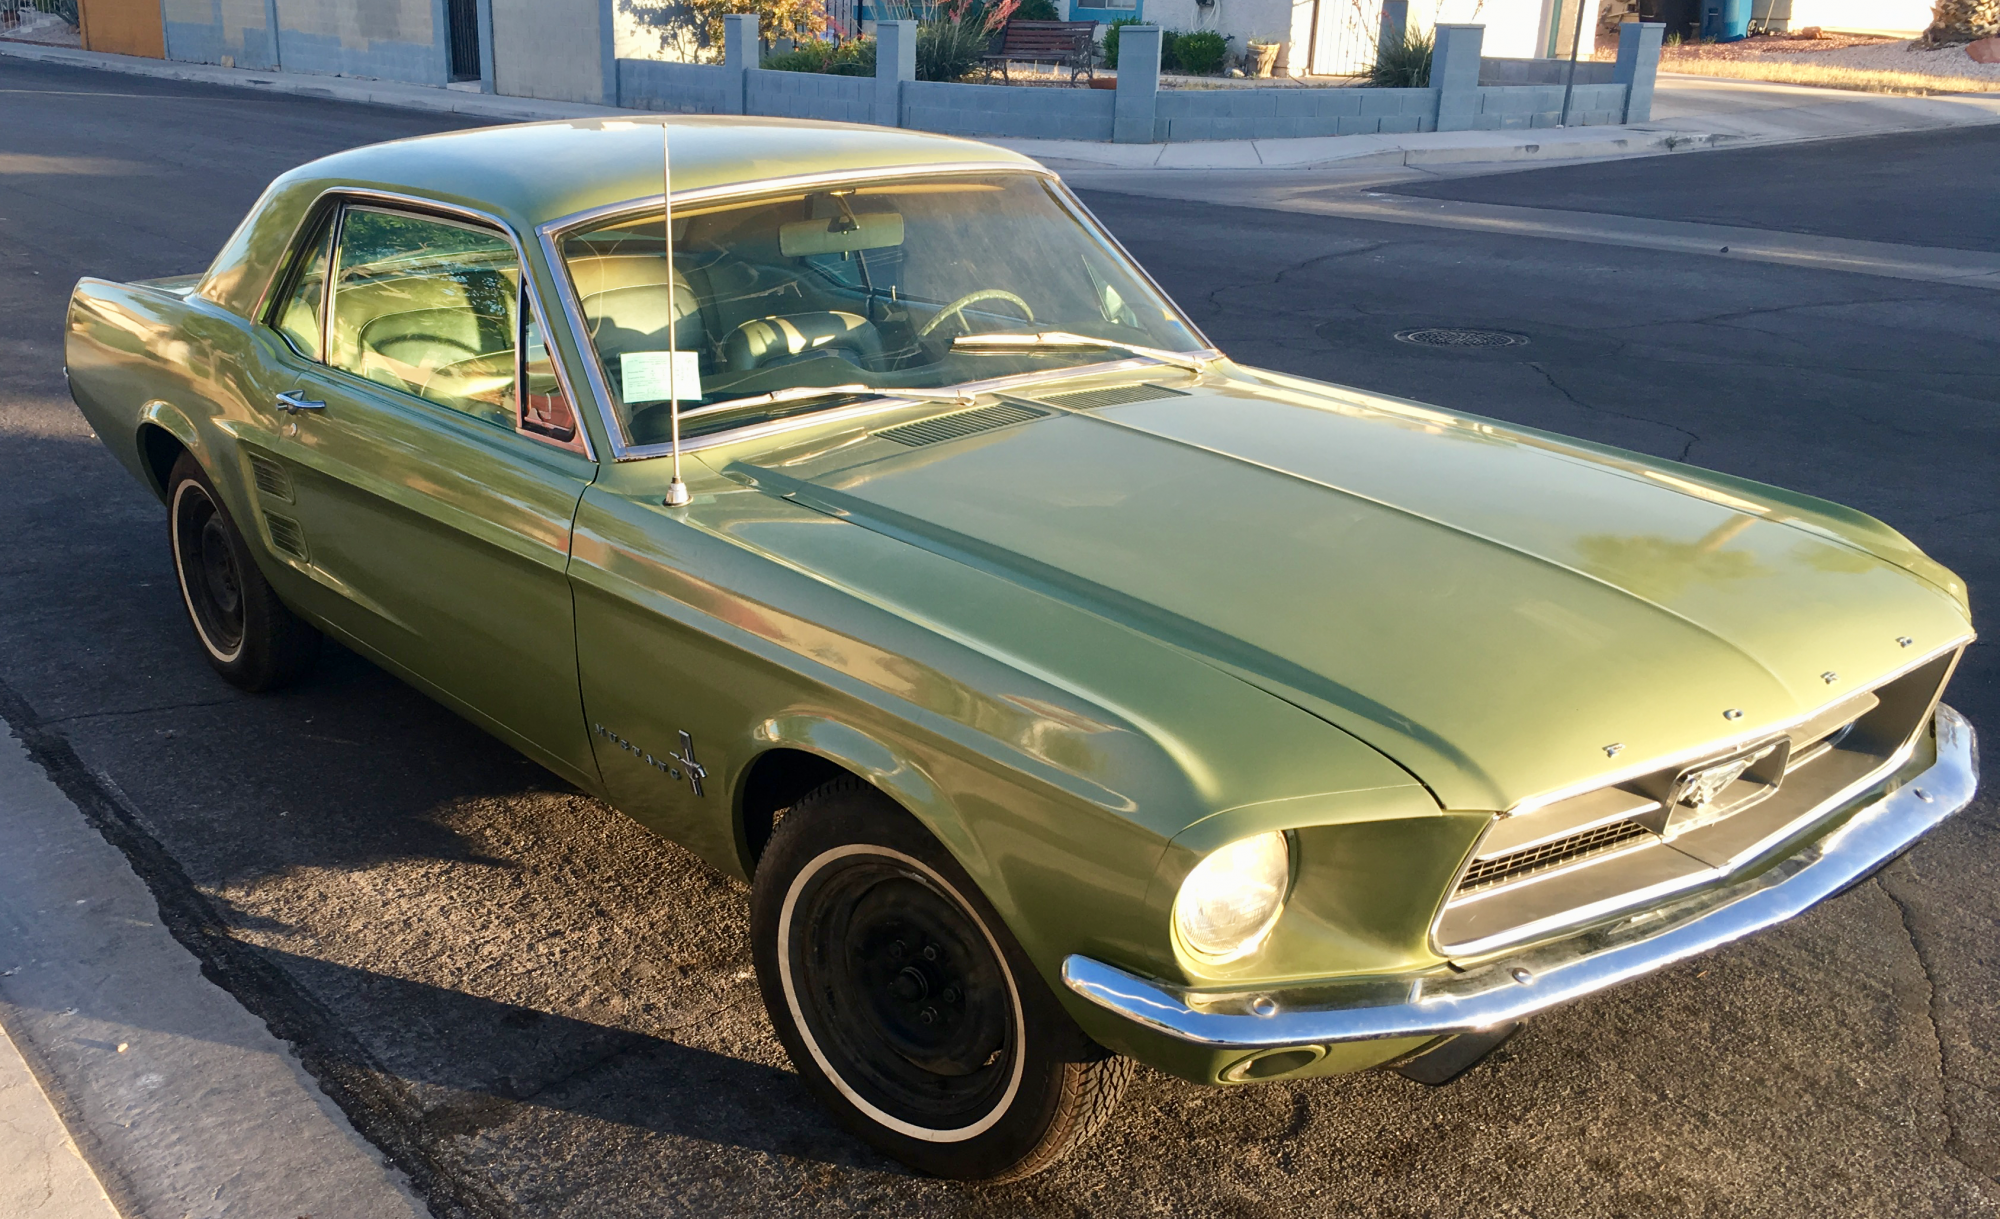
I finally finished the interior after having to take off most of March and nearly all of April to recover from a surgery. All is well and I got it back on the road. I figured I’d be done for a while but the still sloppy steering the original suspension riding like a porpoise I had a bit more work to do. In the meantime though I did put a few hundred miles on it while the wife was away helping a relative. Nothing like a nearly 60 year old guy in a 50 year old car rocking 30 year old Public Enemy down the Strip in Vegas with the windows down.
After that it was clear the I would have to fix the steering box and get at least shocks. I did all the bushings and ball joints last year and it helped quite a bit. I ordered 620# 1″ drop front springs, QA non adjustable shocks front and rear and Mustang Plus Grab-a-trac springs for the rear. I want 4 1/2 leaf rears but those were backordered for almost three months. They talked me into 5 leaf rears. The car is going to ride pretty firm. Hopefully not too firm though I like a stiff ride.
While I’m down there I may as well do an Arning drop. It’s cheap, it’s easy. I got the template from Dazecars. While I was there figured I might as well get his DIY roller spring perch kit.


There was some time in the blasting cab with the related parts and some more Krylon it was time to tackle the spring perches. A set ready to bolt on is going to cost almost $300 by the time you get them shipped. If you don’t have moderate fab skills and some fab tools (die grinders, cut off wheel, welder, drill press, hydrualic press) it’s probably something you should just buy.
Day has good instructions on his site for the kit. The kit comes with replacement mounting bolts, bearings, new tubing and some fender washers as a guide for clearancing the stock perches. The stock perches are modified by removing the bushing and spindle. You can do that by cutting the lower part of the perch base and prying out the bushing and spindle.


After finish welding the part is blasted again for paint. A 3 stone hone is run through the empty tube to remove any distortion added from welding. At this point we’re ready to press the spindle into the bearings.
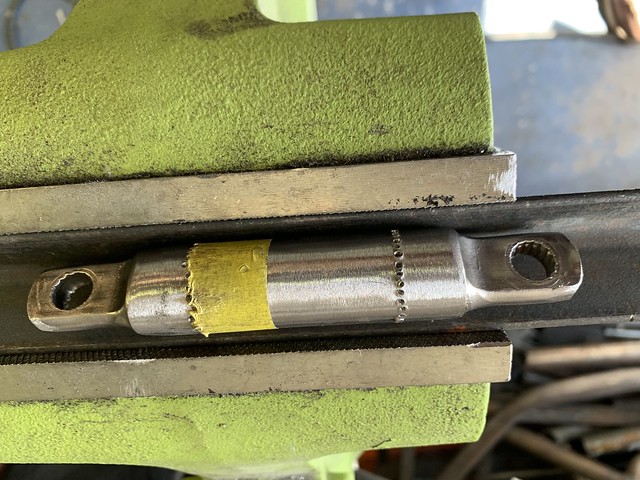
The perch is completed by pressing the spindle into the bearings. You’ll need a press and some sort of fixturing. I use various sizes of 4130 (chrome moly) tubing for different bearing press applications. Once you have the bearings pressed onto the spindle you can slide them into the tube as a unit. The bearing assembly is held in by creasing the edges of the tubing.
While the mod is pretty shade tree there is one part of it that I wasn’t exactly pleased with one of the hacks. Because of the 2″ diameter of the bearing tube the lower shock studs hit the tubing. To get around this Day has a method where you use two large punches and a vise to crease the sides of the tubing so the studs will clear. This does work with the stock shocks I had on the car. However, when I went to fit the QA1 shocks the the studs were larger in diameter, used a larger nut and were much longer. As a result the method used for the kit wasn’t enough for the shocks to bolt to the perch. After several attempts to fasten the shock to the perch I ended up taking the complete assembly off.
The second perch was ready for assembly and paint so I came up with a way to press the reliefs into the tubing. The idea was to use a press and some 1″ x .120″ wall 4130 tubing and press larger reliefs in the tubing. Epic fail. The thin wall 1010 HREW tubing folded like a cheap suit. At this point I treated it more like a fab/design project like I’ve done on race cars rather than a DIY/all parts included build.
The plan was to use 4130 chrome moly tubing the same wall thickness as the tubing from the kit. I used Plymouth brand tubing. It’s a favorite of race car builders in the US. They use a special formula with a bit more carbon, chromium (the chrome) and molybdenum (the moly) from a German melt source. The tubing is then drawn in their Shreveport, LA plant to produce some of the finest tubing available. And some of the most expensive.
The yield and tensile strength of 4130 is nearly three times what it is with 1010 HREW. This is important because I’m going to notch the tube on each side where the shock studs mount. I didn’t model it but I doubt it would be an issue with the HREW as the load is on the saddles of the perch and the bearing. Using the notcher and a 1-1/4″ hole saw I notched the opposing sides of the tube. That allows for better clearance for the bigger, longer shock studs.


Next up getting it all back together.