About that timing chain cover

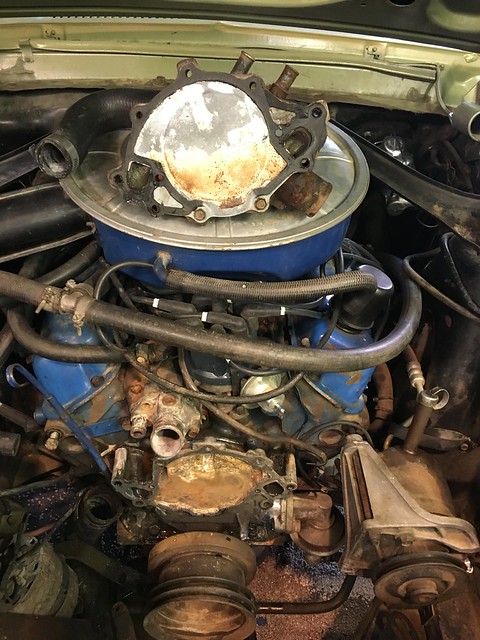
It’s back together. Or at least was for 10 mins or so. Here’s how it got that way…

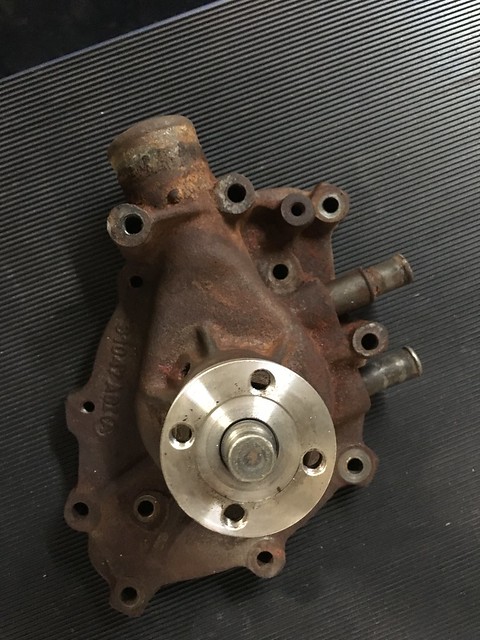
Pump went back together well. It had better. There are only two bolts, a plate and a seal. I’d still like one with the original style part numbers and casting. A lot of service on this was done before the parts guys would say “nice classic” and instead say “great, another old car”. It was/is a driver, got driven and was maintained well but maintained like a driver and not a concours.
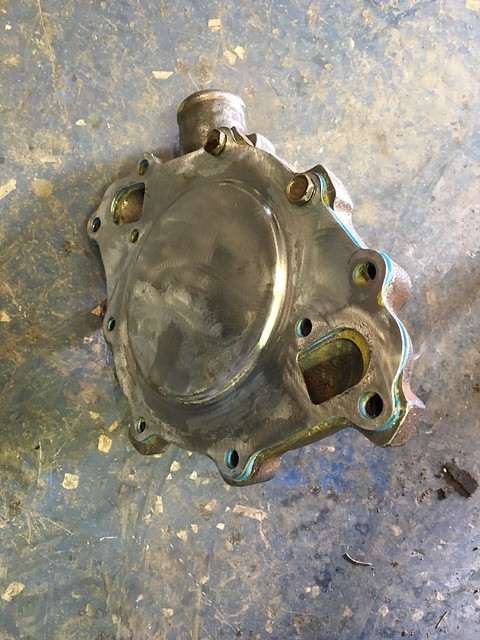
Tip for remembering which bolt goes where. Dot them with paint pens.

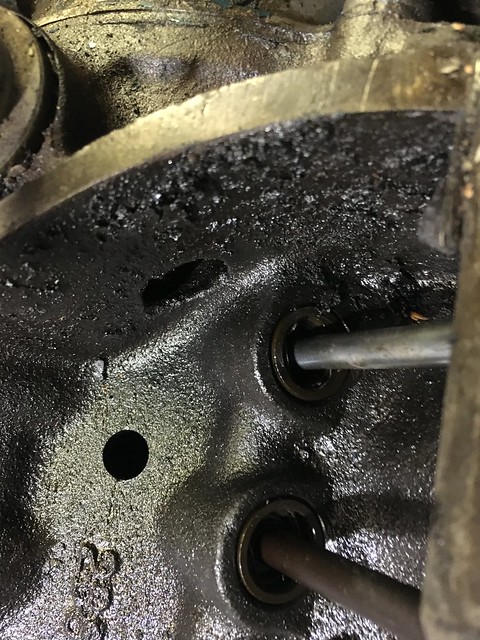
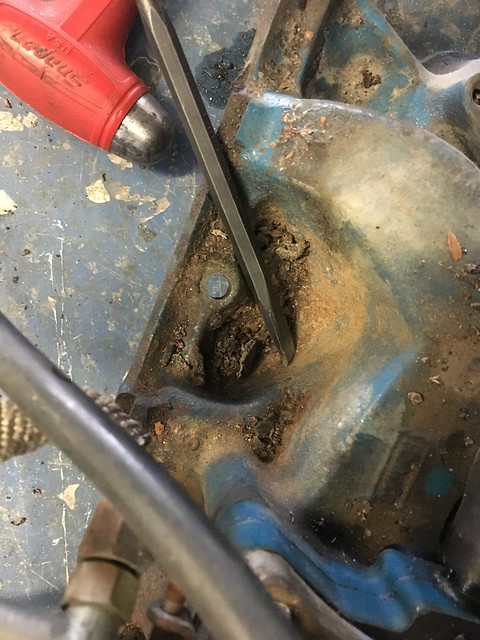
The bad news is two of the through holes on the timing chain cover are stripped. On one I noticed it when I removed the bolt. Aluminum threads were in the bolt. If I’m going to put a timing chain cover on I might as well take the engine down to the short block and check the rest of it. Don’t want to do that yet. Plus I was looking at mine and at the reproductions. The repros have fins on the top. Took a quick look at the Mannel book to see exactly what was on mine. Was mine an original or did someone swap it at one point? It looks like it has never been off and still has some Ford corporate blue on it. The book says mine doesn’t have the fins. Fins only for the early 67. Mine should look like it does. But it’s hammered and has two stripped holes.
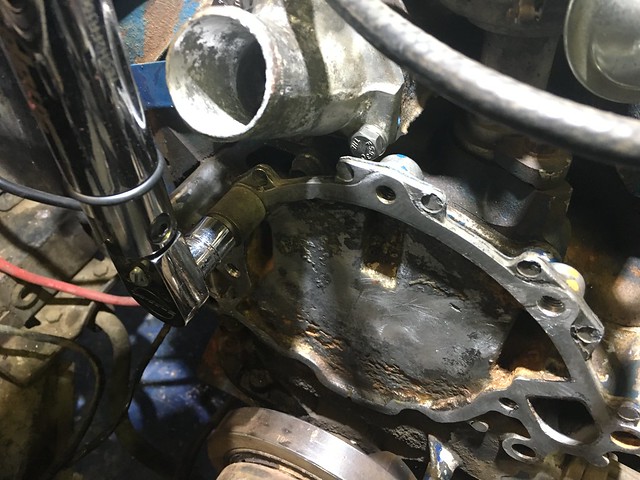
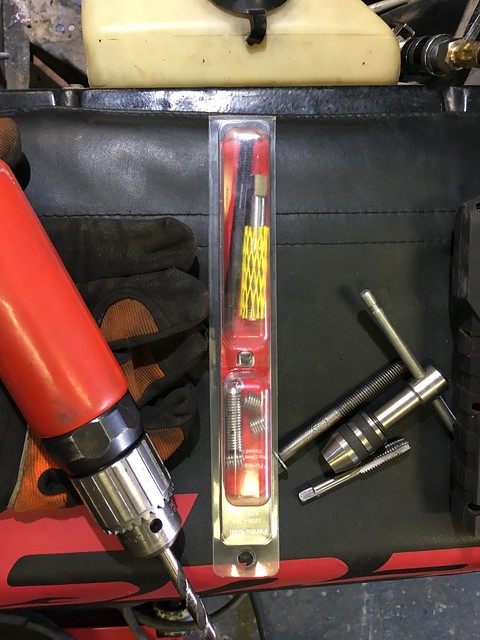
So time for a couple of Helicoils. If you aren’t familiar a Helicoil is a thread replacement. As the name indicates it’s a coil that you install in place of the stripped threads. First you drill the existing threads out enlarging the hole. It’s usually some size drill you won’t have in your index. This one is a 21/64. The kit provides a special tap to use in the enlarged hole. Once you thread the hole with the replacement tap there is a tool to insert the coil into the newly cut threads. The insertion tool can be a bit though to use at first. Screw the coil in, break off the tang in the rear of the hole and you’re good to go.
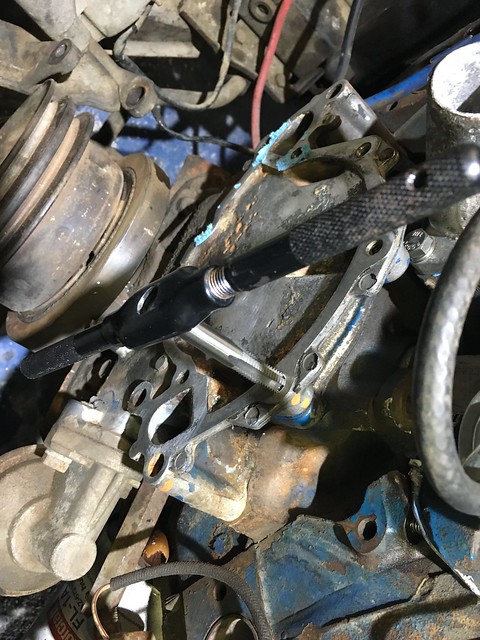
To test the inserts I take something to bolt to the repaired hole. In this case I use the spacers used to mount the smog pump. I tighten the fastener to the torque that will be used in the final assembly to see if it holes. At this point I now have two repaired holes that will support the torque to install the water pump.
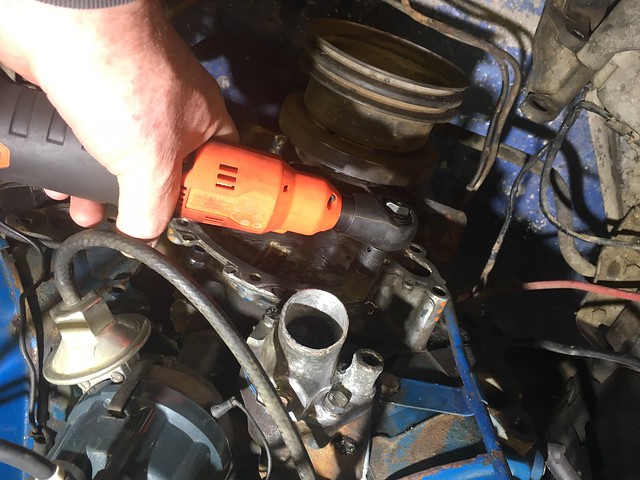
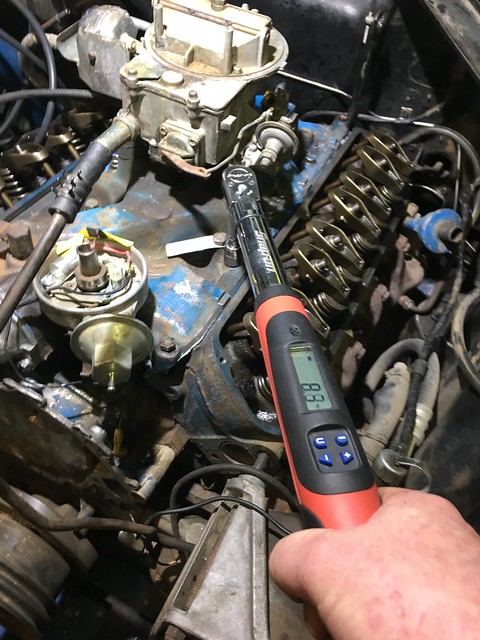
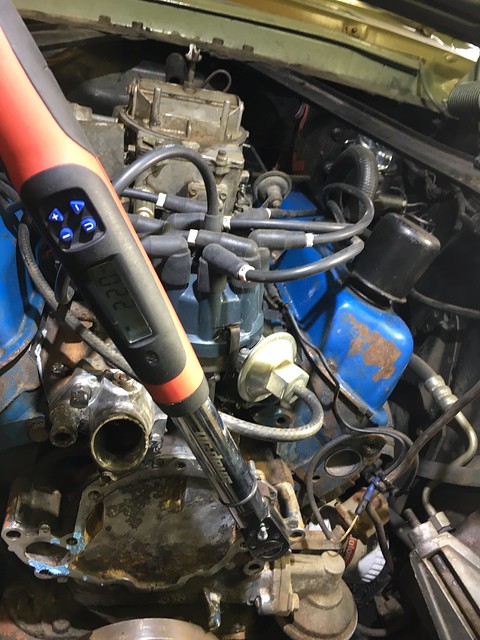
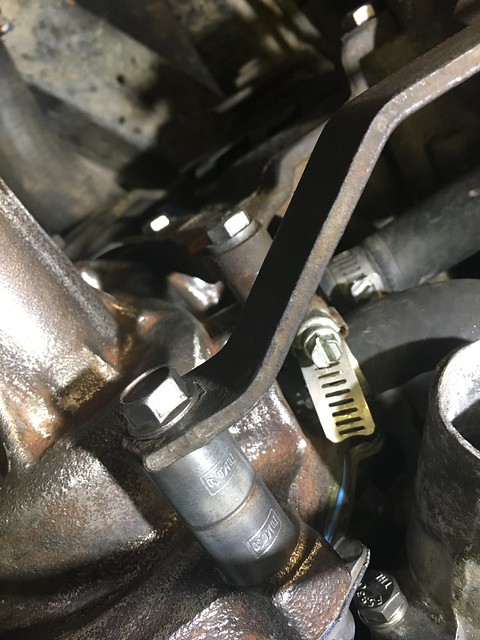
Now for the final bolt and torque. If it’s a part of the rotating assembly or fluid conveyance system (oil, water, fuel), has a critical gasket, steering, brakes or suspension I use the torque specs. This is it just prior to installing the smog pump. Yeah baby, real San Jose car with first generation emissions.
Original FoMoCo engraved spacers for the smog pump mount (the empty hole in the pic above). I didn’t notice the engraving until I cleaned them up.
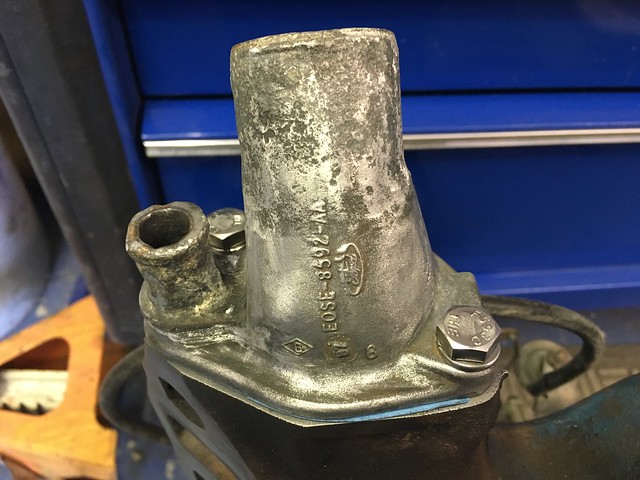
Check all the connections, everything is good and tight. Ready to do a test fill. The test fill was going well until it got to the thermostat/outlet fitting. Leaking. Not a stream but a steady drip. At first I thought I’d hosed the manifold gaskets on the install. After taking a look-see with the borescope it was coming from the underside of the fitting. And no wonder. That space where the light comes through around the 3″ mark on the rule should be flat.
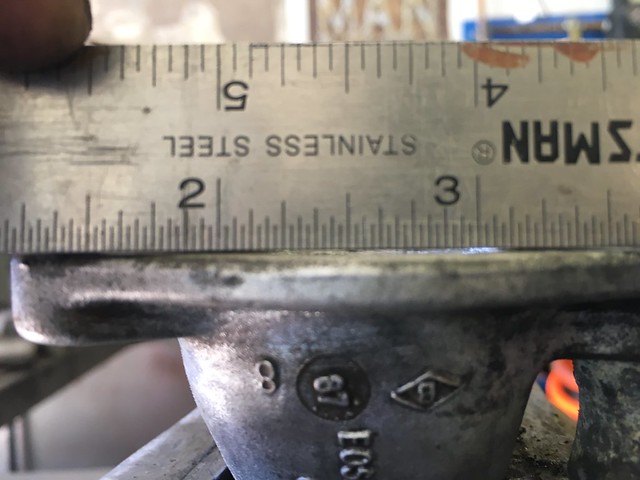
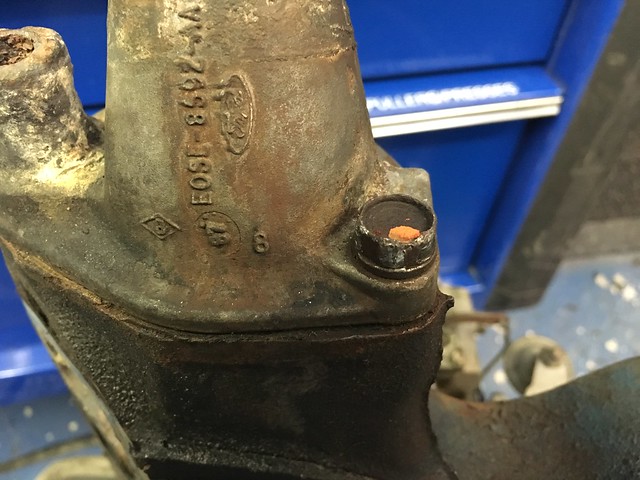
There is a nice warp in the face of the fitting. The indent where the thermostat sits is worn as well. I could surface a bit off the fitting but the indent is still in bad shape and that’s a lot of trouble to go through for a $20 part. One of the problems when restoring parts like that is when you take the kack off sometimes that kack is what is preventing the leak. There is some severe pitting I thought would be taken care of with the Gaskacinch. No such luck, too badly gone. I could RTV it and it would hold but it will eventually need to be fixed properly. The issue I have now is getting a part with the same stamping as I have now. The repros have the part number but not the original Ford logo.
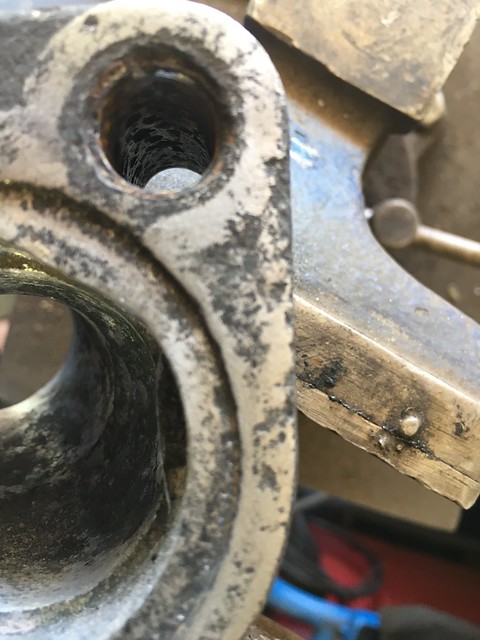
That’s where I am now, waiting on parts. Or rather looking for the parts I’d rather have. I’ve checked the usual dealers but I’ll need to dig some more using the part number from the casting and the Mannel book. I’m half temped to spuck the thing together or get a part to tide me over and run it a bit in the meantime to get a handle on other issues like steering and suspension. Until I’m sure it’s more reliable I’m not going to stray outside of a 15 mile radius from my house. That’s what my Hagerty road service will provide should I get beached again. In the current state I can at least do leak down and compression tests. I’ll take it from there and see what happens.
No fun with the cooling rebuild

It’s been a couple of those days where there is a point where it’s not
fun. There are issues with four fasteners that have thrown a wrench into
the works. The intake manifold had to come off to replace a bolt on the
thermostat housing. One of the valve cover bolts snapped off in the head
on reassembly. Two of the threaded bosses in the timing chain cover
failed when the water pump bolts were removed. Here’s how we got
there…

I’ve had some firsts on this build. First Mustang, first car 50 + years
old, first SBF V8 and first time I’ve had to chisel rat dung that was
crusted into the intake manifold. No. Really. I removed the manifold and
were preparing the surfaces and cleaning it up a bit. Under the choke
there was something that was rock hard. I poked it with pick, no go.
With a striking pry bar and holy cow it’s about 1/8″-1/4″ of petrified
rat dung. With some acorns hardened into it. So that happened.

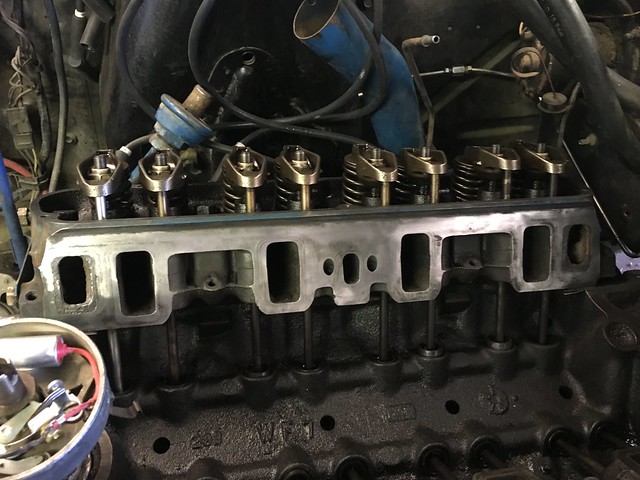
The manifold and head faces need to be prepped. I’m using Scotchbrite
bristle and maroon finishing pads. It’s pretty dirty so each side is
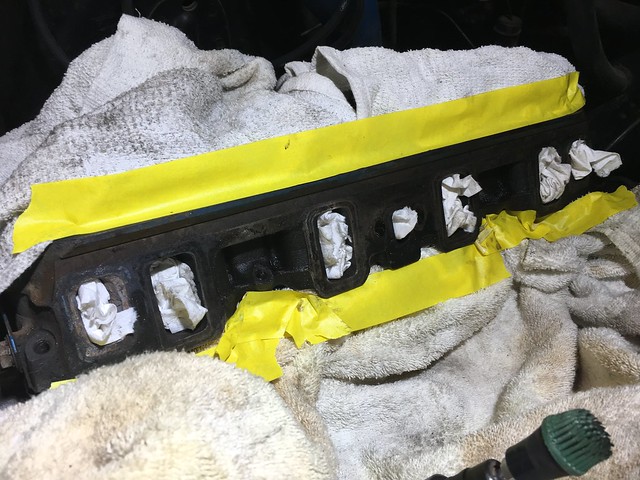
covered and masked off with towels in the ports so the chunks don’t end
up down there.

With a bit of work (the die grinder and pad really did most of the work)
the surfaces are ready to go.

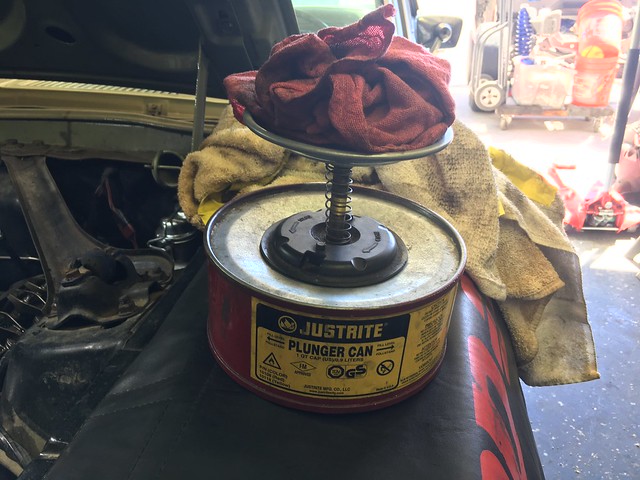
I use acetone to clean the surfaces prior to attaching the gaskets and
sealer. Don’t you hate having to open the can, dab the rag and repeat? I
do too so I use a pump can. I started doing this some years back on fab
projects, cages, chassis, suspensions where the weld joint needs to be
cleaned prior to welding. Just push down a couple of times with your rag
on top and you’re set to wipe.

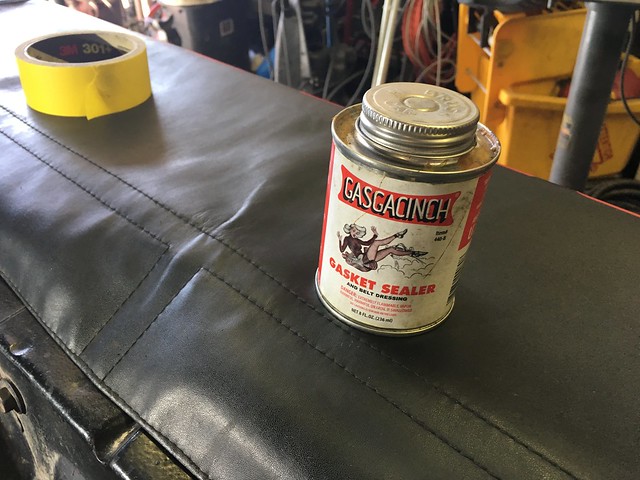
I’ve been using Gaskacinch for years to set gaskets and seal them. It’s
basically engine contact cement.

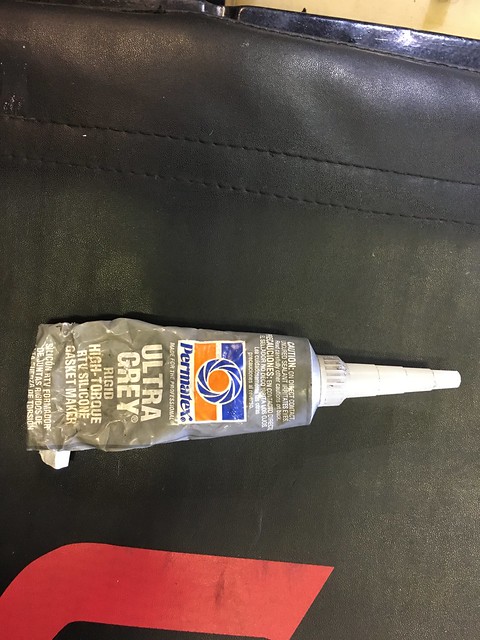
For additional sealing on this one I’m using another old standby,
Permatex Ultra Gray. Depending on the joint I use the gray, Ultra Black
(very sticky) and the red hi temp RTV. The gray works great for intake
and cooling apps.

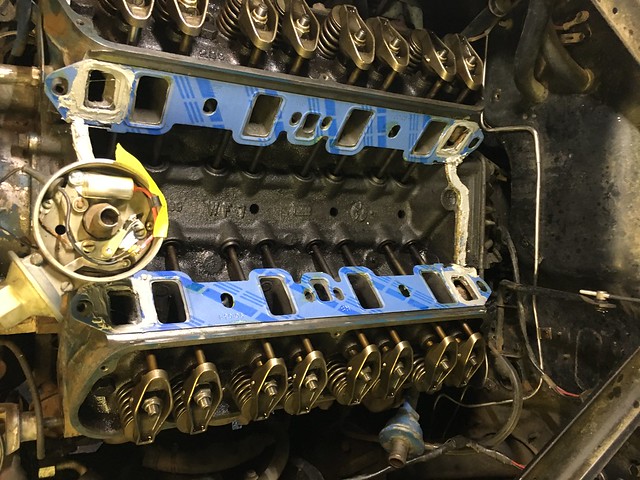
I set the main gaskets with Gaskacinch and line the end gaskets and
around the water jackets for some extra protection. In this case the
Fel-Pro gaskets are installed with the crush zone up (you’ll be able to
read the printing on them).

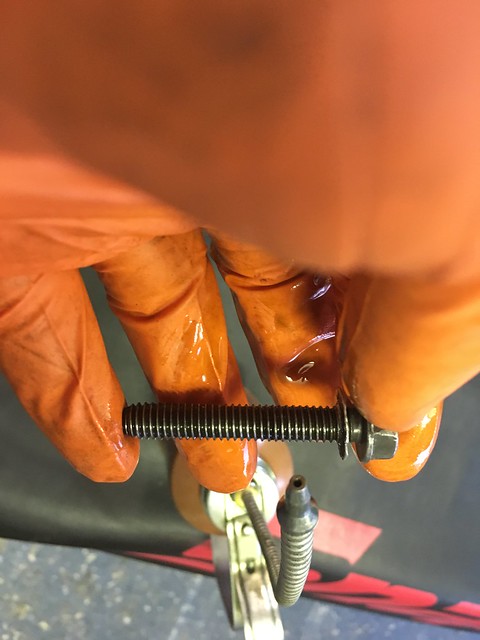
The existing hardware has been wire wheeled, cleaned and buffed with the
holes chased and cleaned. Prior to install a light coating of engine oil
is applied to the threads. It helps with seating and provides a bit of
lube during torque.

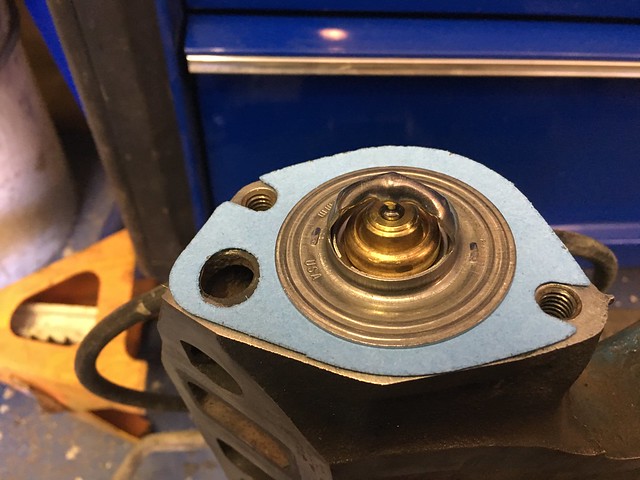
The thermostat housing is reinstalled with a new thermostat and gasket.
Remember this entire exercise of removing the manifold is because one of
the bolts had a stripped head. The outlet needed quite a bit of work.
The bypass was severely restricted and needed to be clearanced.

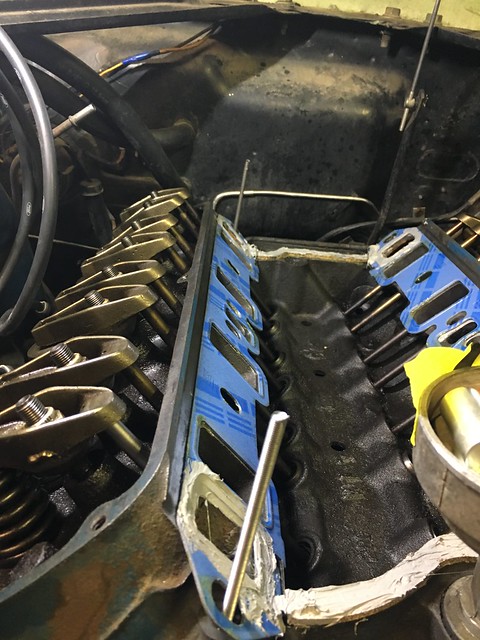
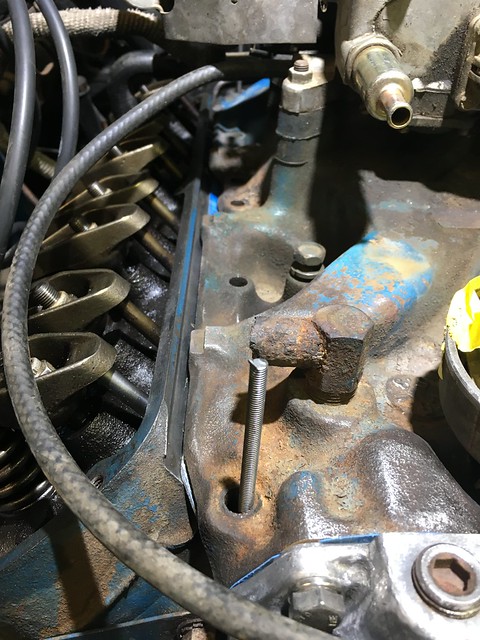
The manifold is heavy. Even without the carb. The FSM has a diagram for
some alignment tools so you don’t hose the gaskets on the install. I
used some all thread to align the manifold. It doesn’t make it any
lighter but it makes it easier align.

Now we do a two step torque following the sequence and specs in the FSM.
The first step is to 14 ft/lbs, the second to 21 ft/lbs.

There was some angst installing the water pump. Up next, what happened
to the timing chain cover and what I’m doing to work past it.

Still more cooling system

The parts for the cooling system restoration have arrived. I’ve got an unexpected seized/stripped bolt head. Though I suppose most stripped bolt heads are unexpected. I tried everything, crowfoot, box, open end, flare nut. It’s the bolt that attaches the thermostat/outlet to the intake manifold so it’s somewhat of a bear to get to. So off comes the manifold. I’d forgotten how heavy a cast iron intake was.

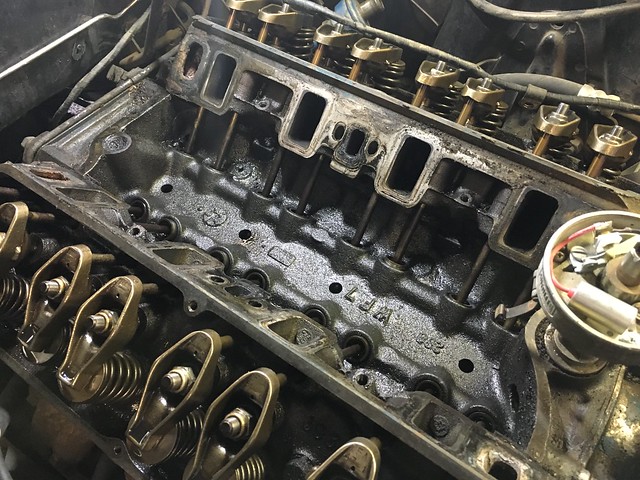
The valley looks pretty good for a 50 + year old car. It’s been off at least once before when the heads had new seats installed in the 90s. There are some powdered oil clumps in a could of places but otherwise it looks good. There are still some water jacket blockages but mostly they’re clean or at least clean enough to use.

It needs a cleaning/buffing of the intake port face on the head to knock off the kack and left over gasket chunks. I’ll block those ports with a rag while I’m doing it then vacuum out the bits. Though it all looks good I’ll bust into the short block once I get some more done on the car and I’m able to have some fun driving it over the summer. I’ll make it part of the engine bay rehab project after steering and suspension.

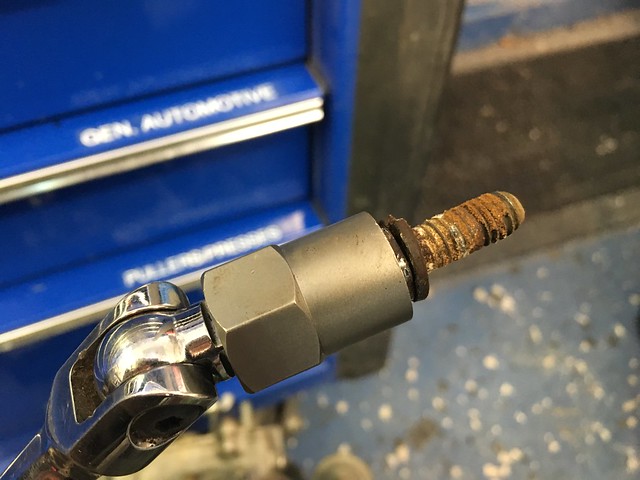
Here’s this seized bolt with a stripped head. The paint pen mark was when I was trying to turn it to see if was turning or if I was stripping it. I was stripping it.

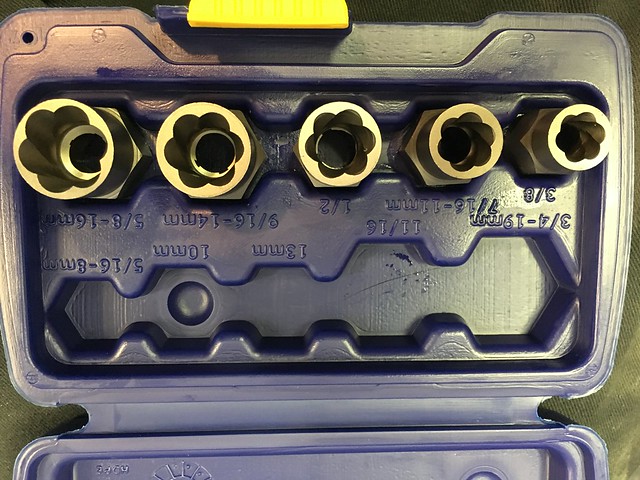
I picked up a set of Irwin stripped bolt removal sockets. About $30. I’ve got other stripped fastener removal tools but didn’t have these though have used them before.

If you’ve not used them they have flutes cut into the socket that grab when you turn it the direction to loosen it. You set the socket with a couple of light raps with a hammer. Then spin it off as you would normally. I used a breaker bar but you can use a ratchet or impact.

If all goes well I should have it back together tomorrow afternoon sometime.

So onto the cooling system

I was hoping to get into the steering and suspension but doesn’t matter how it steers or handles if it won’t stay cool. First some basic cooling system troubleshooting. The system looks pretty hammered from the outside. First step is to run the car a few miles prior to overheating. You can tell because the engine starts to sputter during a stopped idle then carry on more or less normally once the car is in motion. First order of business is to get some thermal images.

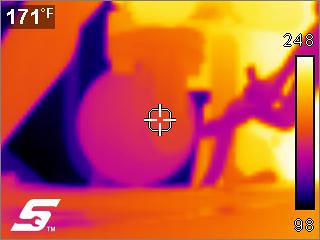
Have a look-see at the fuel pump at temp. I’d boiled the fuel but didn’t overheat the engine when the car stranded me. Let’s see how hot it’s getting compared to other parts.

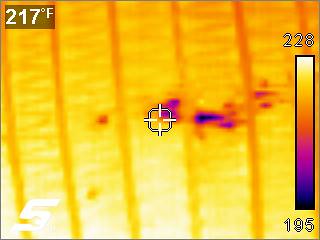
Not bad but let’s look and make sure the radiator is flowing. Those dark spots indicate an obstruction. They show up as lower temperature because the coolant isn’t getting there. There are a few of them but not so many that it’s a major problem. Yet.

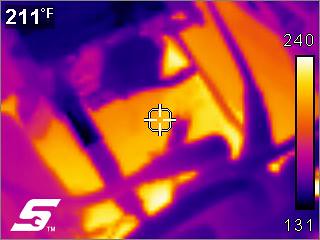
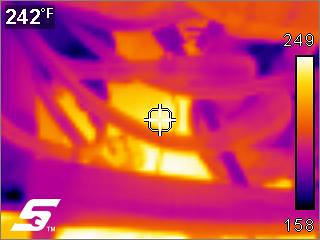
Let’s check out the front of the intake manifold. It’s getting a little hot at the thermostat housing/outlet. We’re going to want to look into that a bit more.

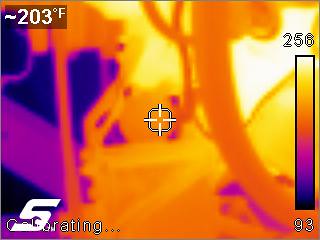
Check out about 5 o’clock from the center target position. It’s reading a good bit hotter than the rest. Could be an obstruction.

Here’s another shot. The difference is even more pronounced toward the bypass.

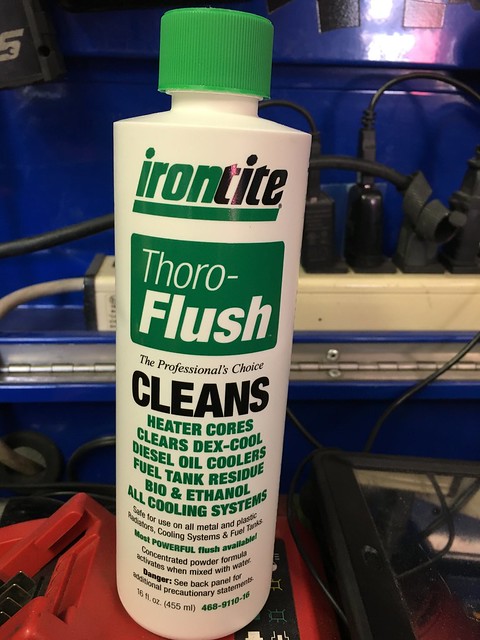
I’m wondering if that thermostat is working at all. I’m going to flush it with something I haven’t used before but diesel guys swear by. I gave the thermostat a test and it’s dead as a doornail. Rolling boil no open on a 180* thermostat. The flush went well, there was plenty of rust in there. Hopefully I got enough out that I can wait to tear into the block. I didn’t save any thermal imaging after the flush but the gauge regeistered cooler and the heat signatures were more uniform particularly at the manifold outlet and top radiator hose.

Time to tear into it. I want to leave it in enough to fix this so I can drive it while I’m working on and diagnosing other issues. Otherwise I’d just stab it out and tear it down.

I’m still adding to my SAE tool collection. I’m good on most metric things and what I’ve been working on over the years have been mostly metric or all metric. The hobby stock builds were usually from GM “metrics” from the early 80s. I didn’t have SAE ratcheting combination wrenches or 3/8” drive crowfoots. The truck didn’t have SAE crowfoots, only metric so that was a run to HF but I did score these off the truck. With a free vintage style bubble clock. I love that tool truck swag. Already using the hell out of the ratchets. The crowfoots are showing some wear on a particularly tough bolt elongated the drive end a bit but for $10…

Once we’ve got it all open…

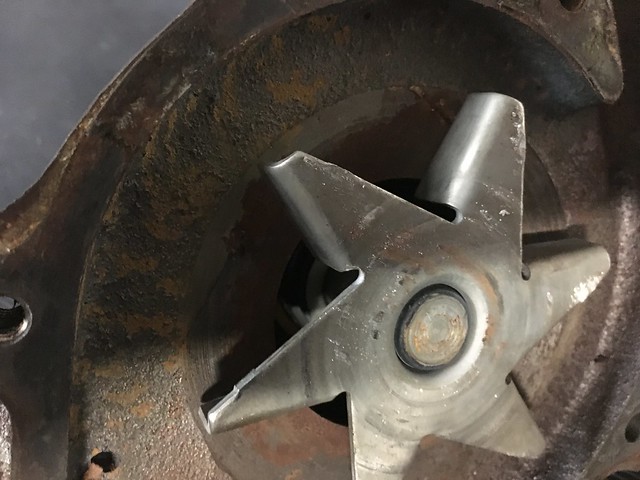
I’m expecting the worst from the water pump. What I could see with the borescope didn’t look good. Fortunately that was the edge of a casting and not the impeller. I was almost shocked when I popped if off and found this.

Looks like someone rebuilt an existing core. I couldn’t find the casting number in the Ford interchange so I’d reckon it’s an aftermarket casting with new guts.

We’re on hold for a few days waiting for parts, mainly gaskets, thermostat, cap and shroud. I’ll put it back together and run some more tests. I’m also going to install a real temp gauge and sender using the plug hole on the manifold outlet.

VIN inspection

It’s back on the road but still some work to do. I’ve got about 50 miles on it since the resurrection. Until it crapped out, coincidently in a Pep Boys parking lot but not the Pep Boys by the house. For this build I’m not using chain store parts but for fluids and such they’re great. Appears to be a fuel/heatsink/vapor lock issue. I put the road service we got from Hagerty to good use. I got it back, cooled it off, primed the carb and it’s back running. I’m taking some heat signatures in various states. It’s fully into summer here. It was about 105* when it conked out. Timing is good, dead nuts on. Idle is a bit rough at times.

I got a VIN check at the DMV to change the title and register. They didn’t like where the title release was signed (even though it’s where CA says it should be…) but I got a movement permit for a month anyway. There is so much made here at VMF about the fender tag vs. door tag as the legal point of reference. As I pulled into the VIN inspection area I got out and went to open the hood. The inspector asked if I was having a mechanical issue. I said no that I was just opening the hood so she could see the fender stamp. She said NV recognizes the door tag as the legal VIN and use that for the check. I mentioned the Ford says the door tag isn’t the legal VIN. She chuckled and replied that Ford doesn’t get to decide what the state of Nevada uses to determine the correct VIN. She disappears with the pink slip and a couple of minutes later returns with the full registration history from California, decoded VIN and a pretty good description of what the car had when sold including the original purchase price.

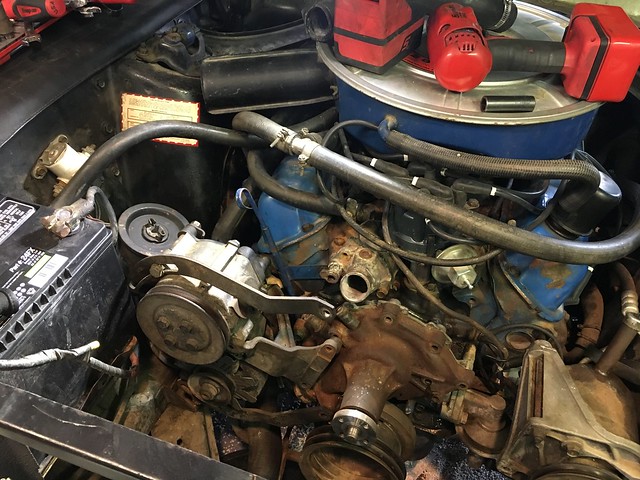
The engine as a survivor buttoned up with a fully plumbed smog pump.

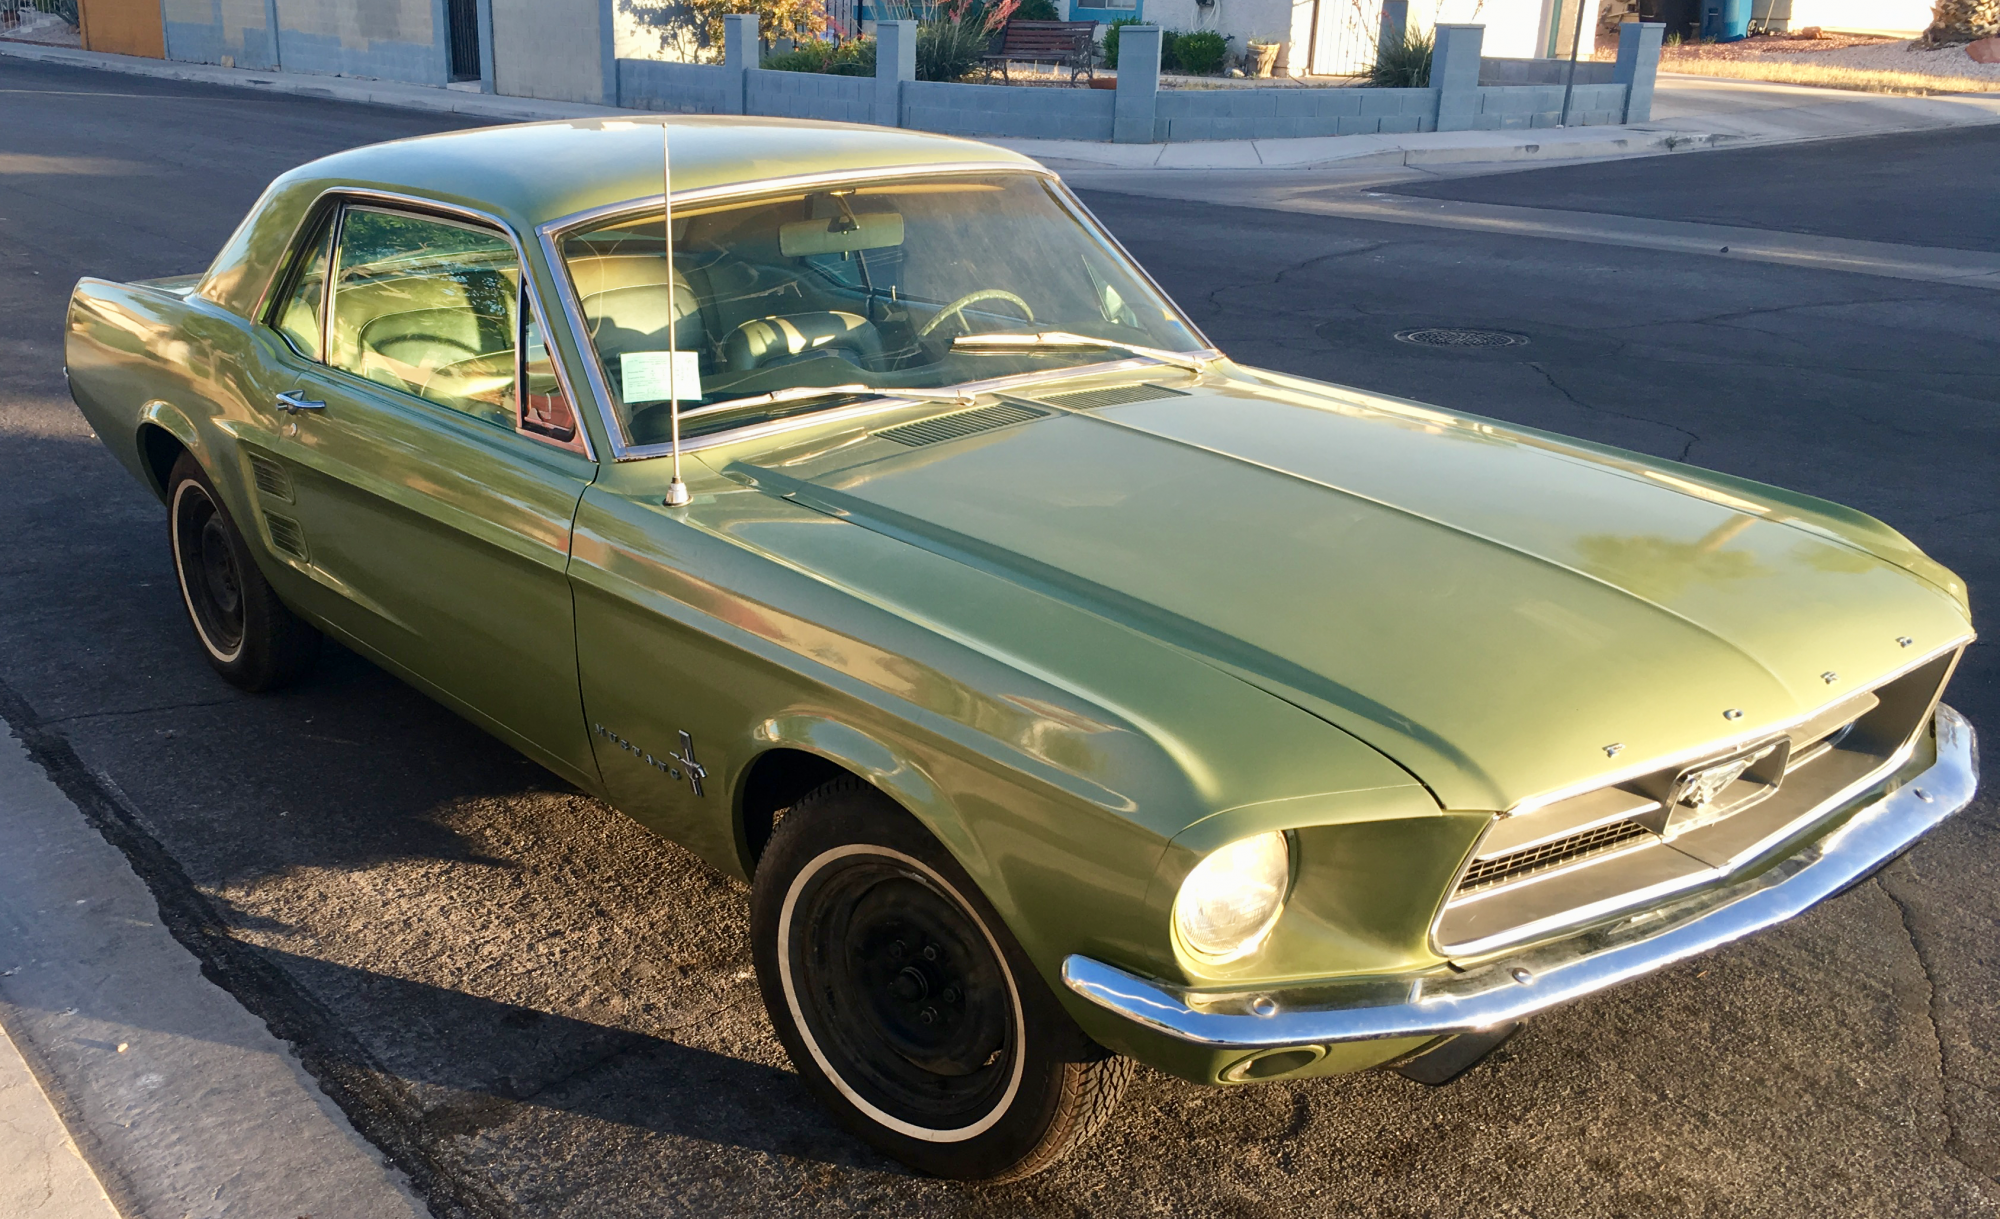
The car is in great shape. Needs some mechanical love and some aesthetic bits. If you look close you can tell the work was done over the years by two chain collision shops. I’ve got the original hub caps (those are the original steel wheels as well) but haven’t put them back on yet.

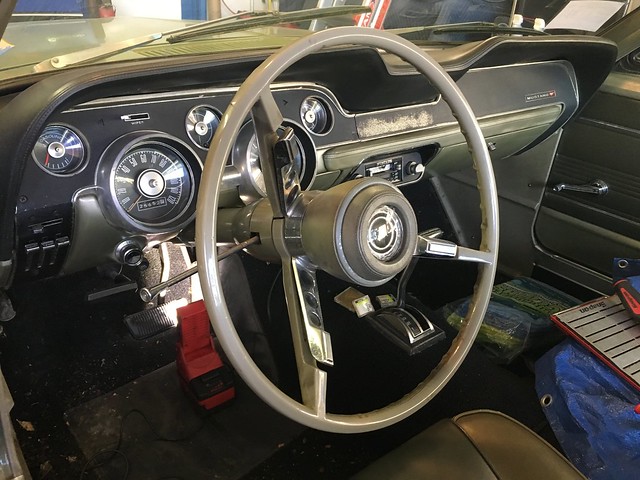
Dash is good, pad is great. I’ve got new plastics and bezels and will install them after more of the mechanical is complete. I’ve also got door cards and a few other bits. Carpet is new but black so I’ve got to see what was originally in the car. My wife is riding herd on the interior including new heat/noise insulation and is working on other mechanical bits with me as well.

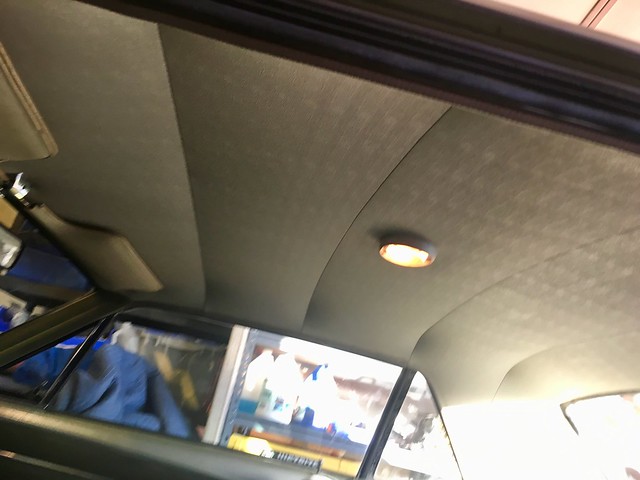
Original headliner, still in fantastic shape.

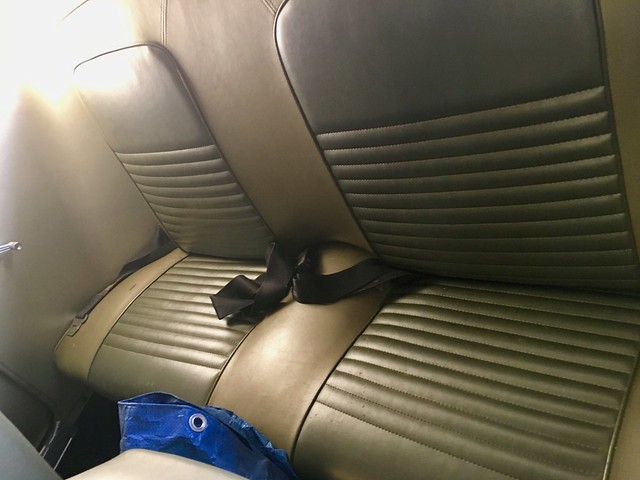
Rear seat is original, not too many people rode back there. The fronts were recovered about 20 years ago to new, stock condition and color.

It’s a hoot to drive though more than 50 mph or so there is quite a bit of skating in the front end. Some of it is the 50 + year old Bendix style power steering. The alignment is whack though it doesn’t look like bent parts but I’ll know when I take them off to measure them. I’ve got all the seals and new idler for a steering rebuild. Asked Choko about a kit but he was on vacation and I wanted them before he got back. About $140 for the parts. Hopefully the tie rod ball joints are still usable. I’ll test them and see. Haven’t yet made a bushing list but they’re well rotted, or “perished” as Edd China would say.

Before I tackle the steering I want to make sure I have this heat issue sorted. I’m also going to send an oil sample to Blackstone to be analyzed. The reports are fantastic. I wanted to get 100 miles or so on it then change oil, send the sample and cut the filter open to see what is inside it. If it checks out I’ll not pop it open just yet but clean it, paint it and use it.